Building Sussex 5: Fence, Trees and Telephone poles
The ground cover had enough time to dry and I could finally start with something of a higher level: The fence for WBS.
Building an N-Scale Fence
I choose to build the fence myself. I cut pieces of 0.6 mm spring wire into pieces. The wholes were drilled spaced about 5 cm apart. That might be slightly too far but attaching the mesh to the posts is not that funny so less fence post are less annoying. The posts are about 1.2 cm high, so they would be nearly 2 meters high in the prototype. That seems plausible to me.

Building Sussex 3: Digging the pit
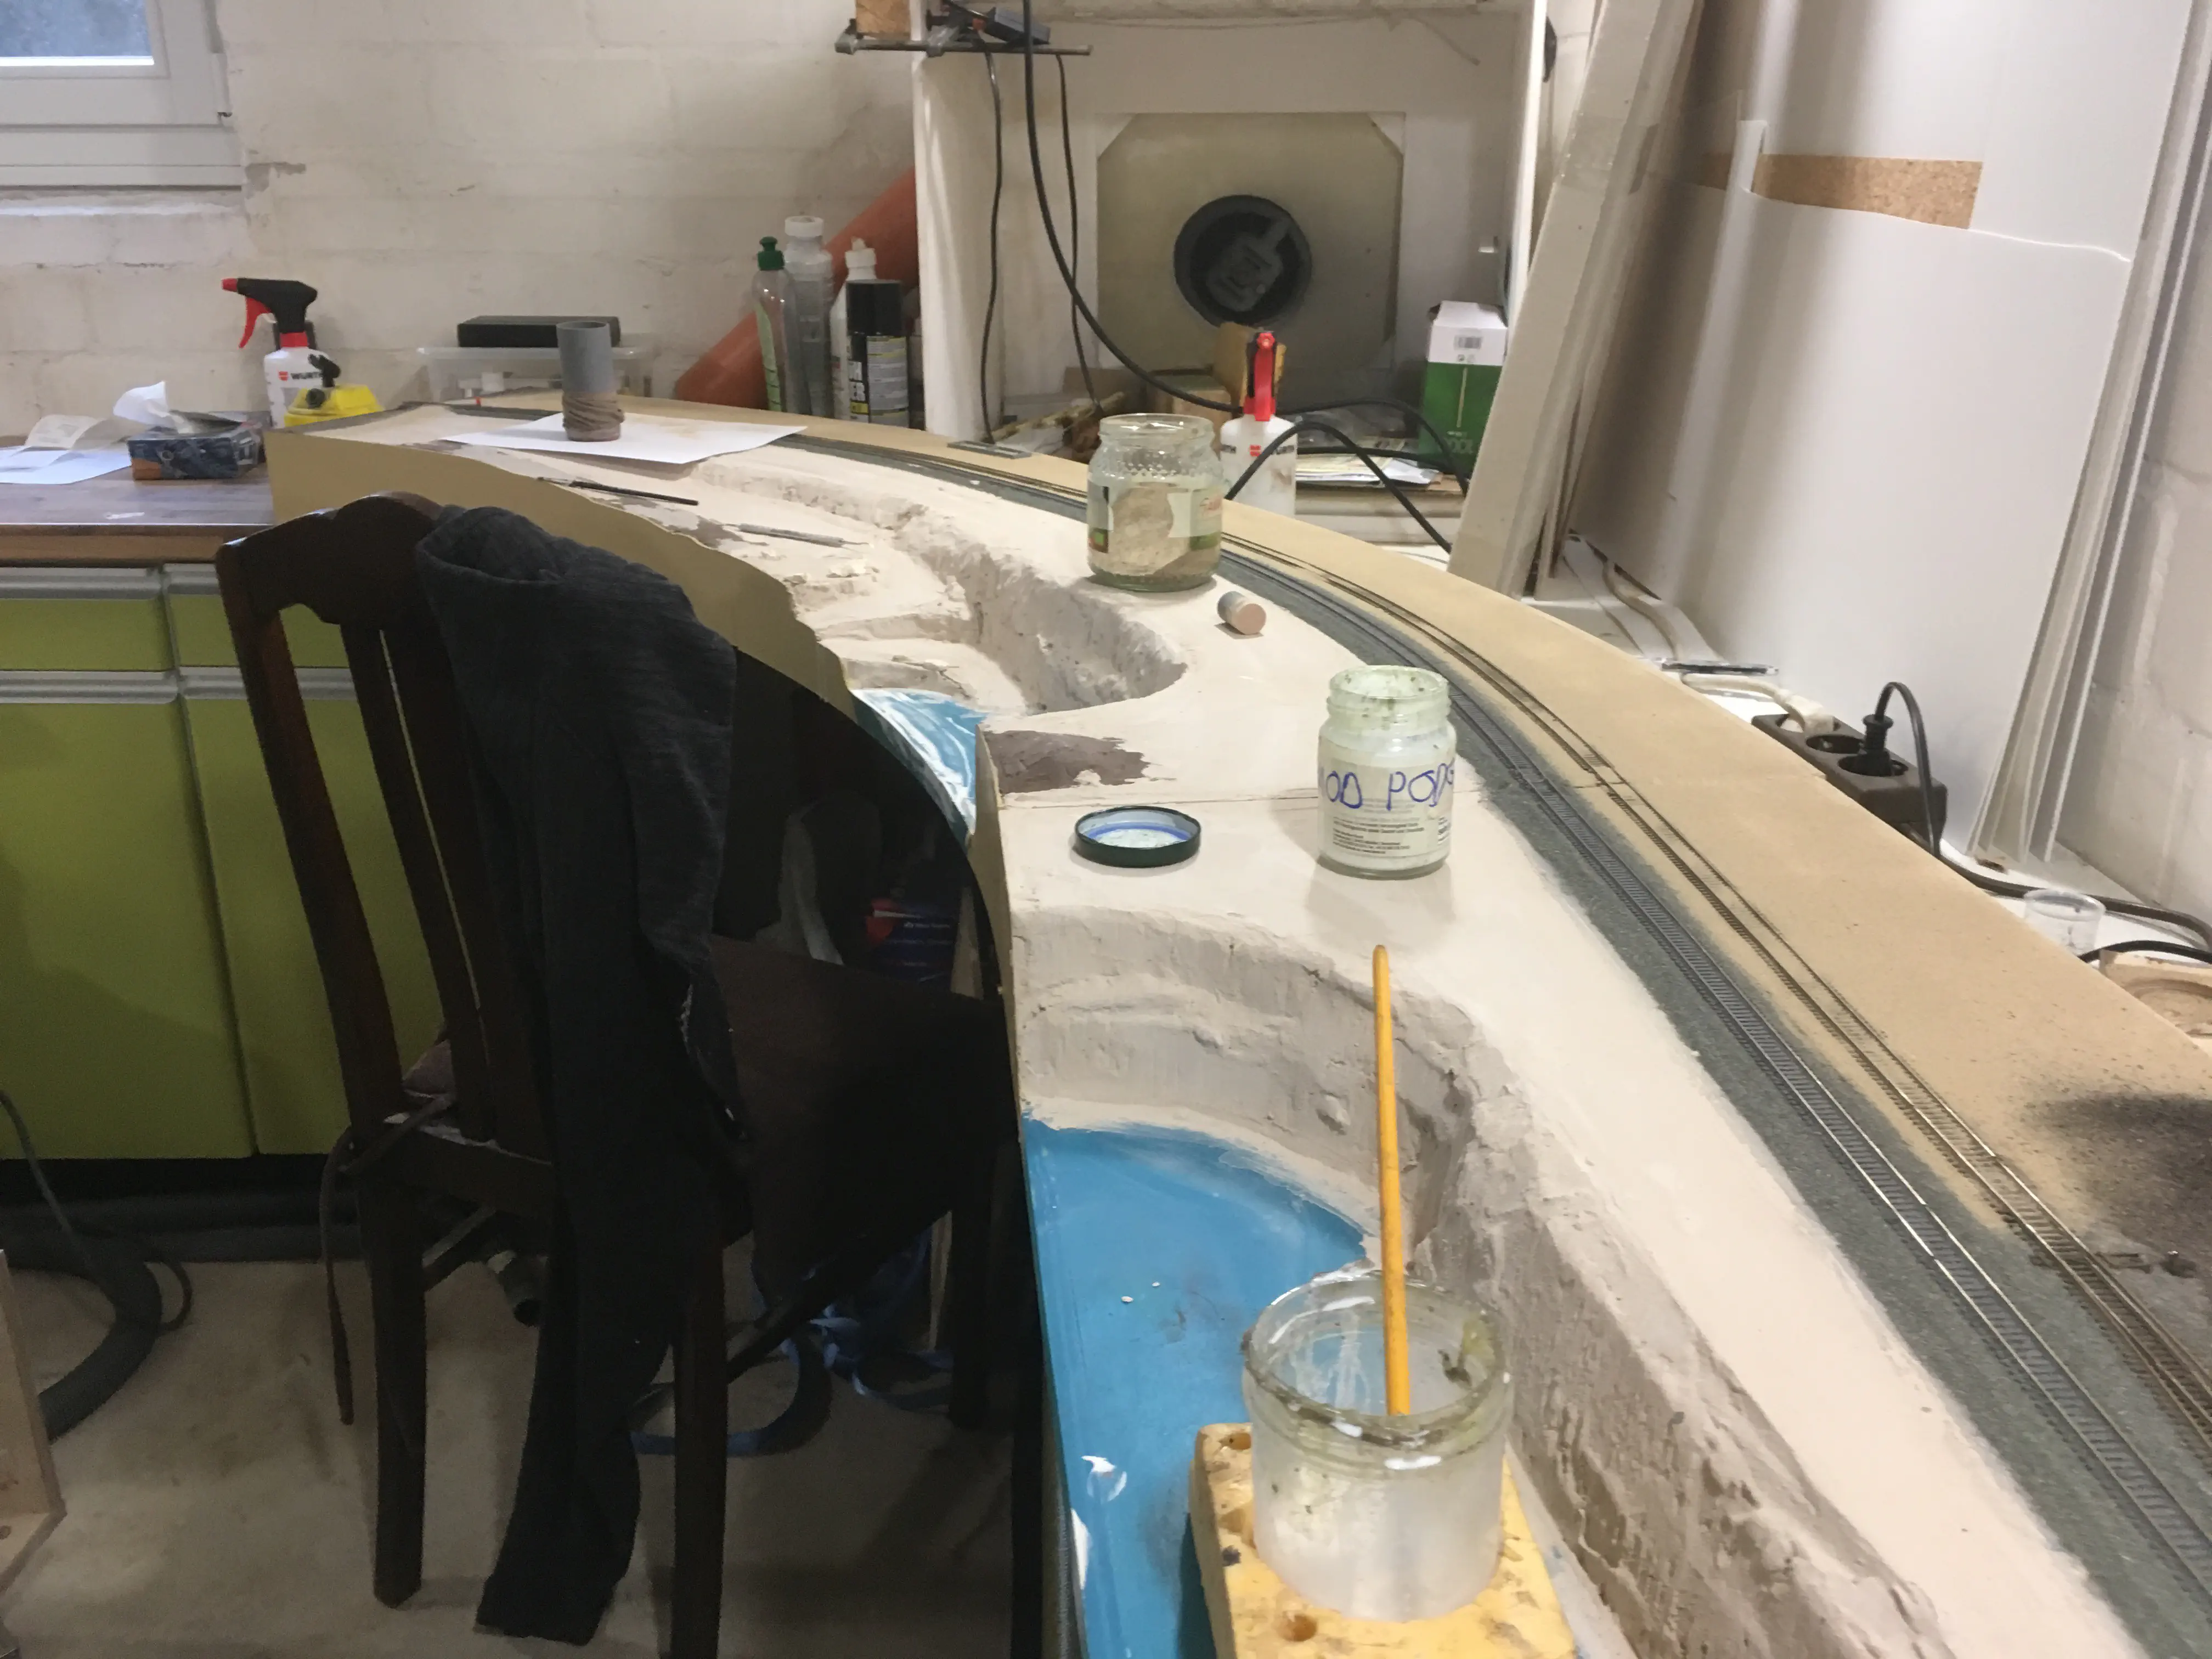
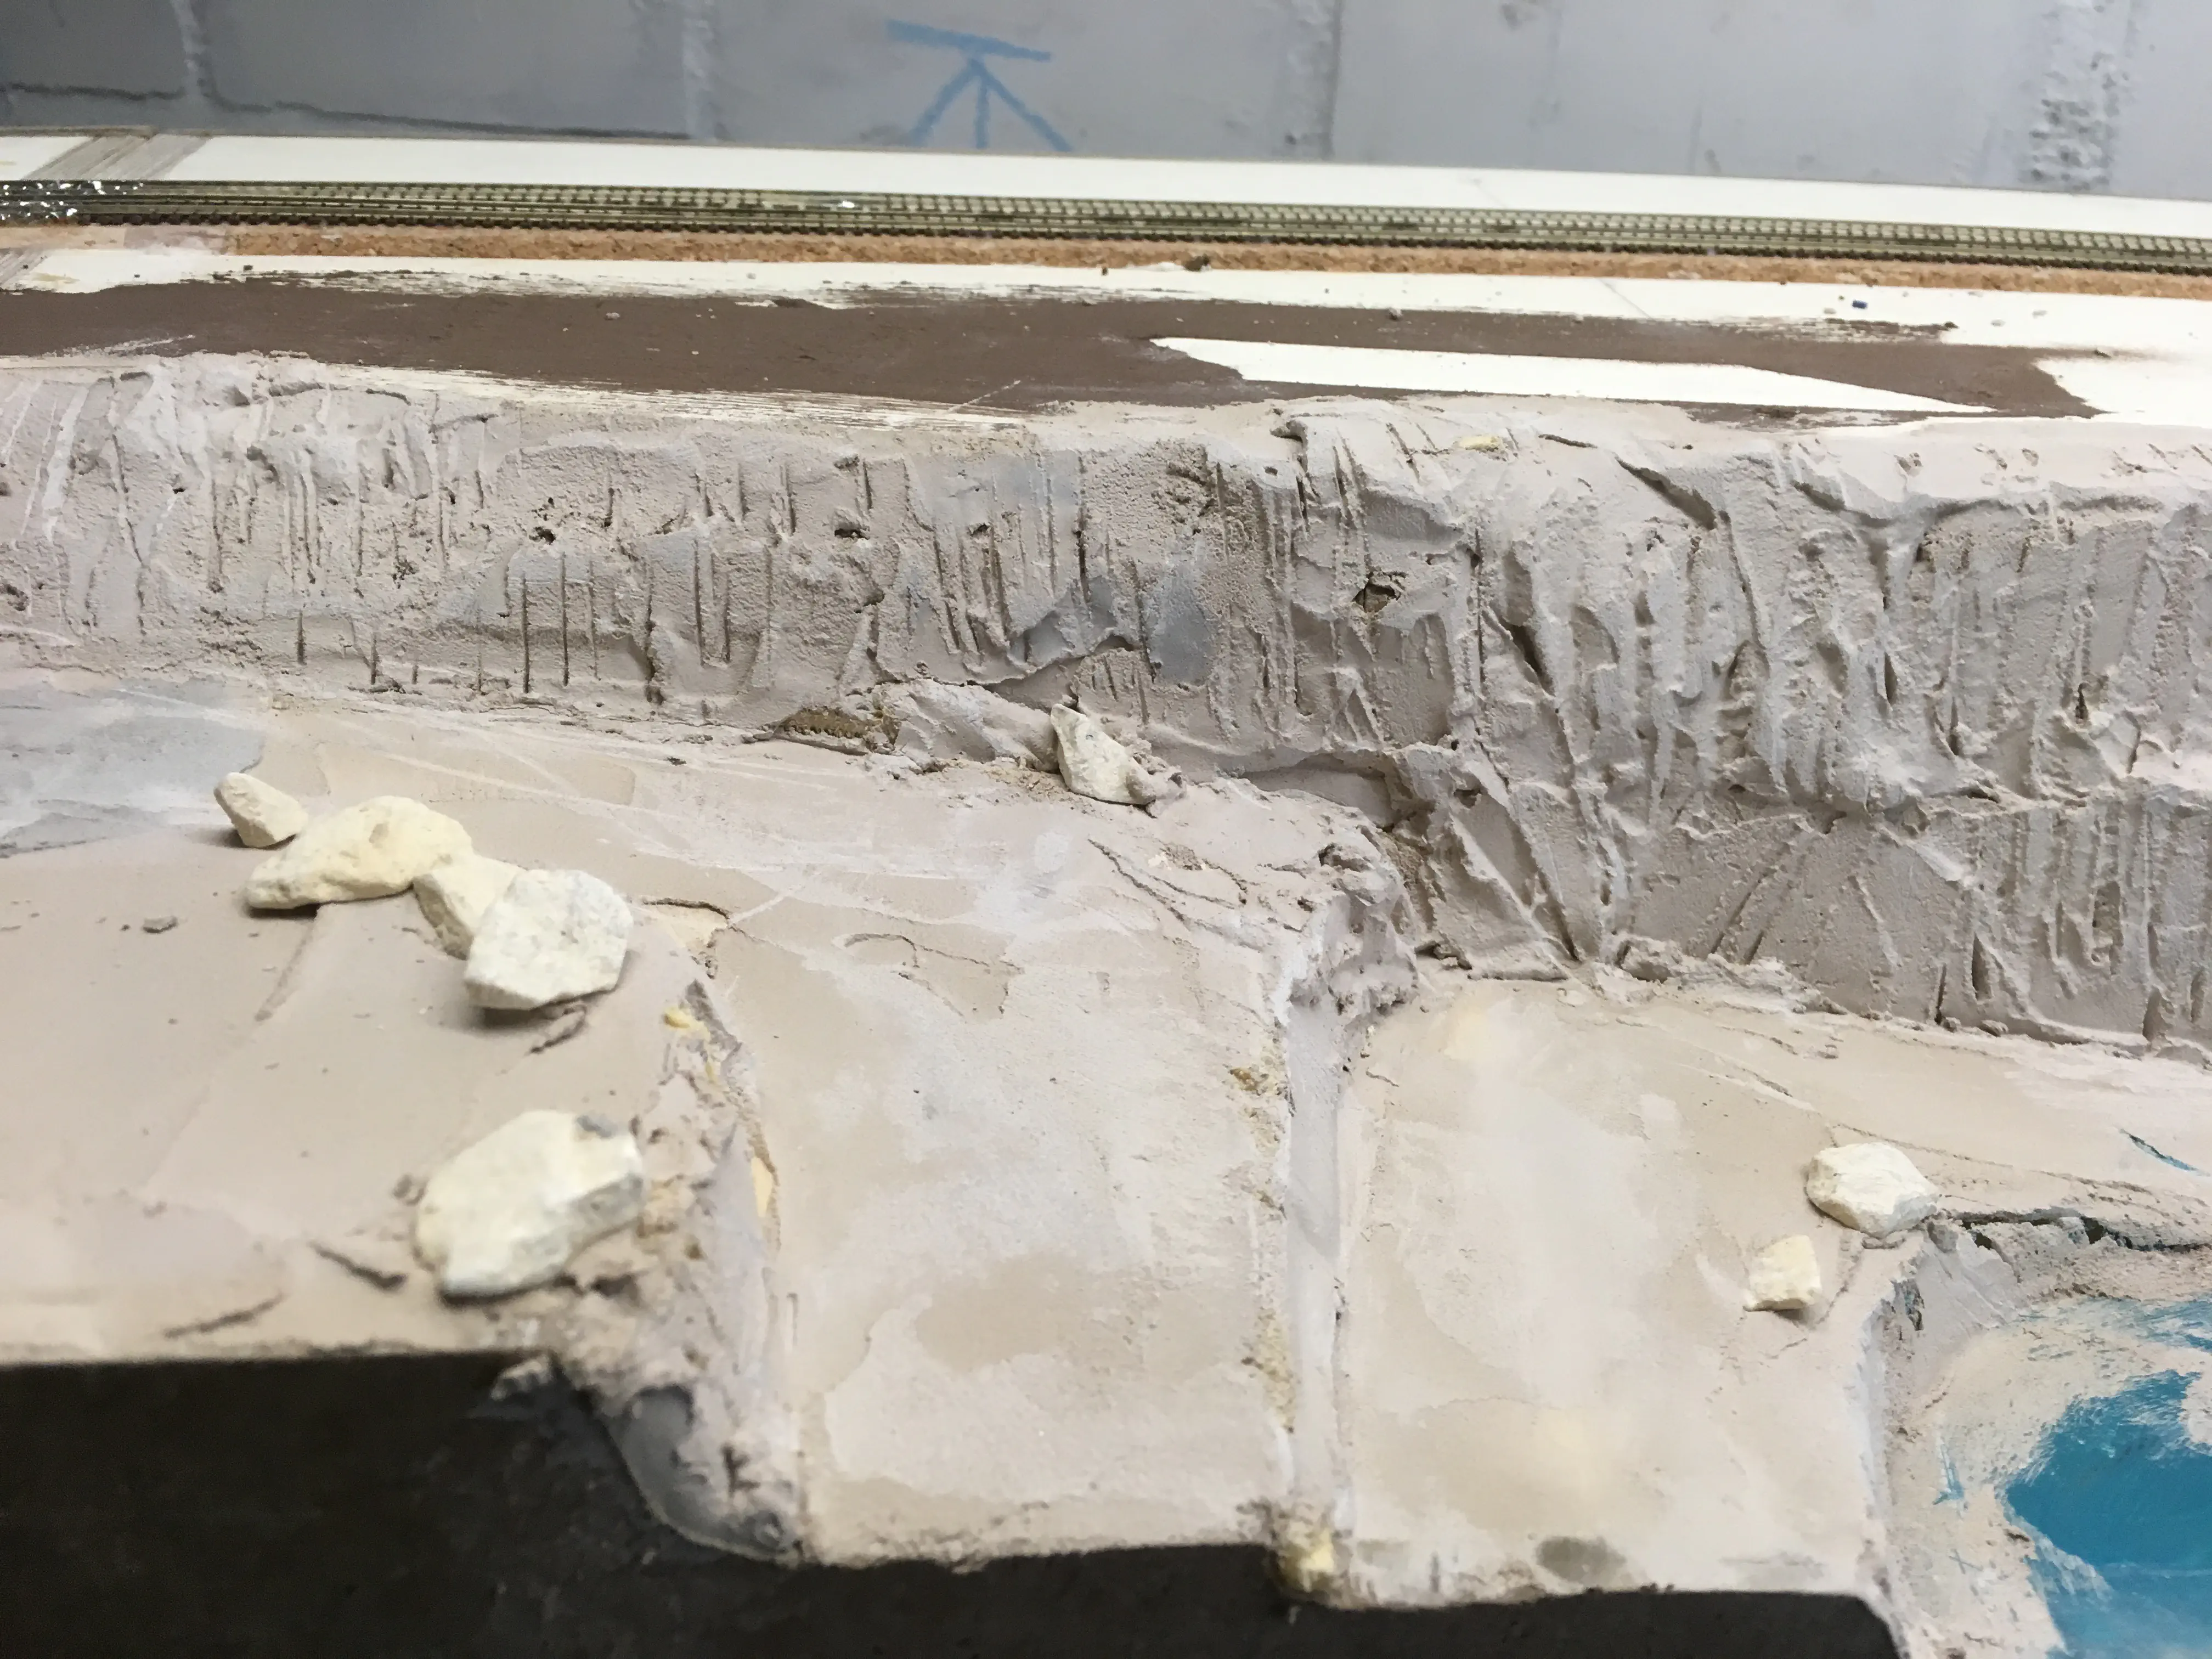
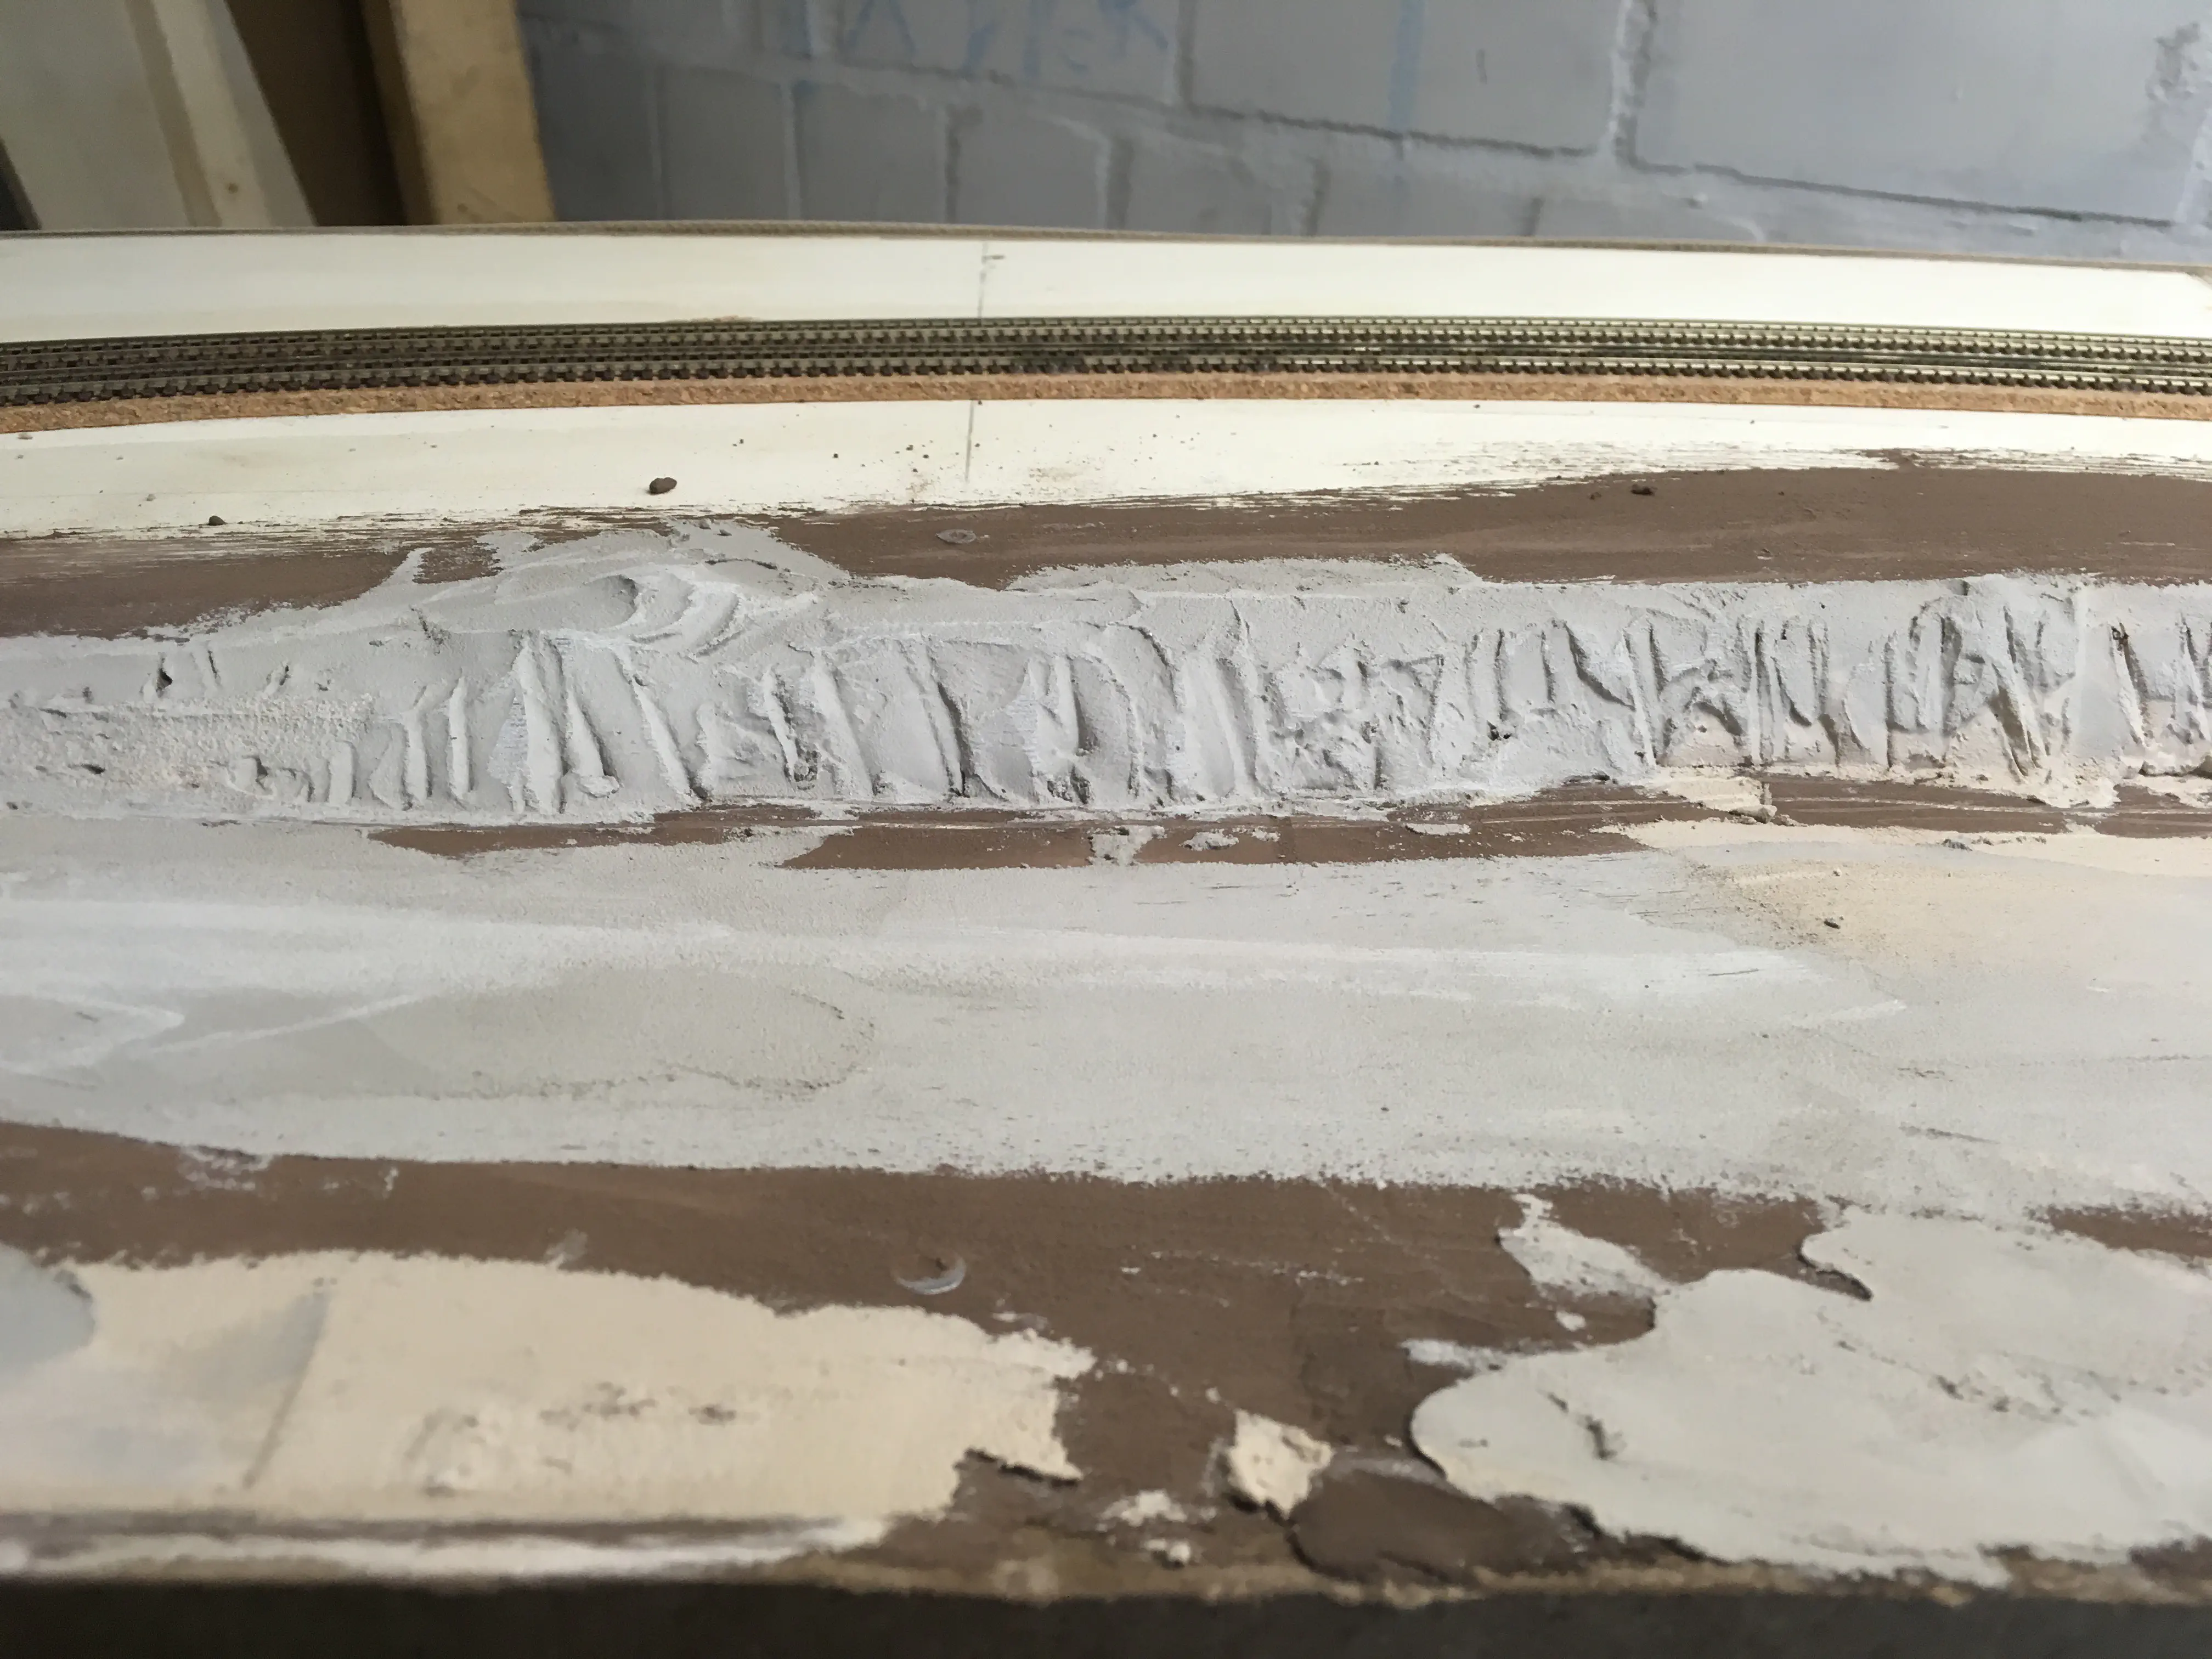
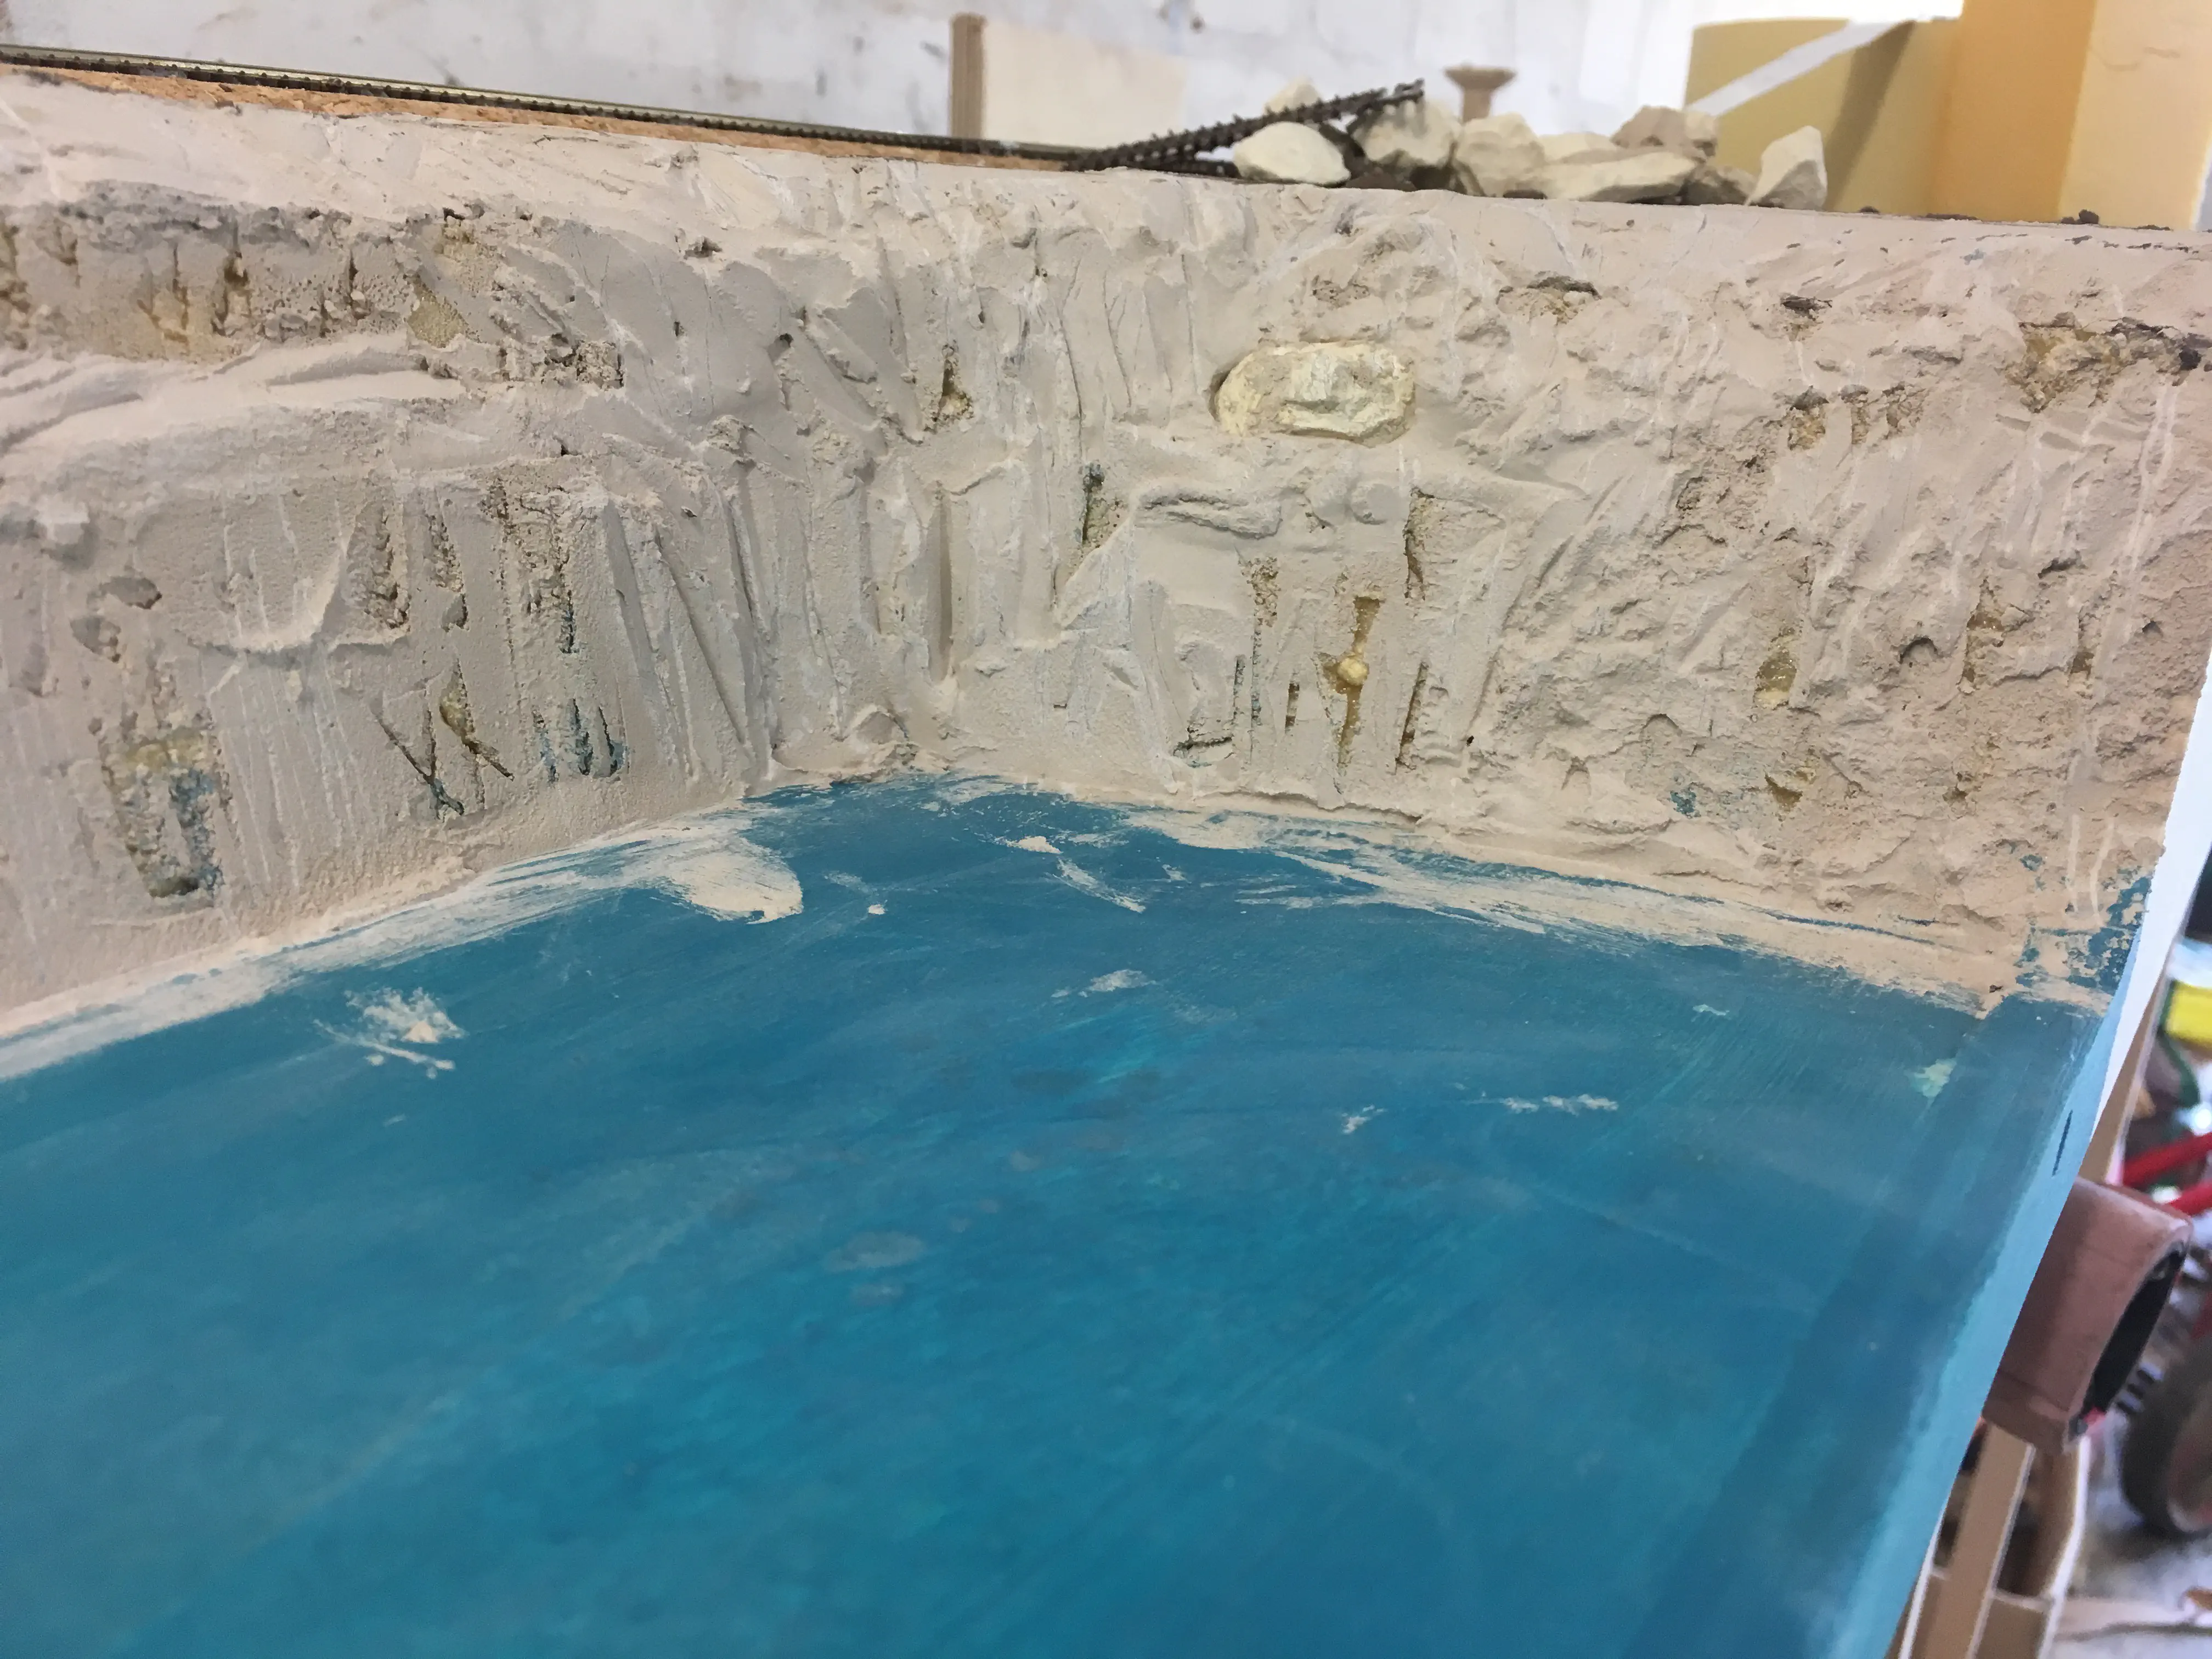
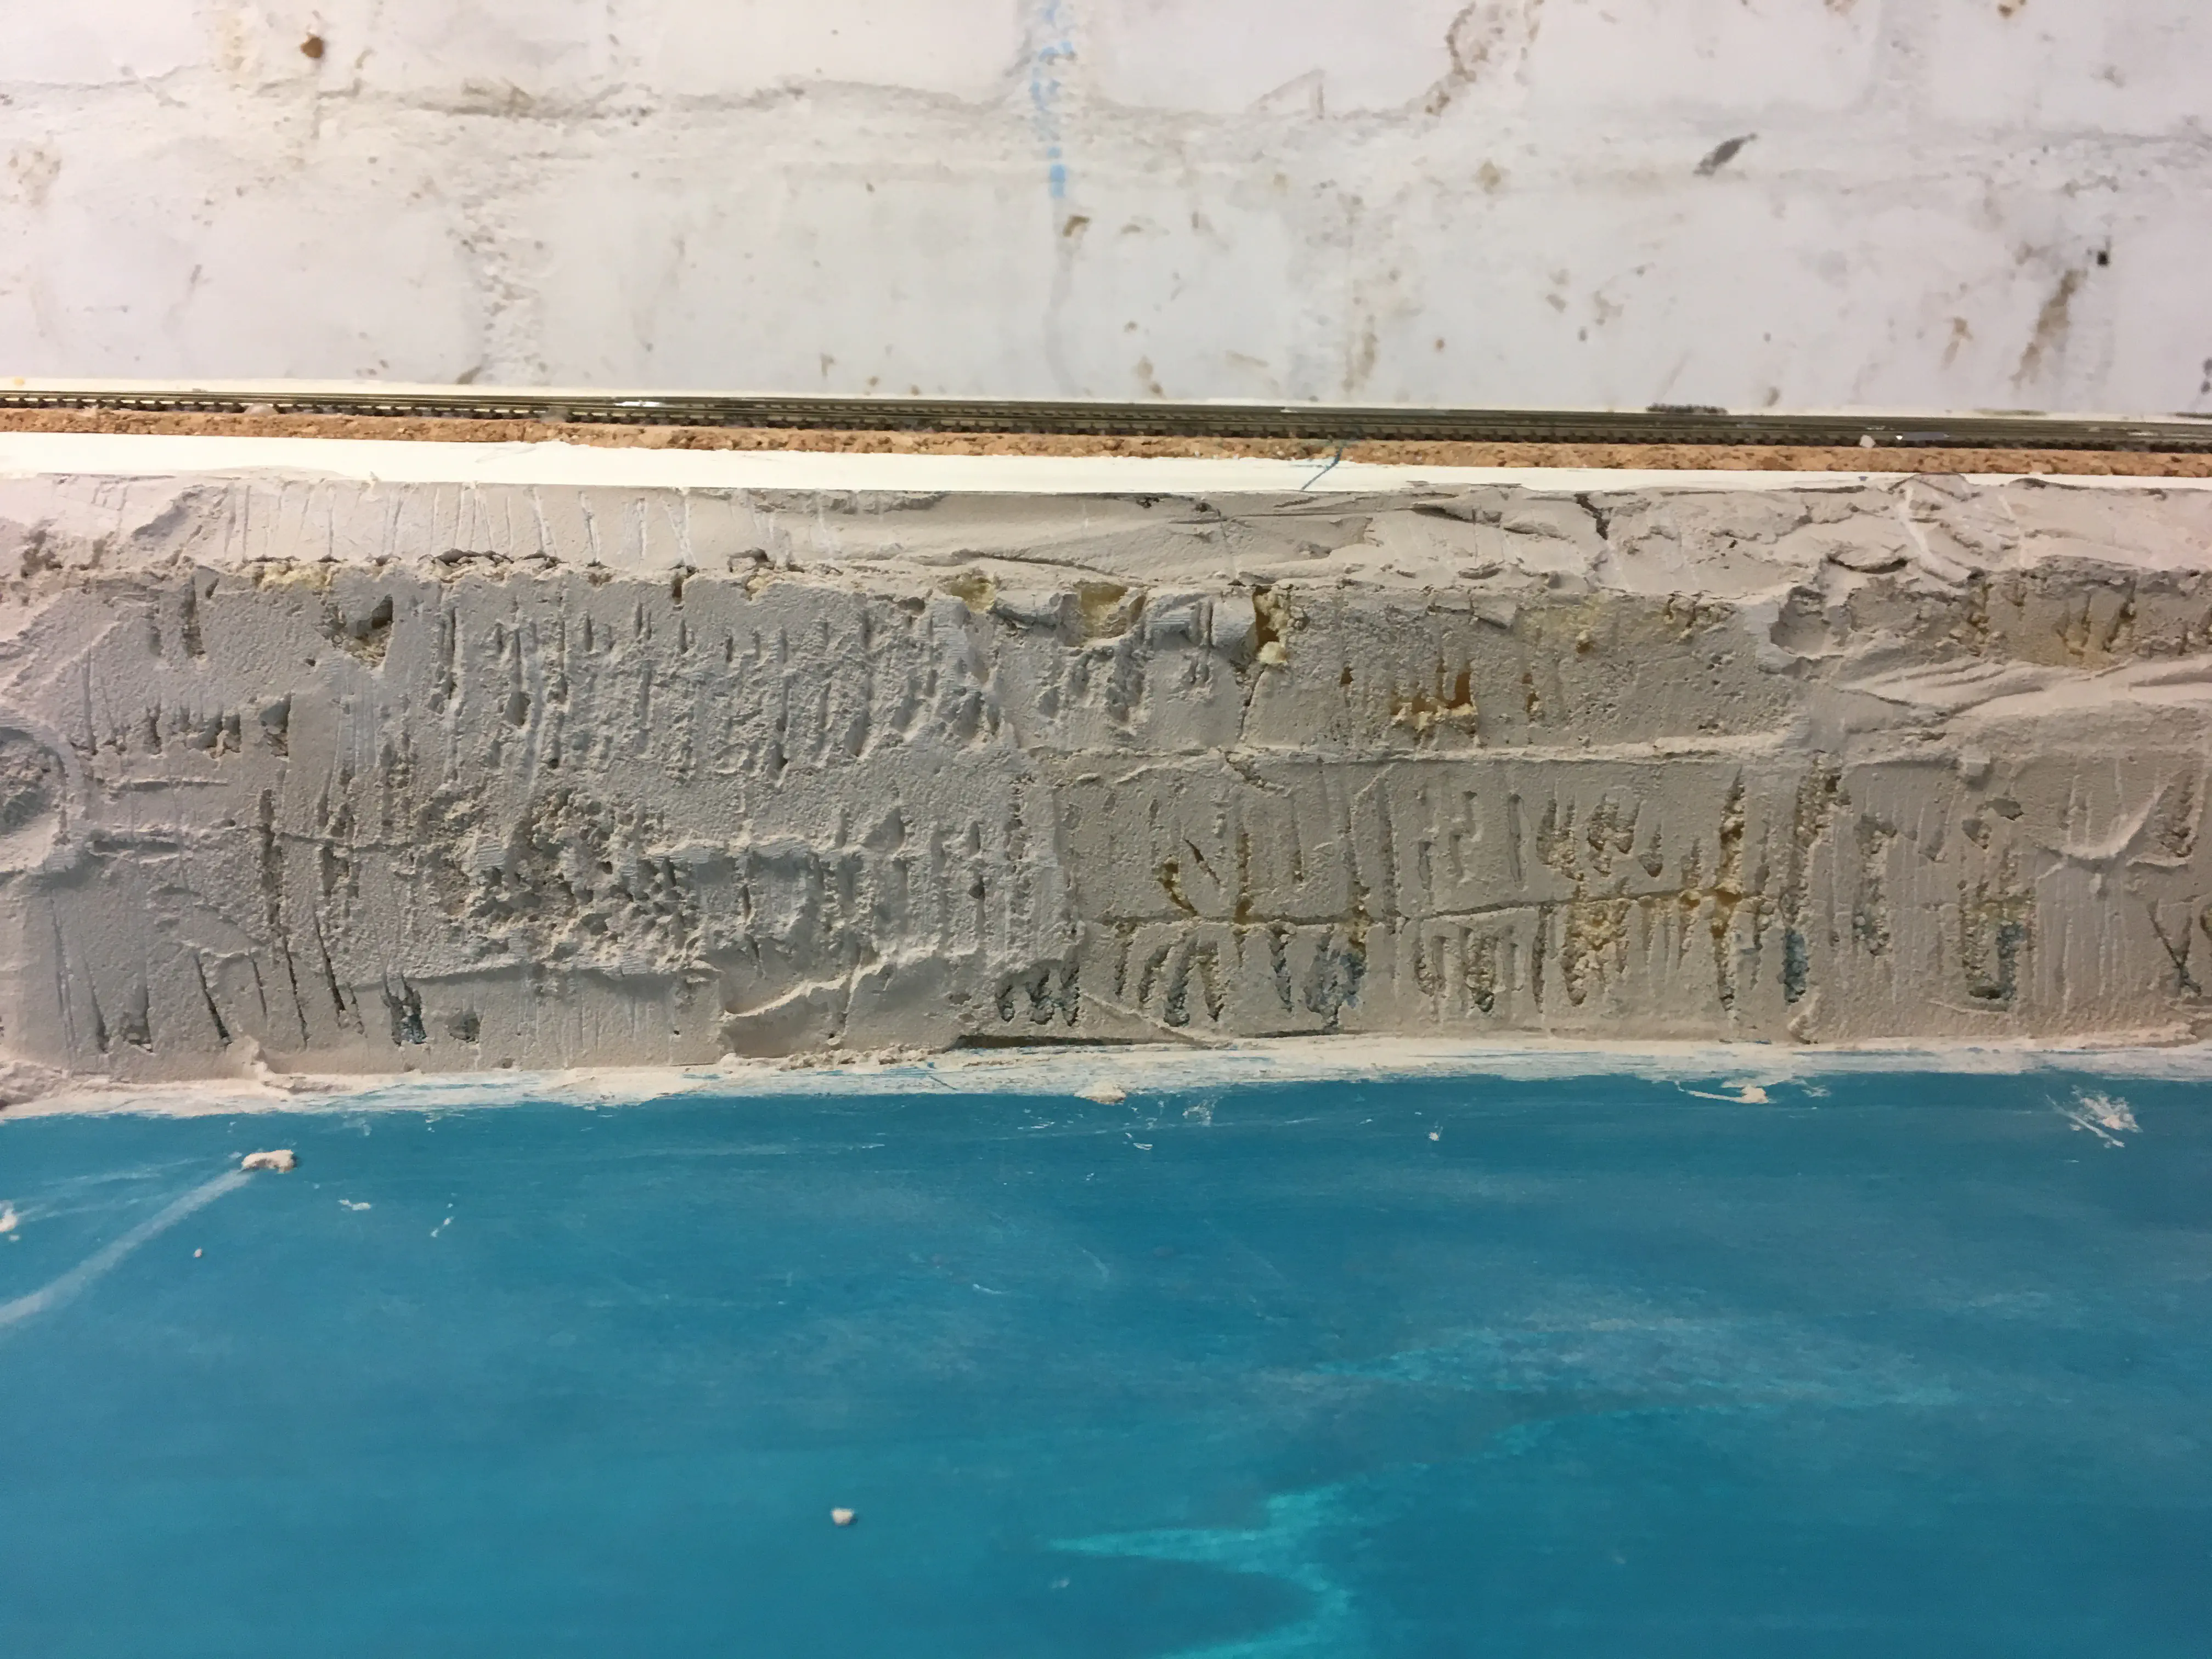
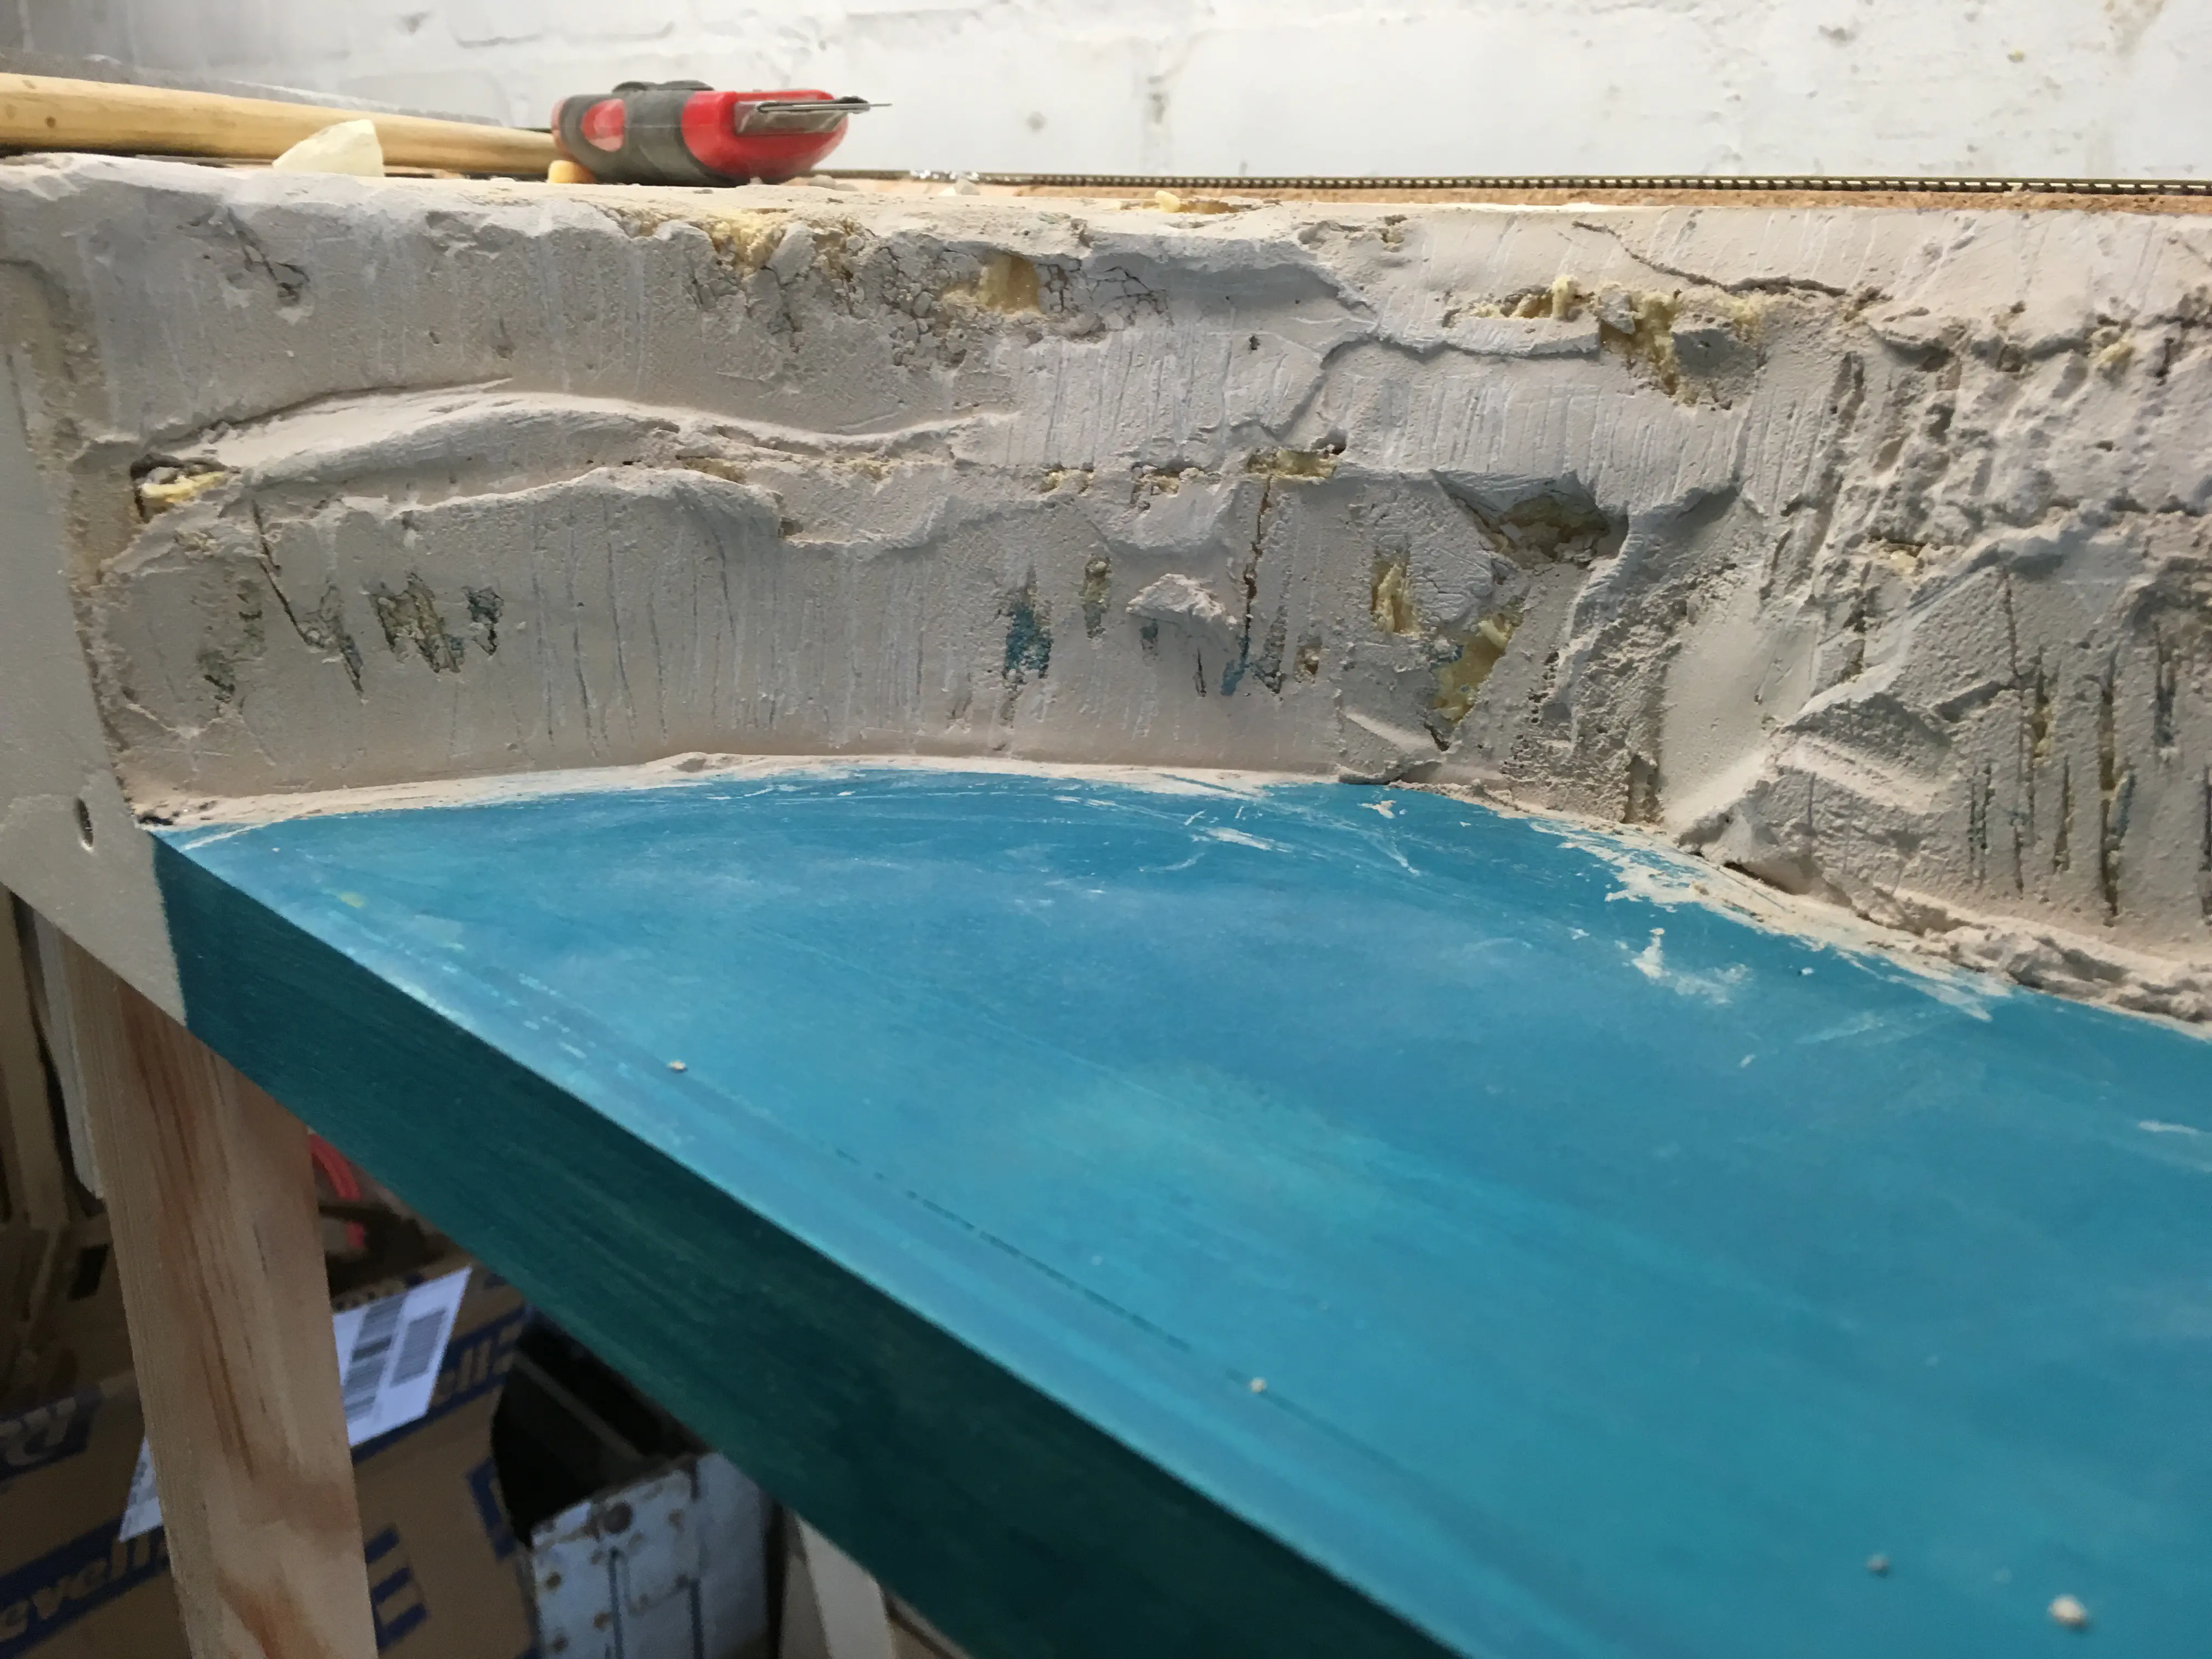
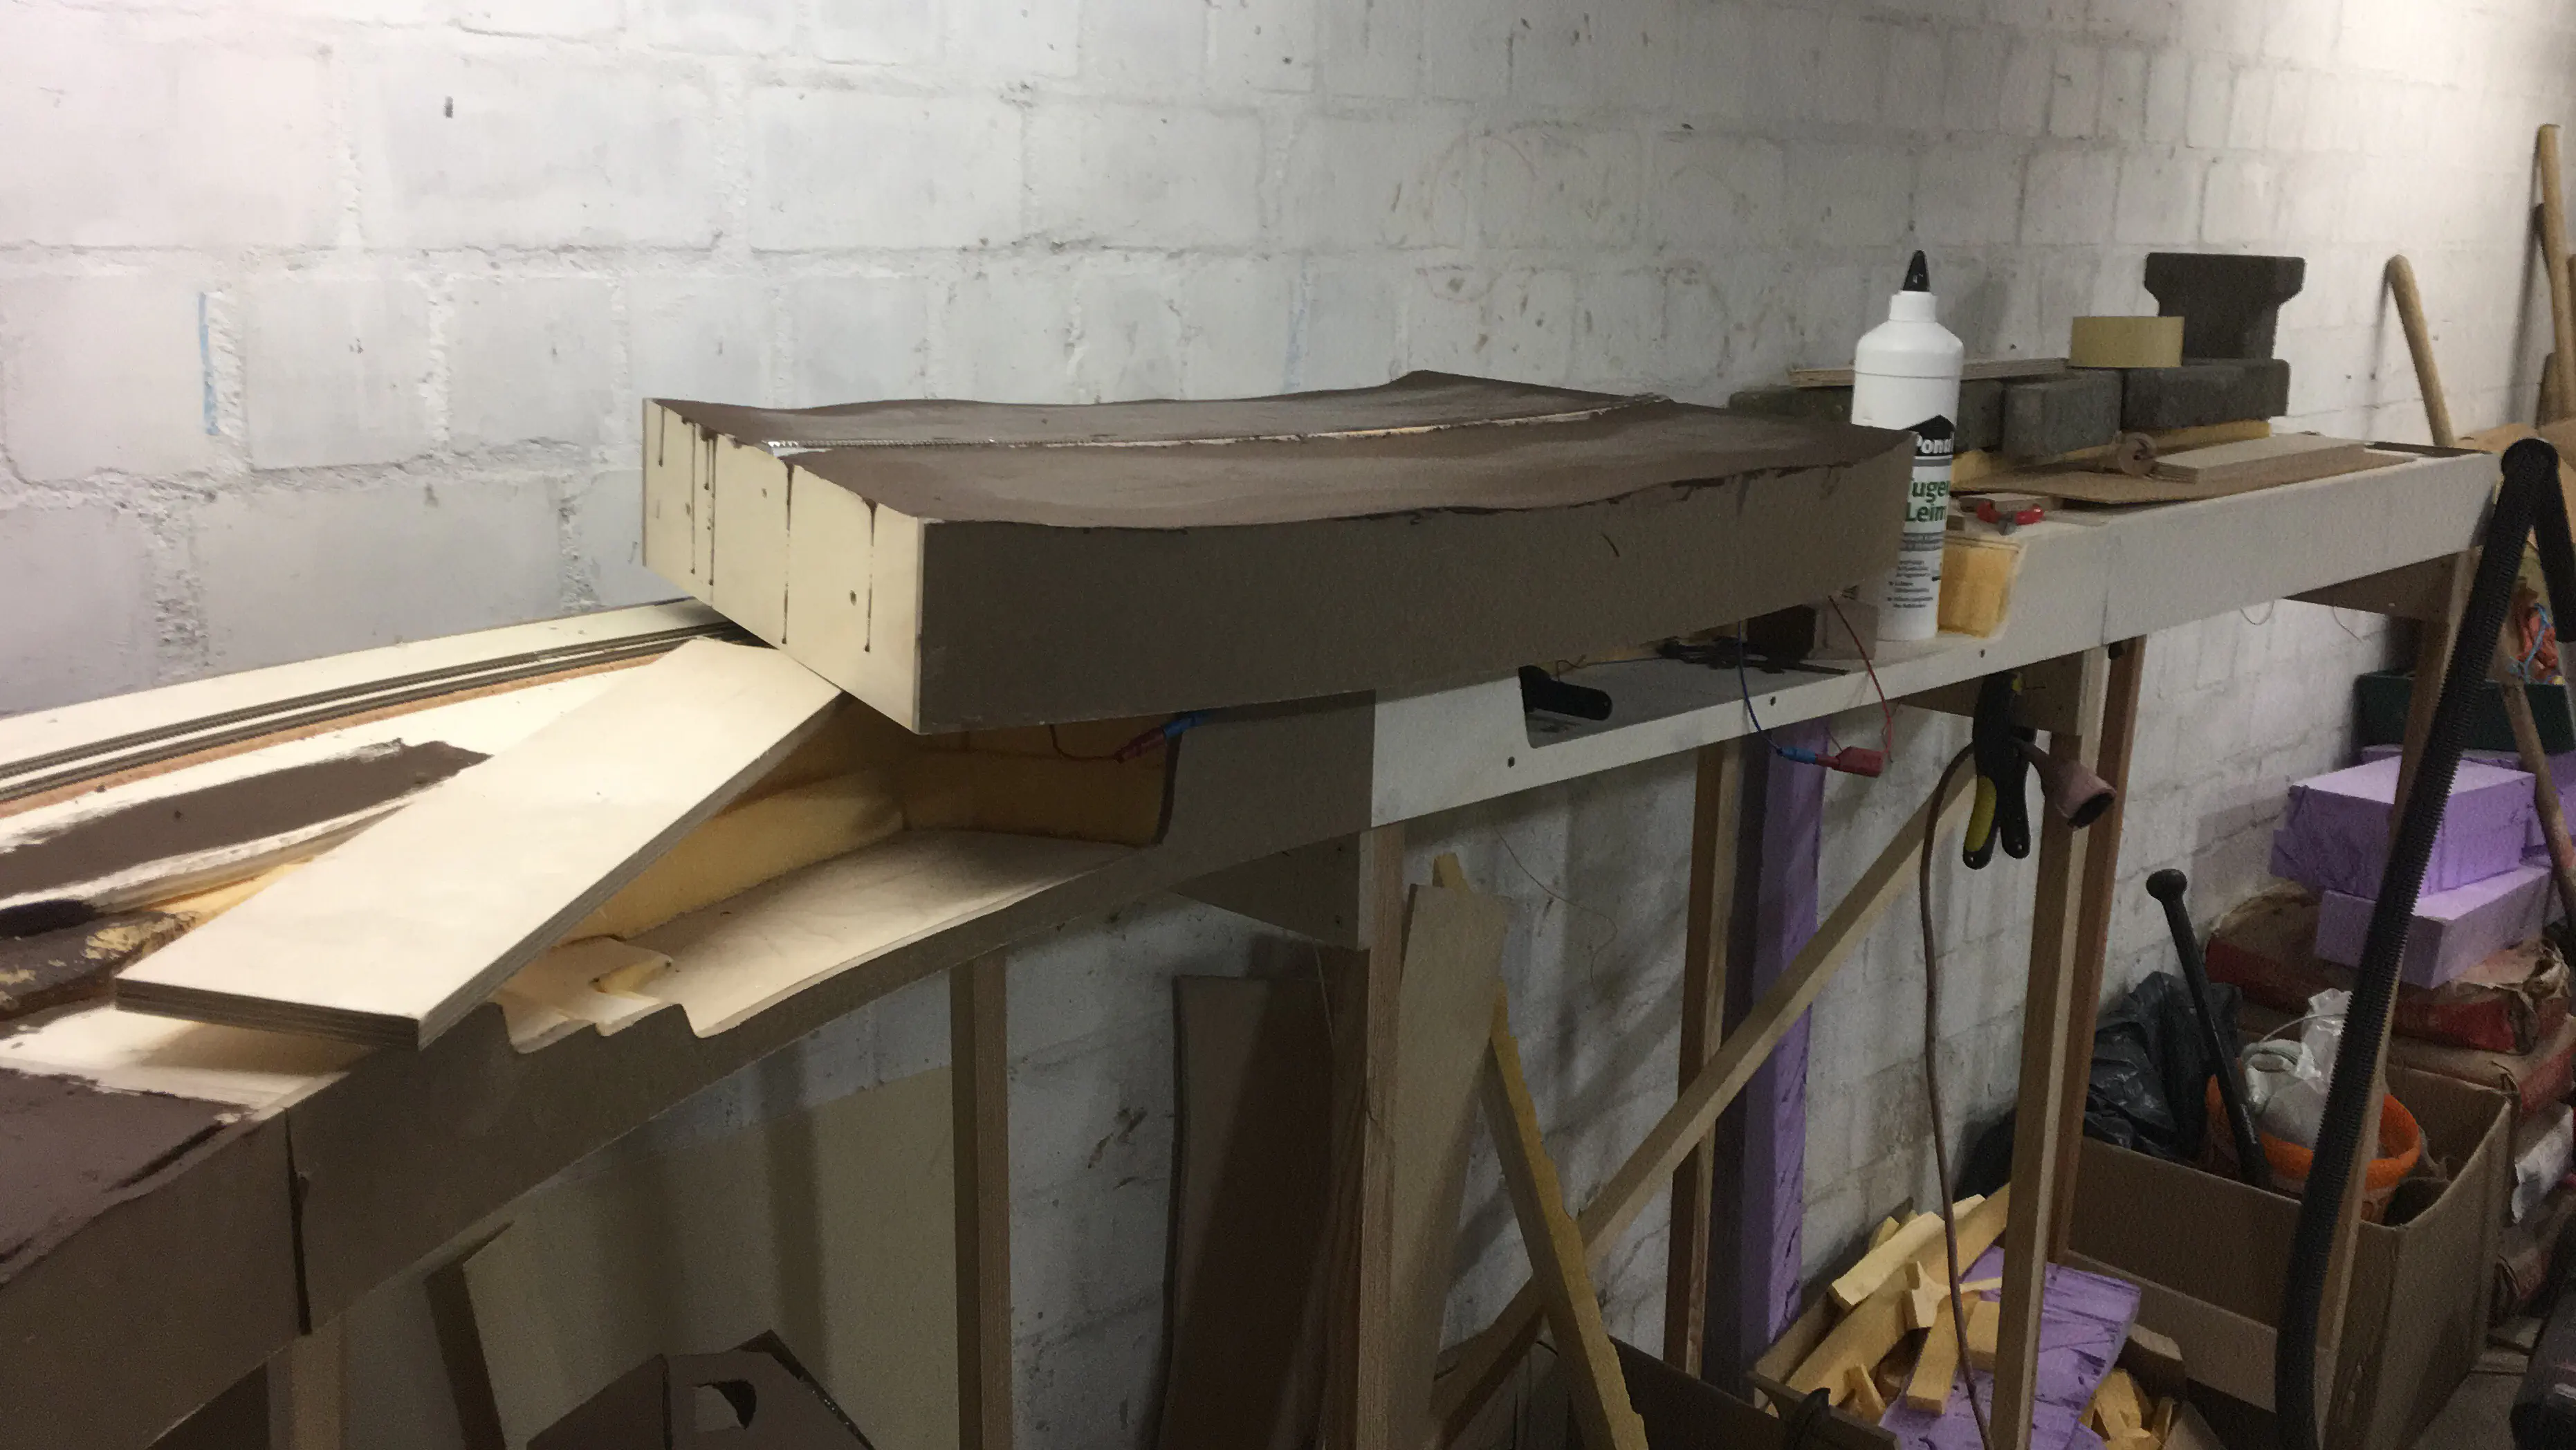
After laying the track I started to create the base of the scenery. As a visual key feature this module should contain flooded quarry pits on two of the segments. A ramp leads from one segment into the first pit on the next segment.
Basic scenery for the quarry.The foam is covered using beige plaster and the bottom of the pits is painted in a color that is not too far away from the prototype. This is the state the module was used on its first meeting, only one week later and another meeting in June.


Building Cascade 3: Adding nature
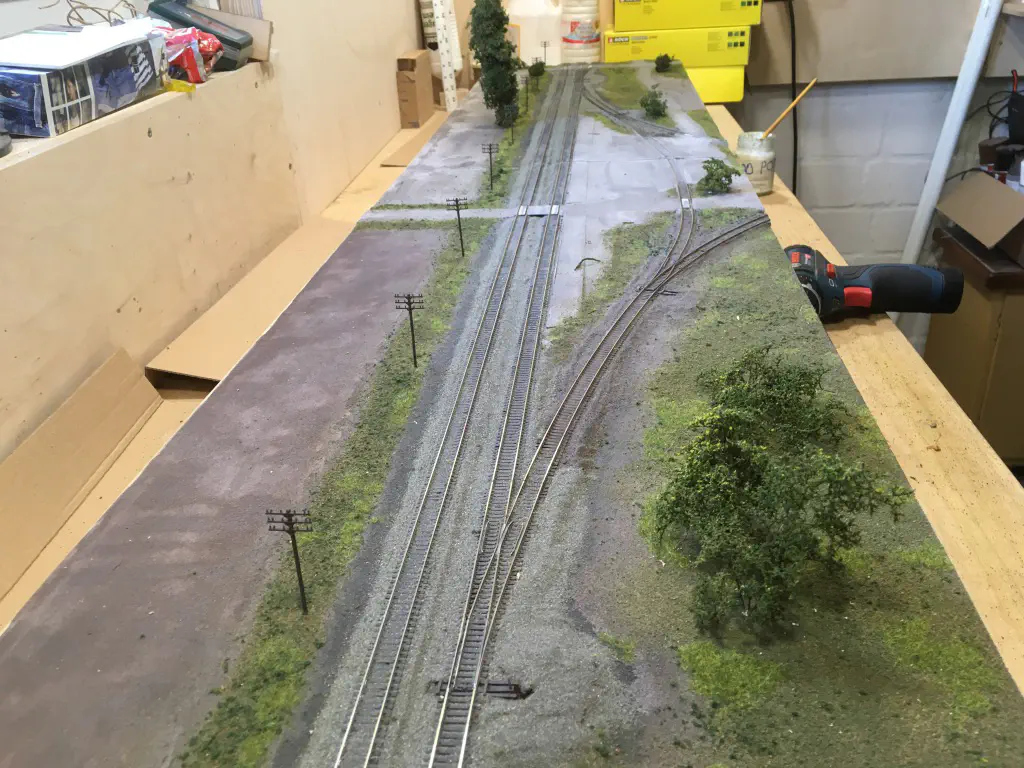
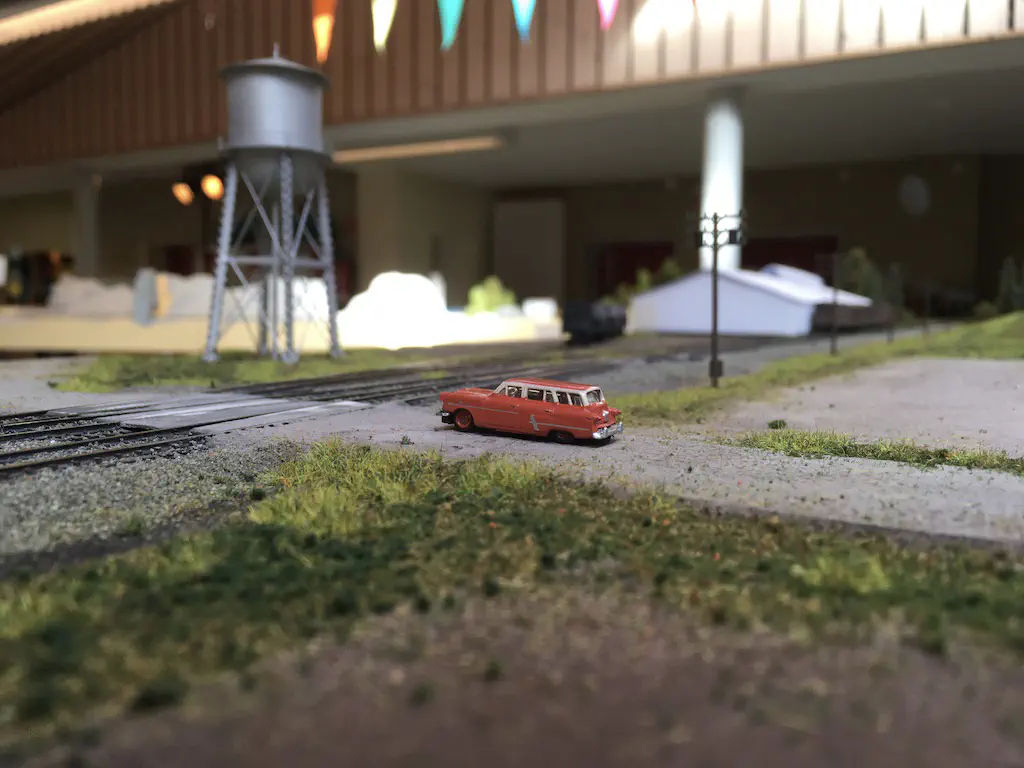
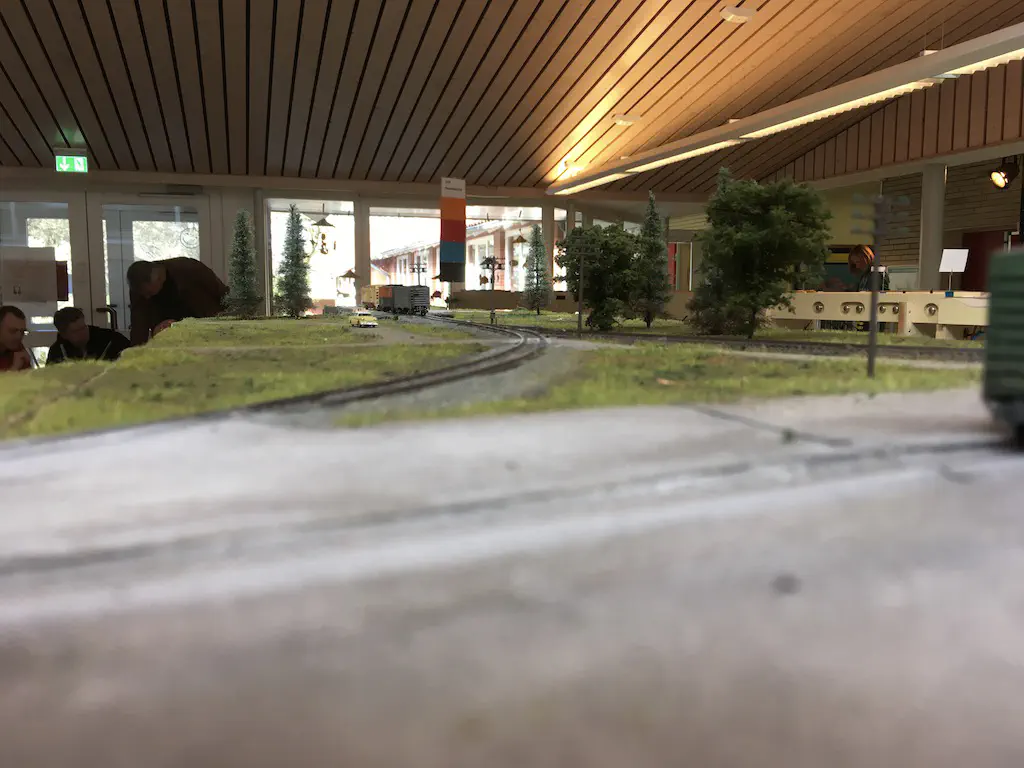
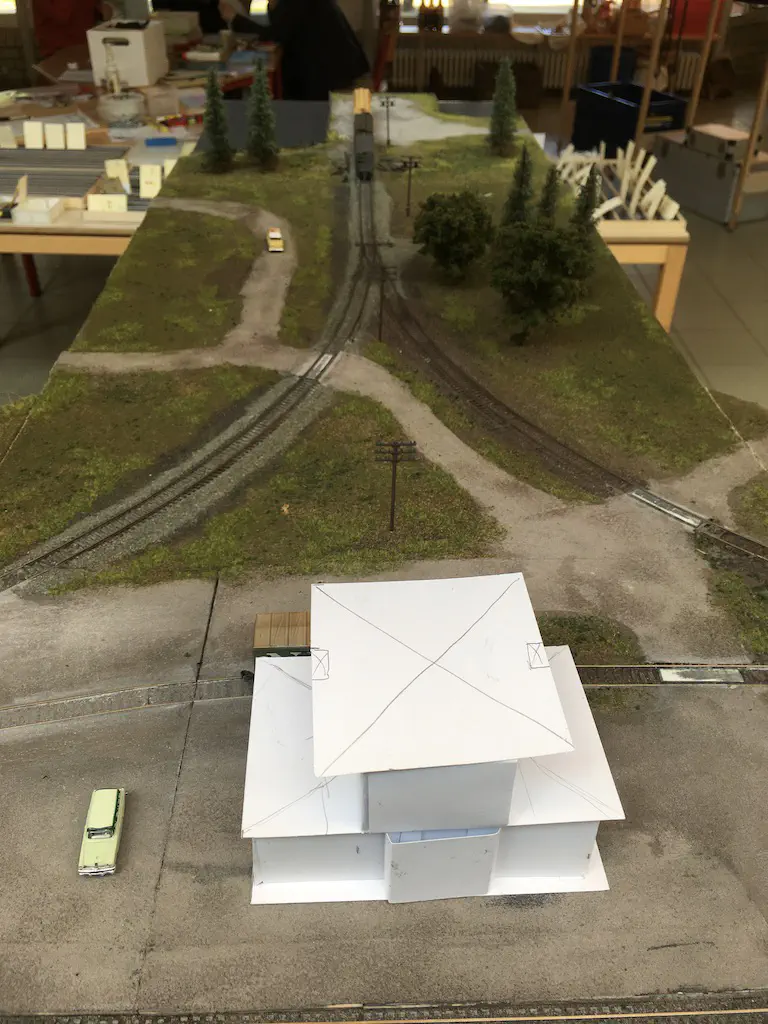
After the successful test of this module I continued on building the scenery. I used static grass and fine turf in various shades to create an interesting structure.
Cascade used in Vögelsen and Waldenburg in 2017.Some areas are still kept free for the structures I intend to add. The key structures have been built as paper mock ups to add a third dimension and give an impression of the future look.


Building Sussex 1: Woodwork
Just line modules, he said.
Last weekend we had a construction meeting. Dirk was so kind to let us occupy is garage and workshop. A few days before I brought my workbench and some power tools and Dirk prepared all the parts we would need.
Dirk hand built a jig to build curved modules and we used it to build curves with a track radius of 160 cm and an angle of 30 °. My son and I built four curved, three 90 cm straight and a 45 cm straight module.
Building Sussex 0: The Inspiration
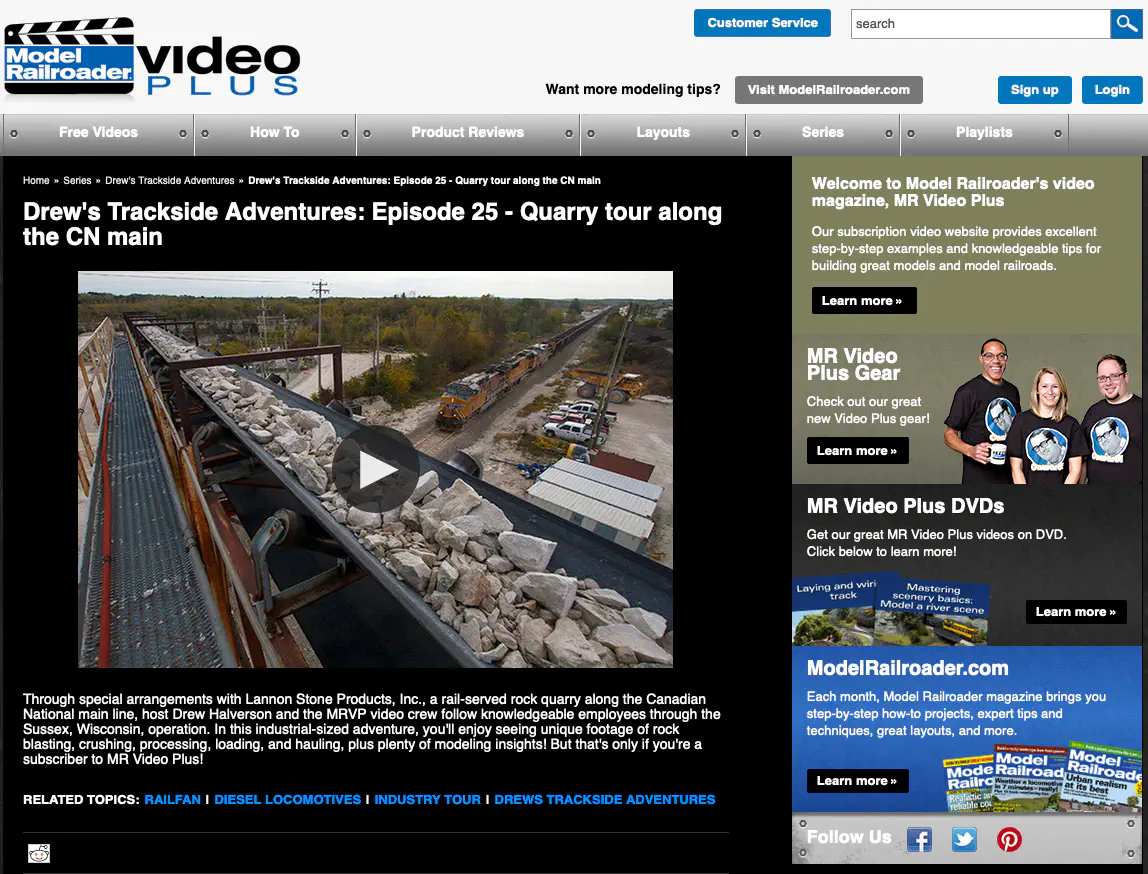
For a long time, I had the idea to build a module with a quarry. Sometimes I just draw a track plan and later look for a matching prototype. This has proven to be very inefficient. The proper way seems to be finding a prototype and creating a concept and track plan to create it as a model. That’s what I did for this module.
The Prototype

Building Cascade 2: Landscaping
After woodworking it was time time to add ballast to the track and cover the plywood pacific with something that does a better job in imitating nature.
First I painted the surface in colors to match the later usage (brown for dirt and grass, gray for gravel and roads). The next layer is sprinkled over most areas with colored, flexible gap filling putty (like Lugato Universal-Fuge-Flexibel). You can get it in different sized bags and multiple colors which can be mixed to create an interesting and varied surface cover. The advantage of this material over normal white plaster is the color. If scenery made of plaster breaks the damage is highlighted by the white color. With colored material damages are not as obvious. And during the transport, setup and break down of modular layouts things break. But most can be fixed.
Building Cascade 1: Woodwork
The whole module required 8 segments. Four straight modules of 90 x 40 cm, two straight 60 x 40 and two curved modules with a track radius of 160 cm at 30 ° each. The total length is about six meters.
The segments are built from 12 mm multiplex birch plywood. The heavy stuff with 6 mm pine plywood on top. I would not use this material for a complete module anymore. It is very sturdy but makes it very heavy.
Selecting a prototype railroad
New scale new prototype. I have started my journey to north american railroads with a lot inspiration from Lance Mindheims books. Thus I was attracted by the modern prototype and CSX Transportation.
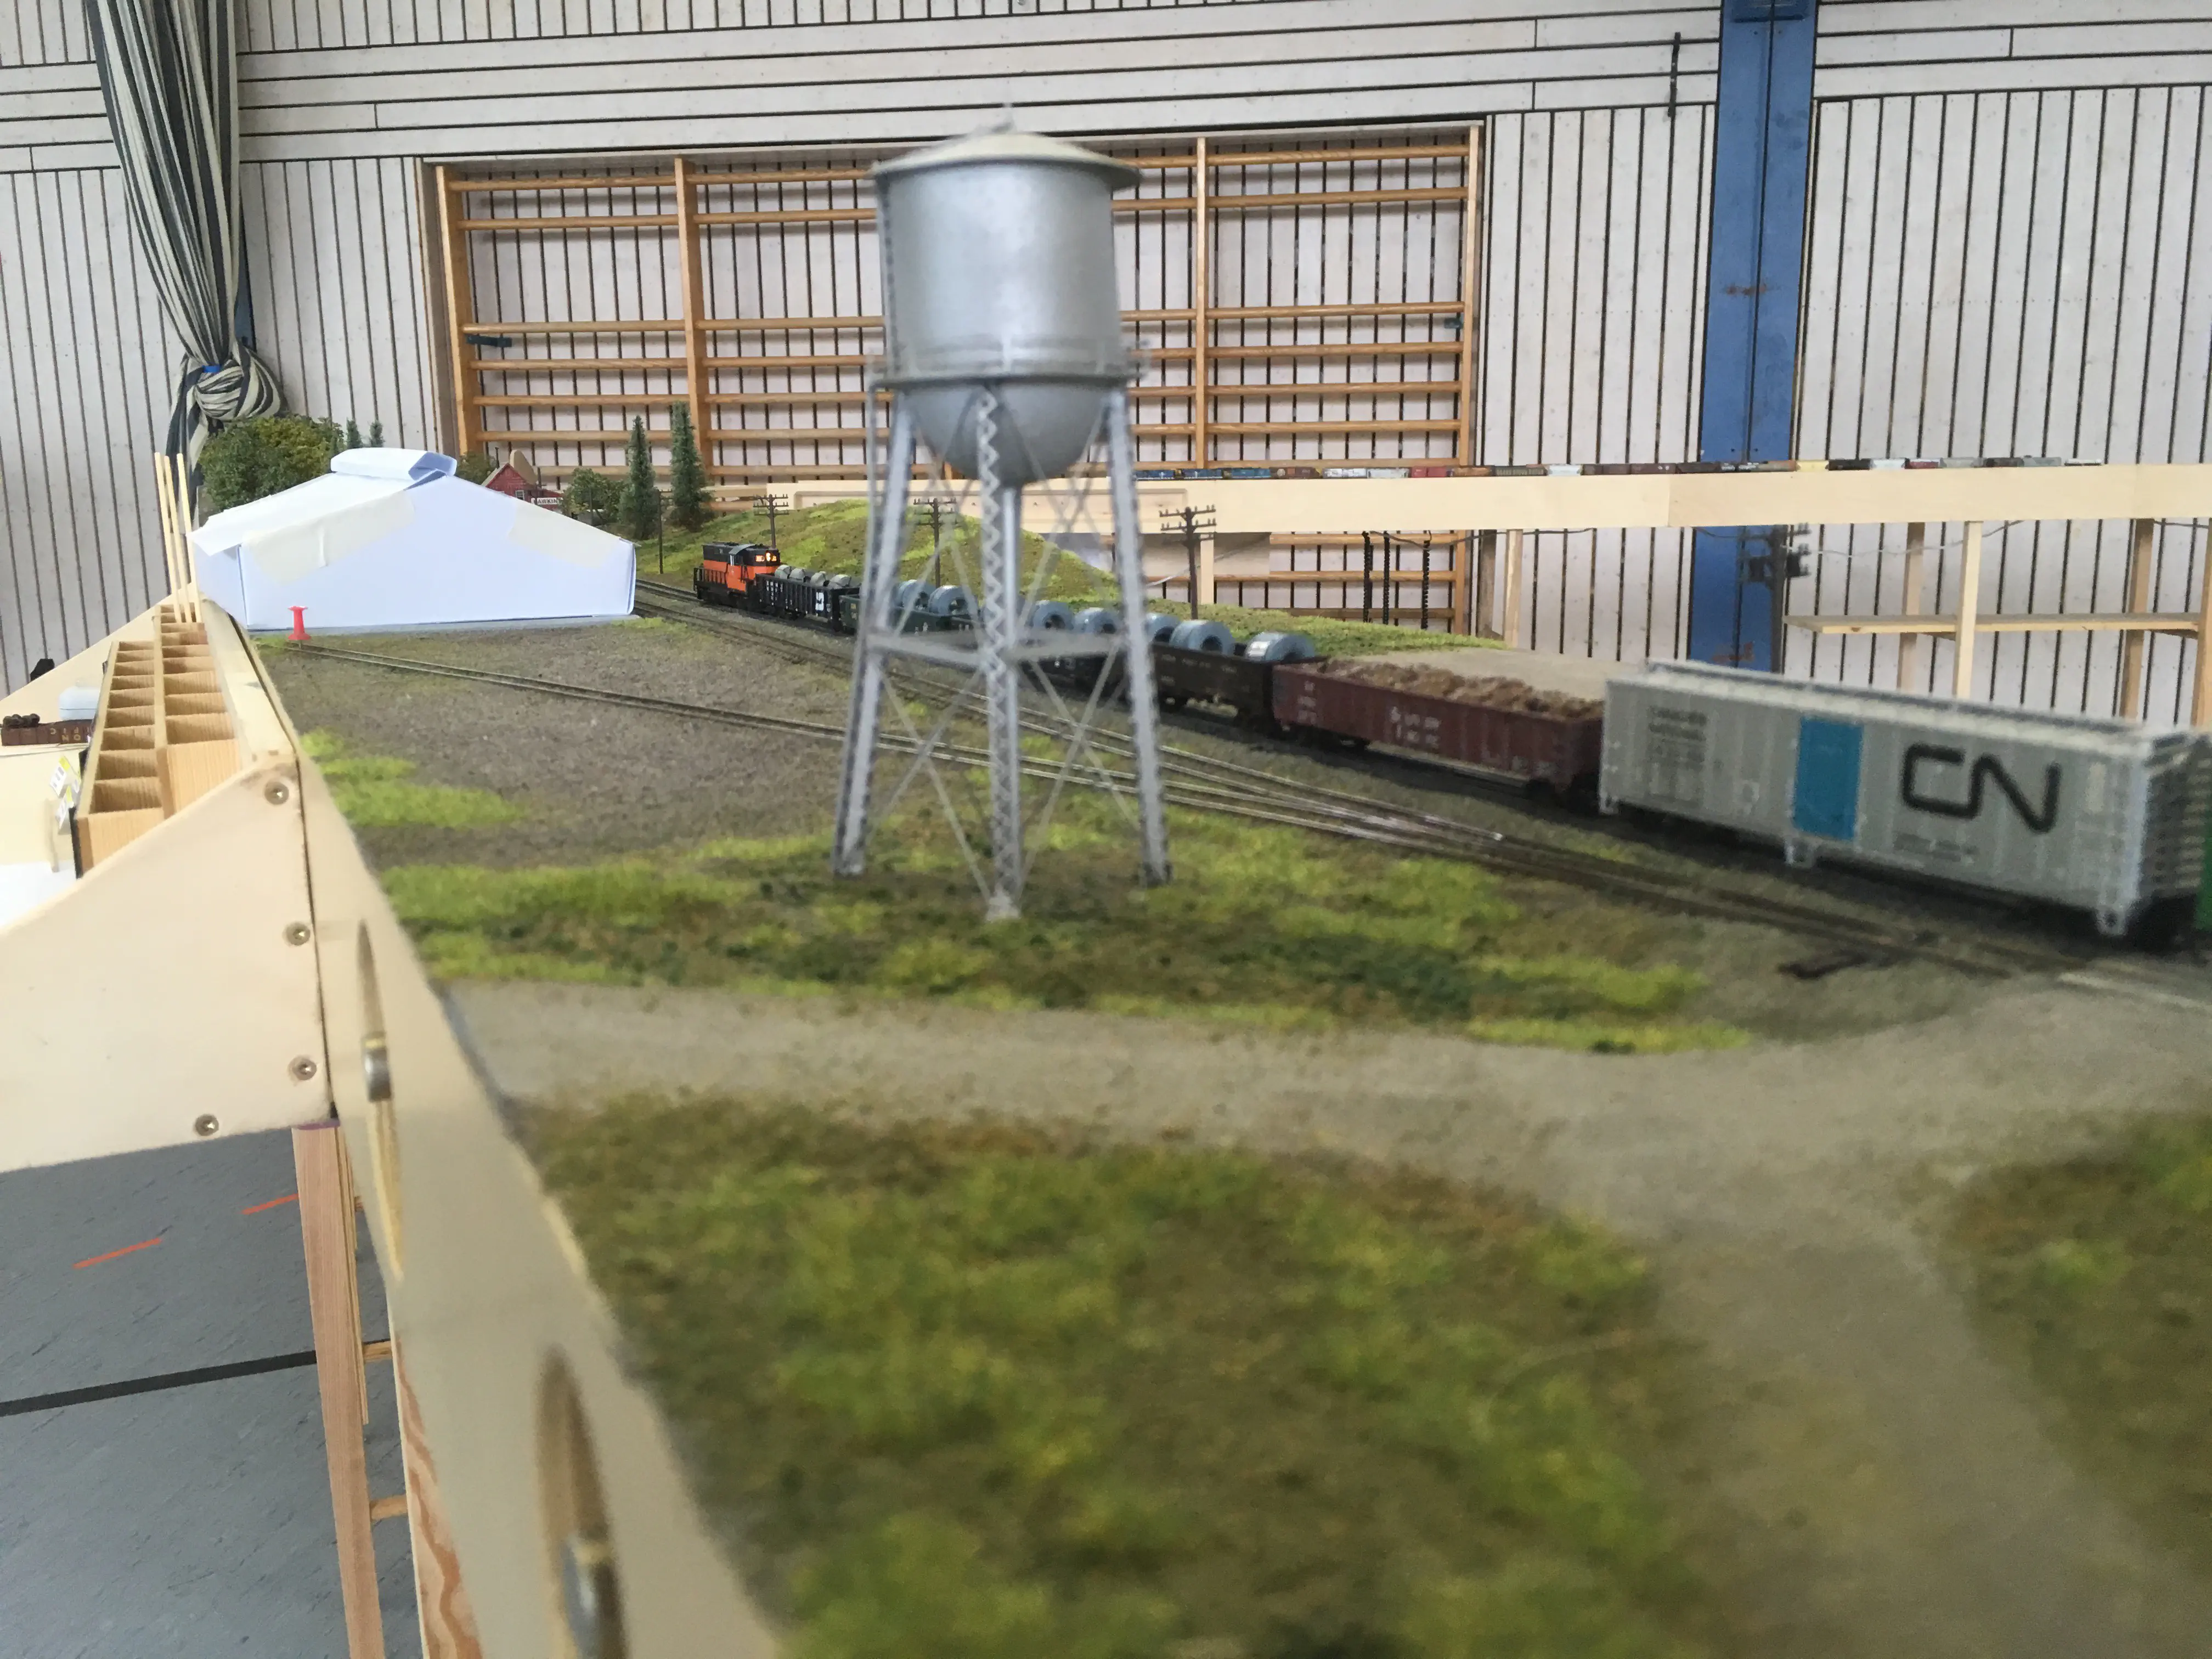
On the FREMO-meeting my son ran switchers in the yard and an Alco RS-1 for the local jobs. My daughter loved running steam locos and waiting for the water to be refilled. So the new timeframe should be right in the transition era, late 1940s to mid 1950s. This allows running steam locomotives besides diesels.
Tipped over
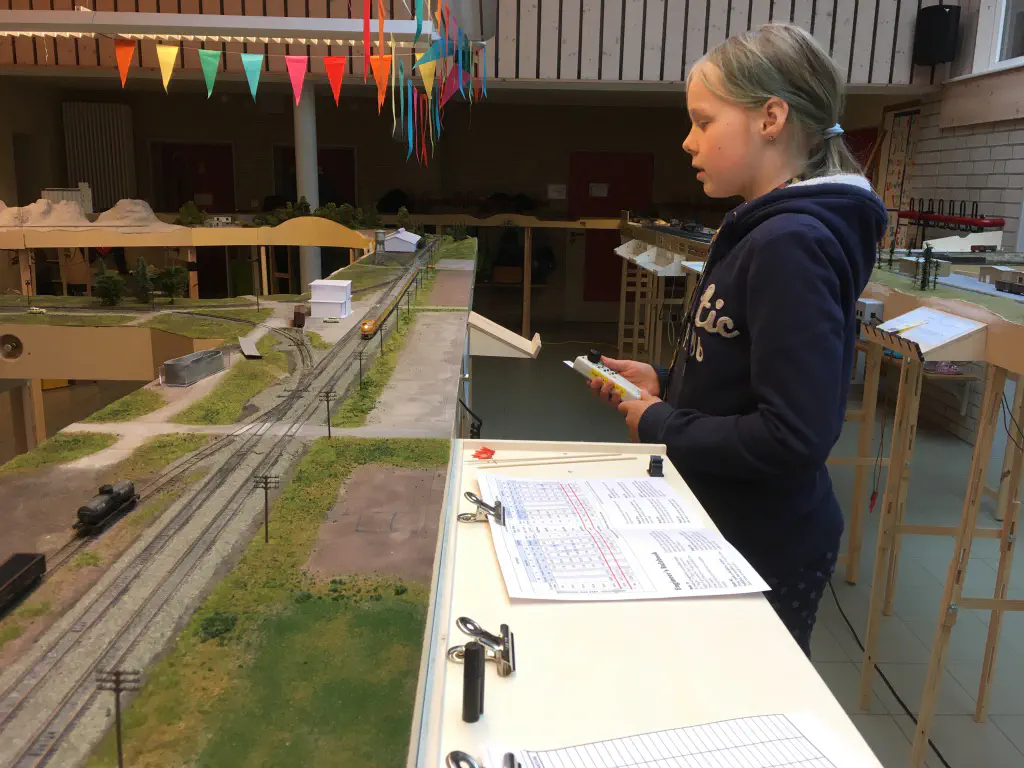
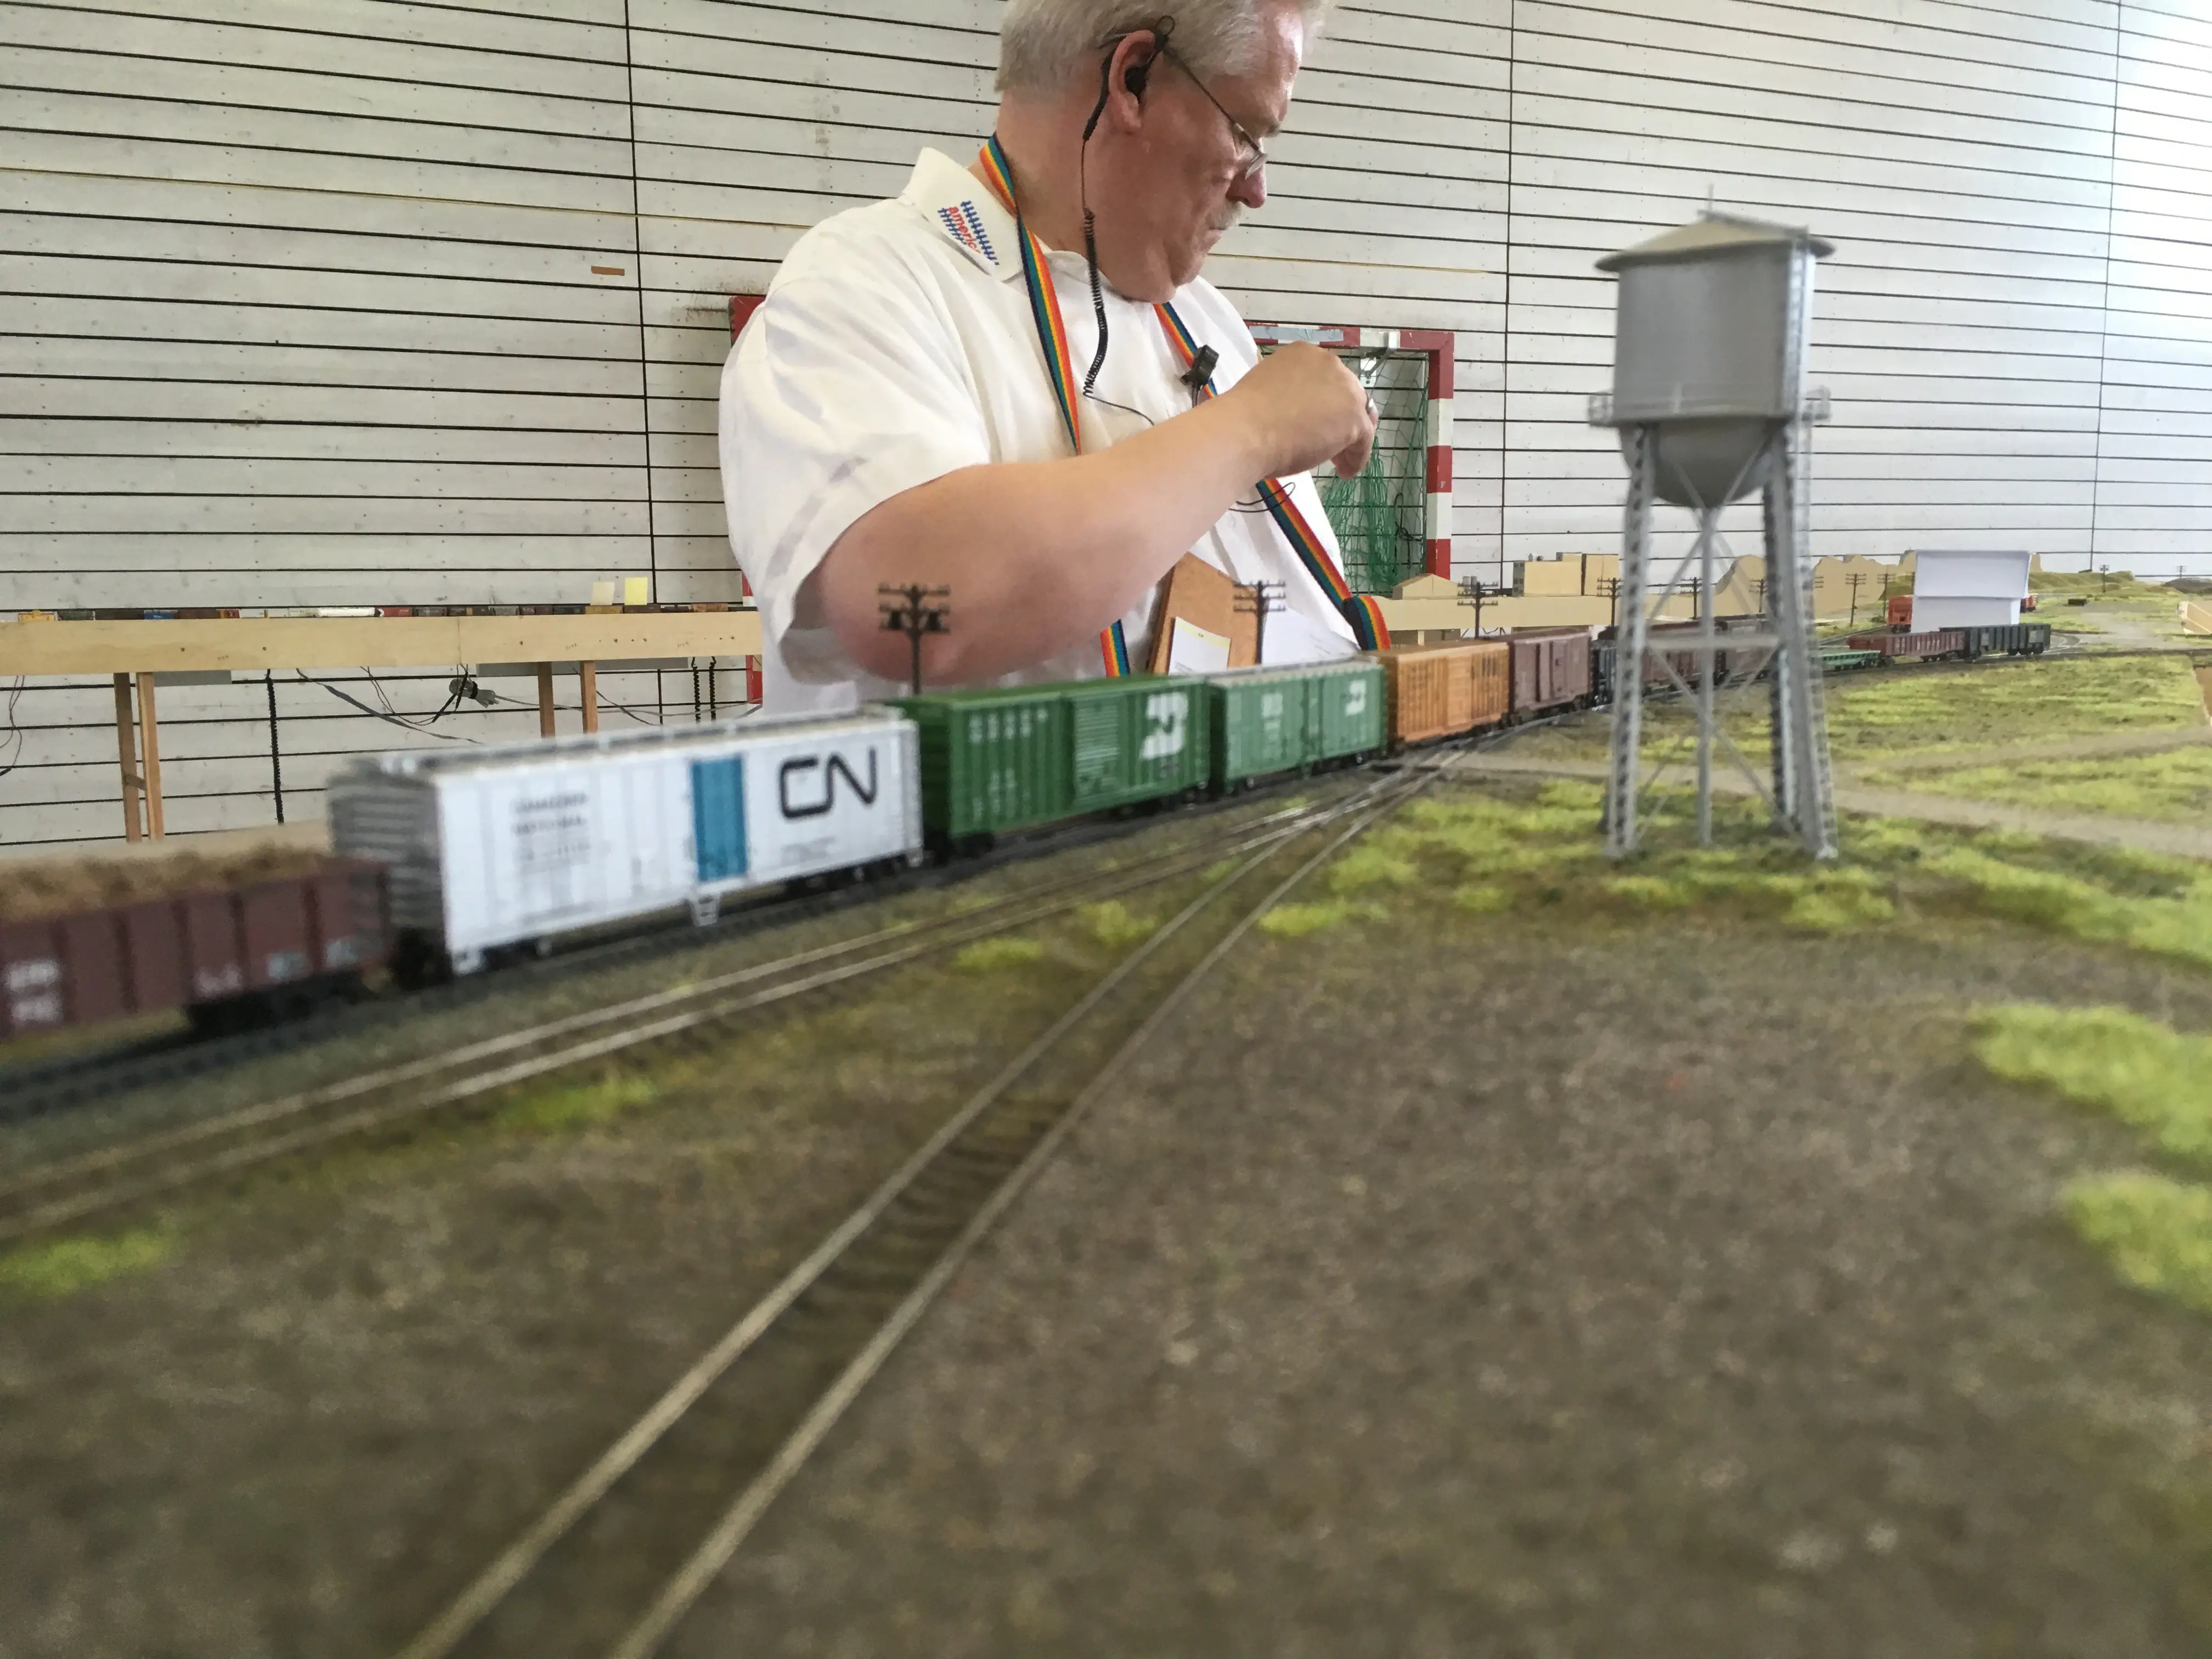
Last weekend my kids and I were guests at a FREMO-meeting of the local americaN-group. The subject of this meeting was set in the early transition era with a focus of steam operations. I’m more into diesels nevertheless it was a lot of fun. We stayed for a little more than four hours. Most of the time we spent holding a throttle and running trains.
My seven year old daughter was a little reluctant and didn’t want to run a train on her own in the first place. After we had completed our first “jobs” she ran a steam powered passenger train from the staging yard into the large yard. I helped her with coupling and operating turnouts and she enjoyed it a lot. Especially filling up the water tanks of the locomotive, which was symbolised with hourglasses: “There is an hourglass that takes five minutes!”