Building Cascade 4: The Depot
By hagen
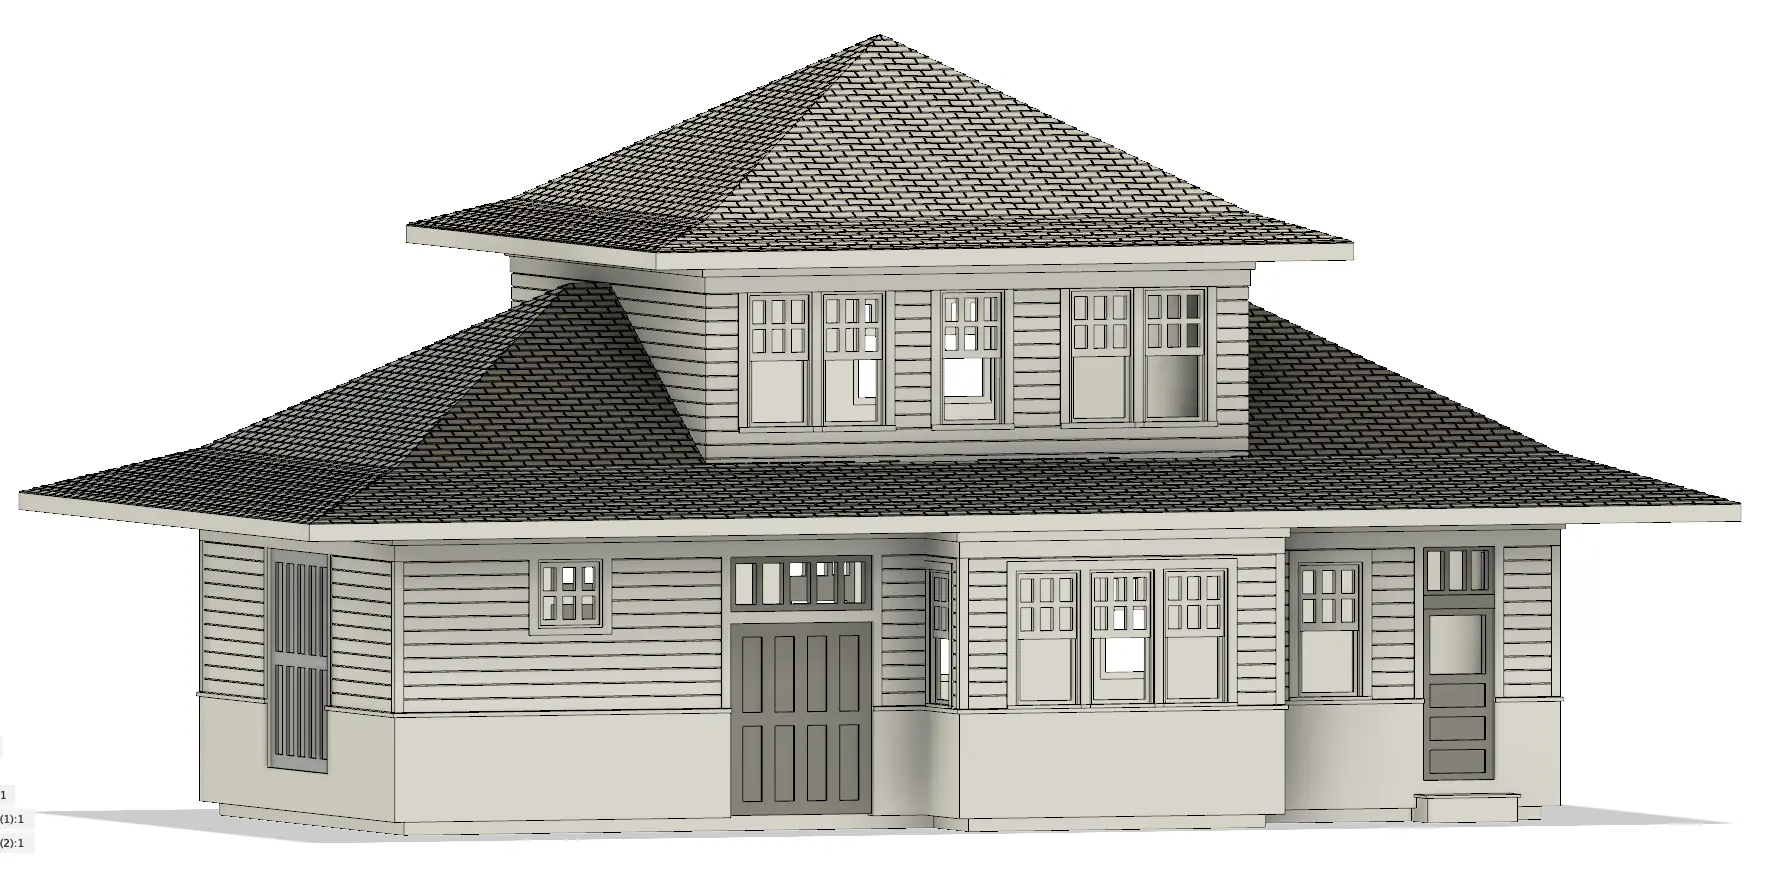
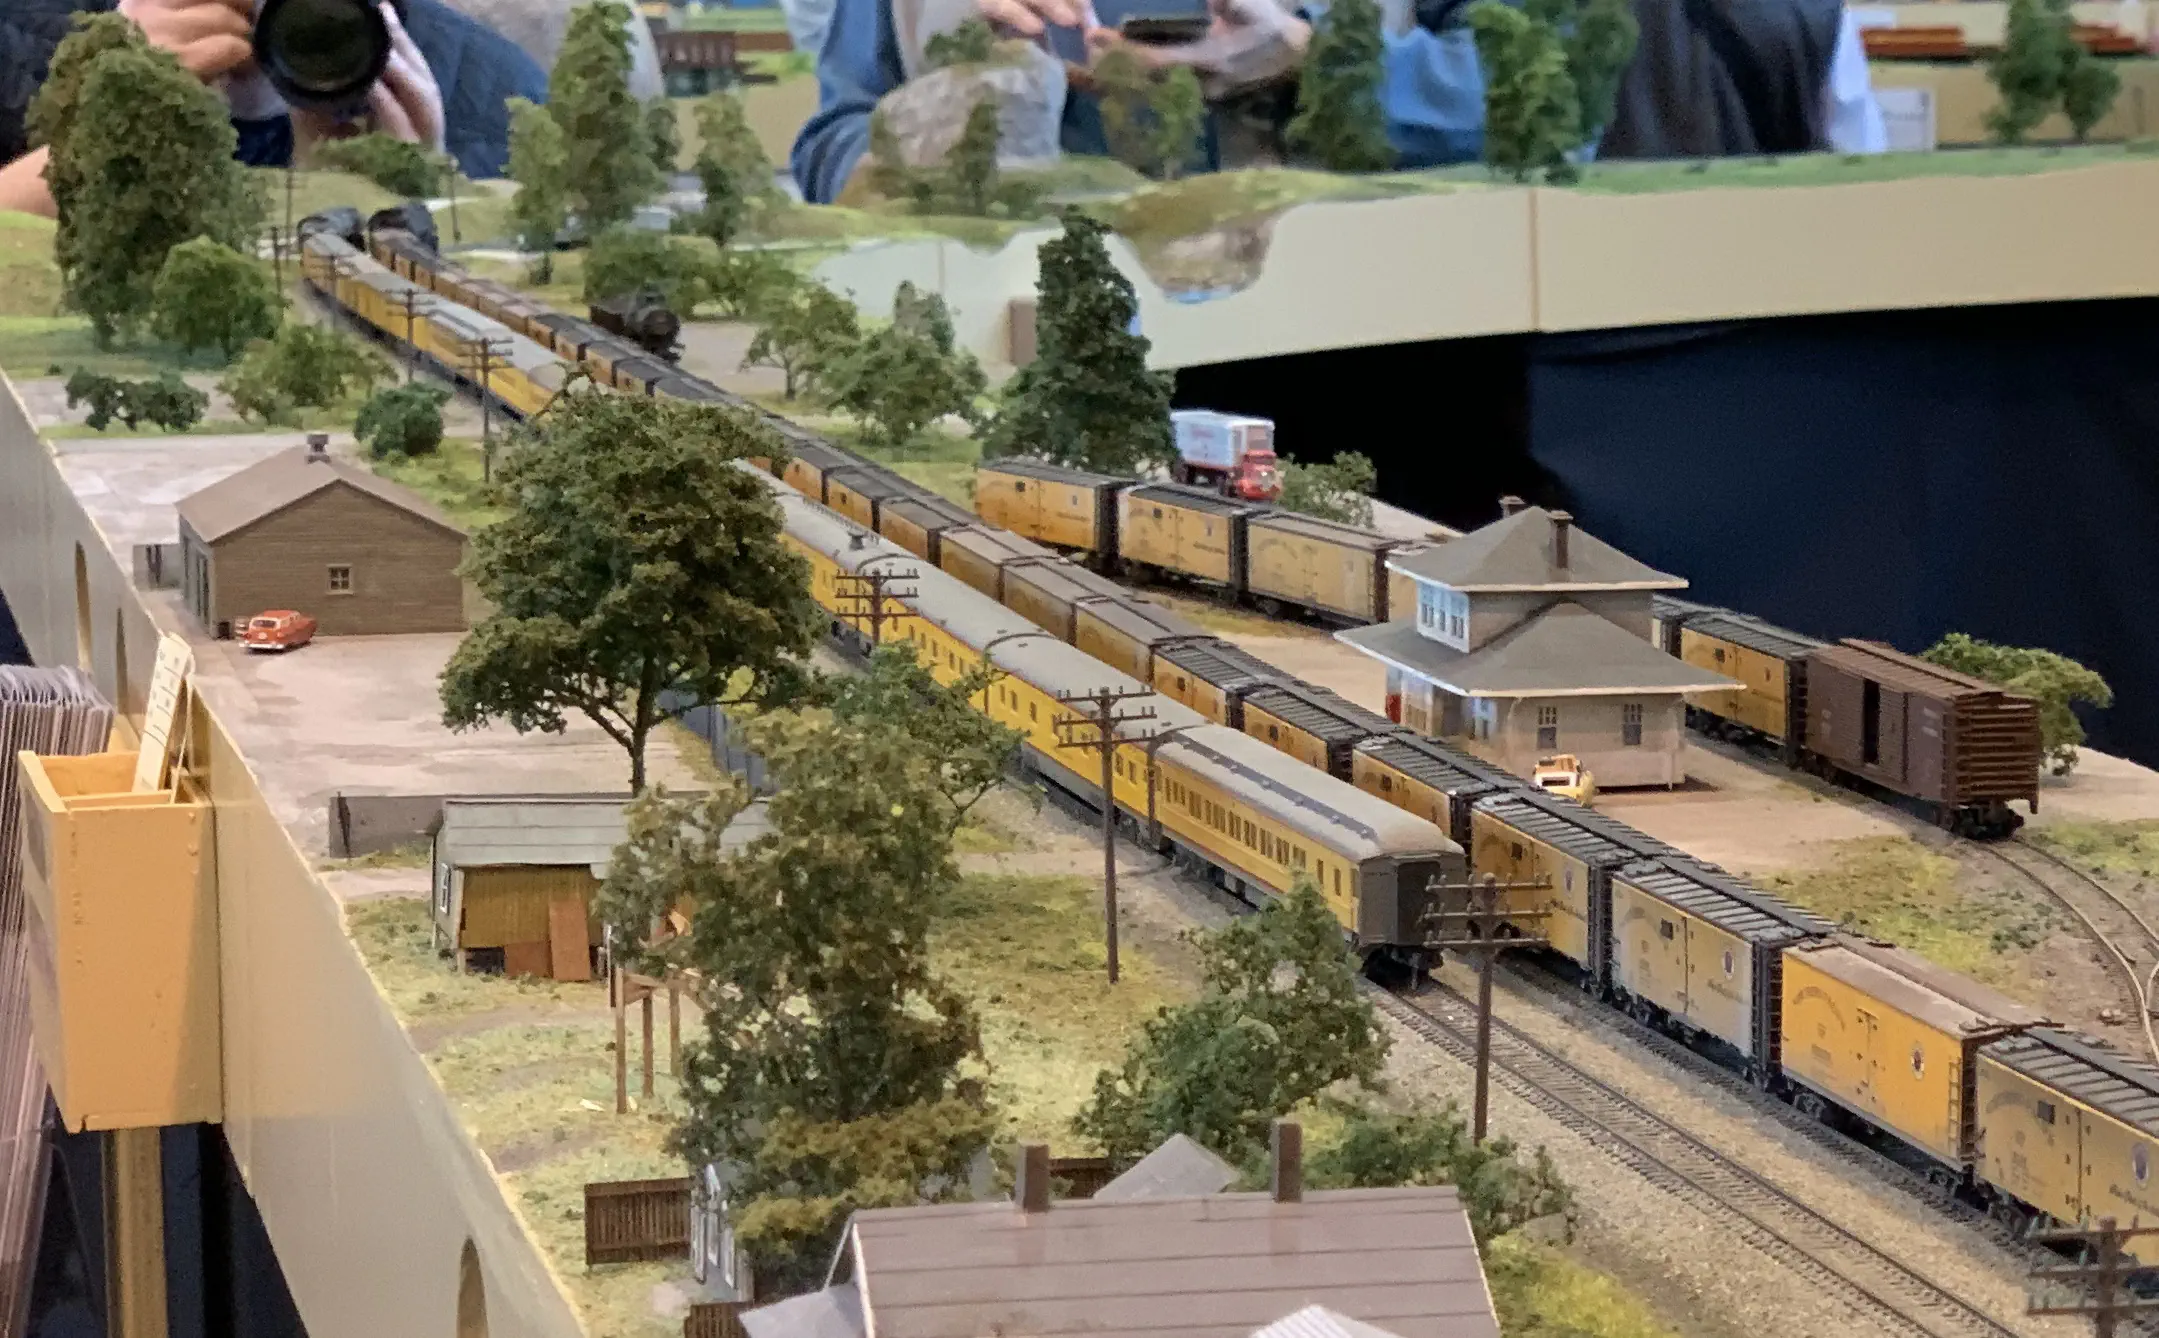
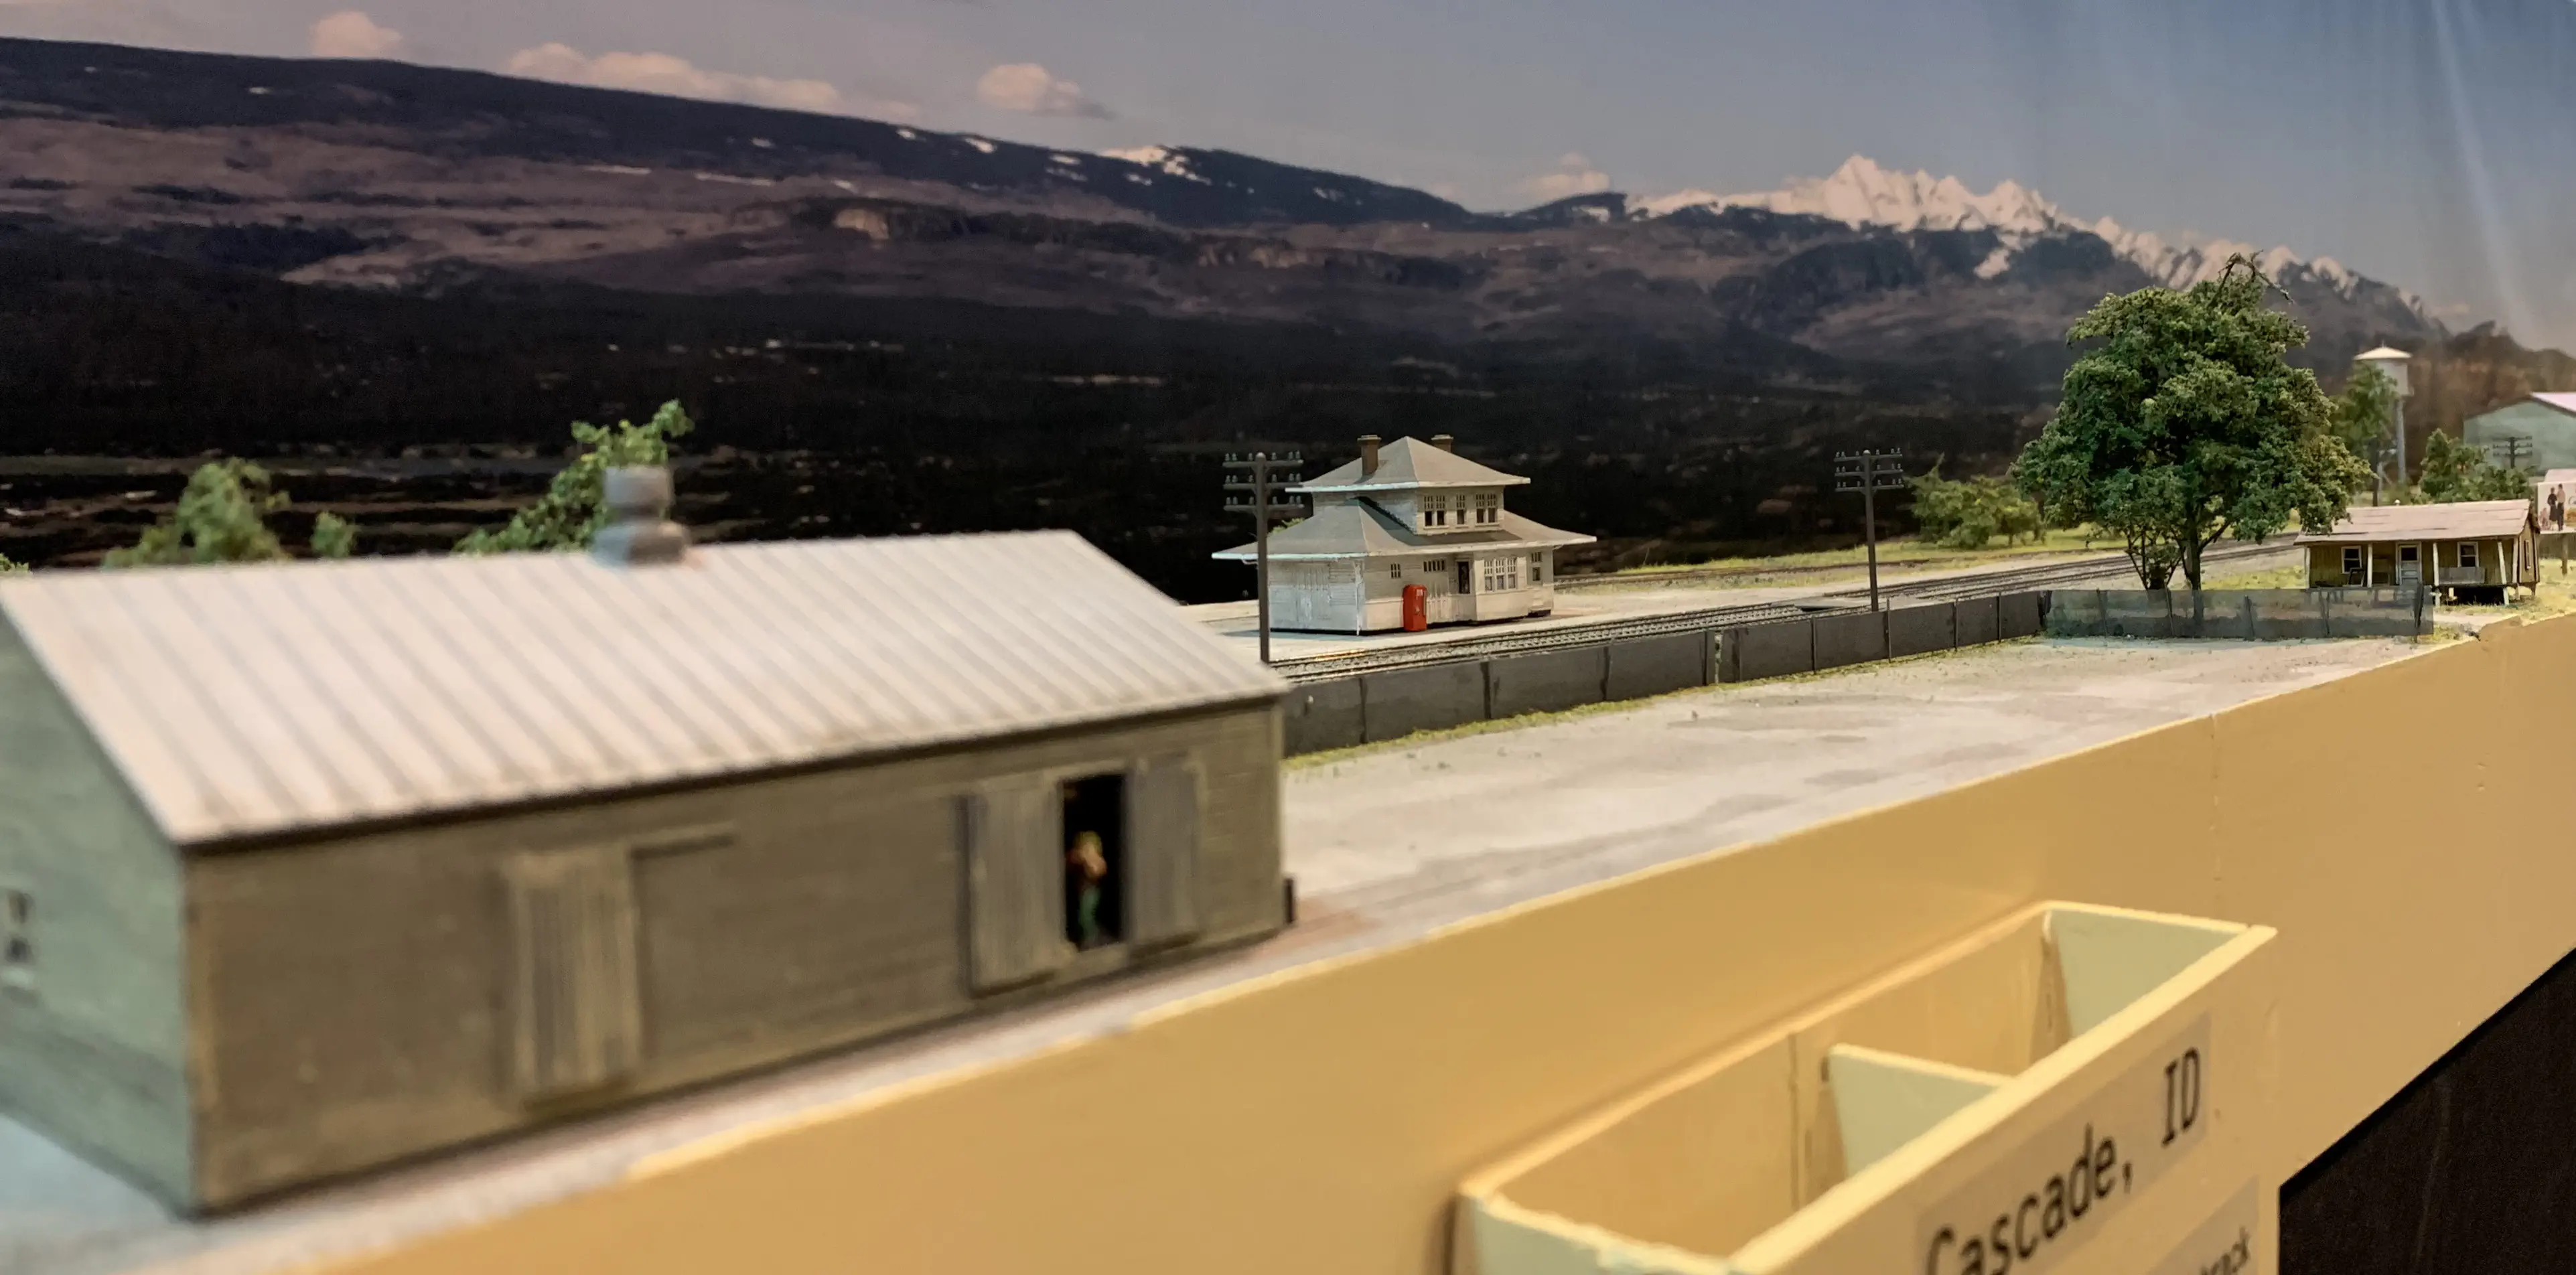
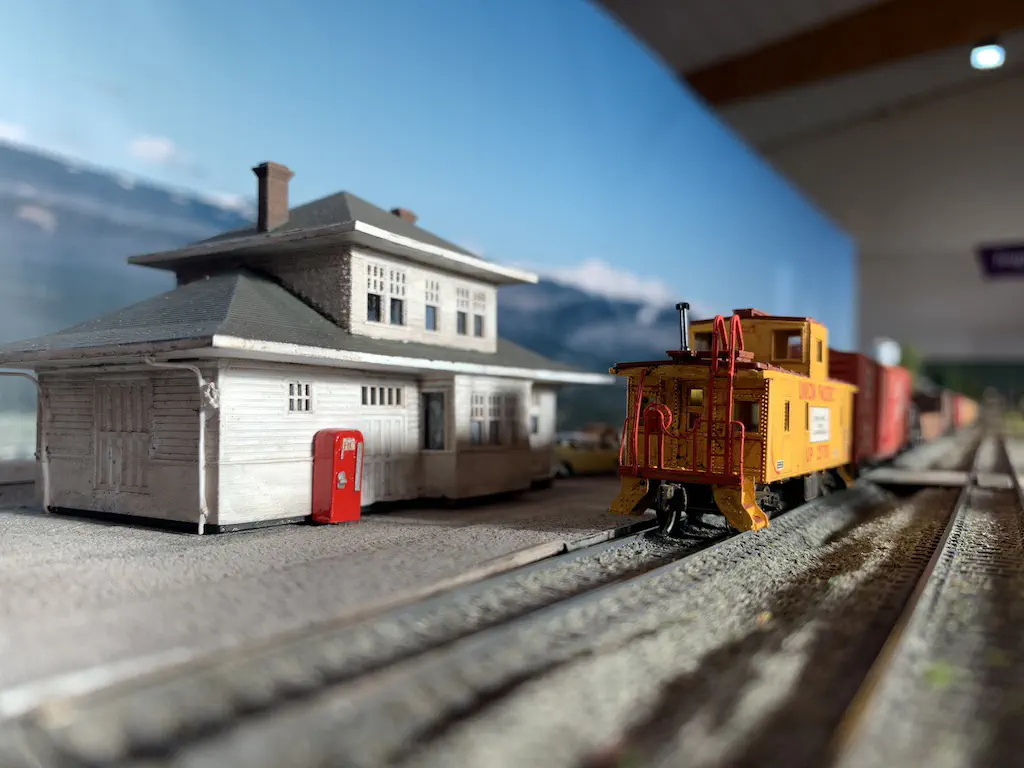
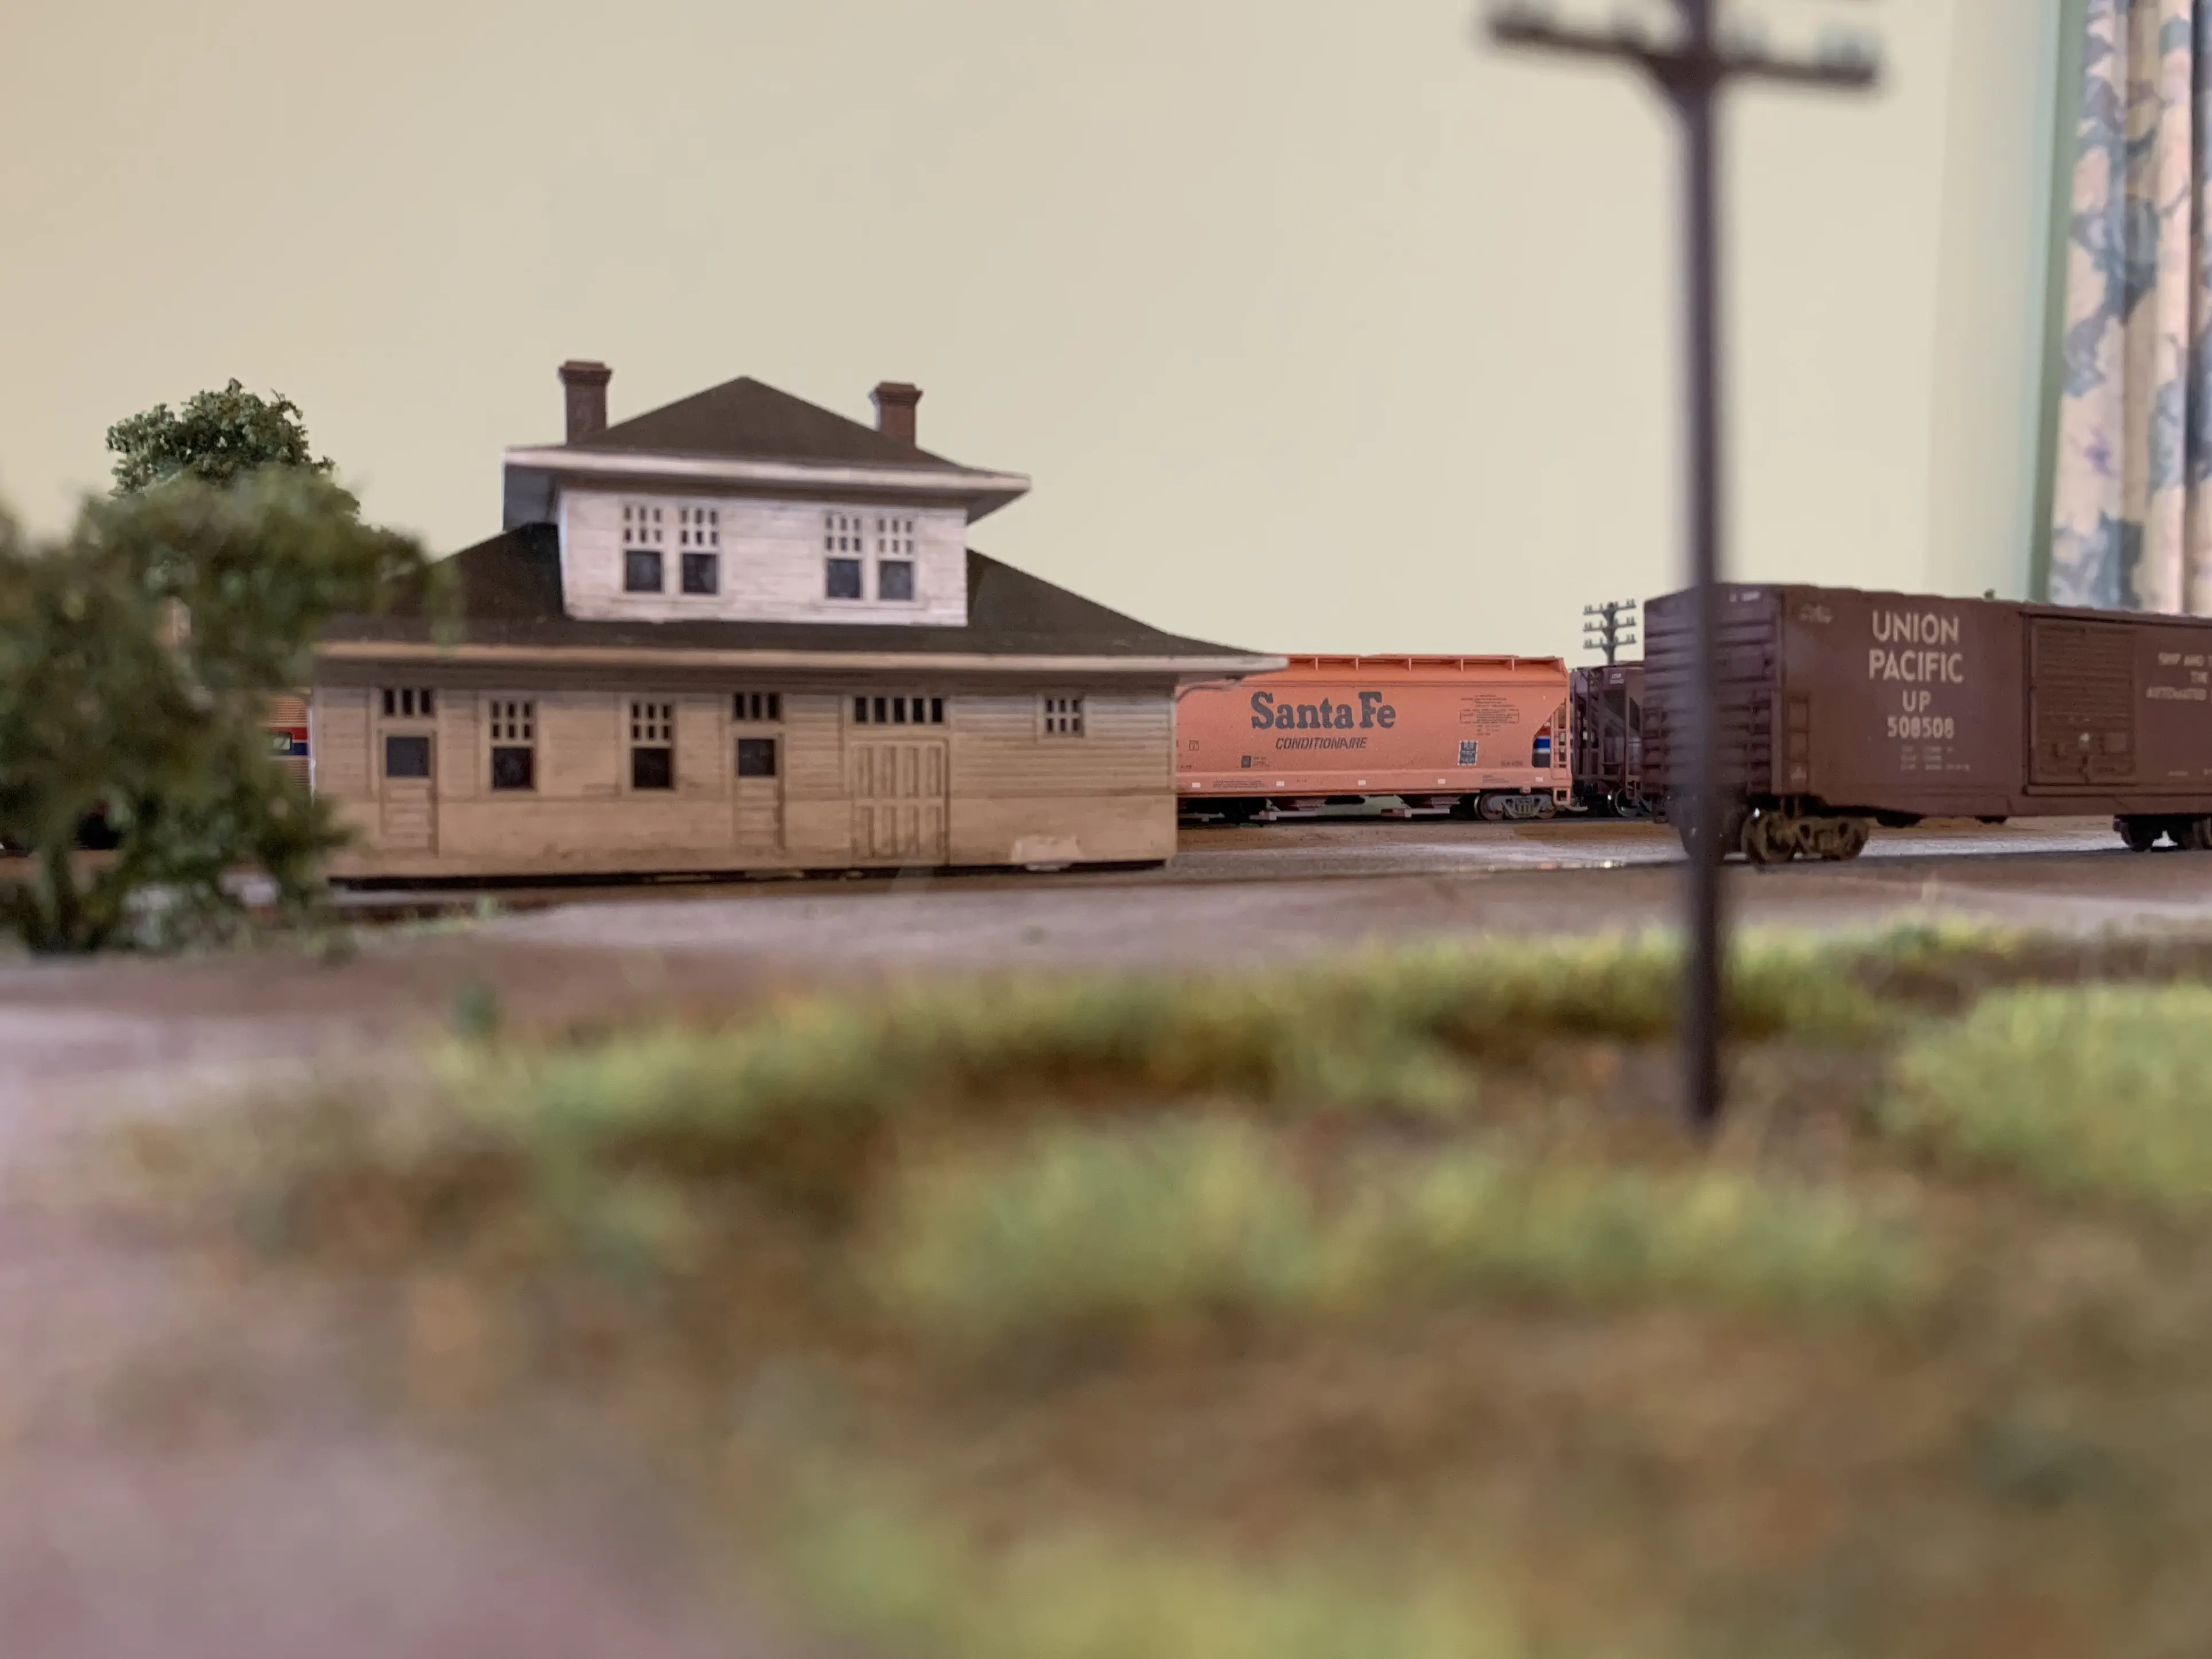
I wanted to capture the look of the prototype as close as possible but I could not find any kit that came close enough. So I decided to create the depot my self. I constructed it in 3D CAD and got it printed by Shapeways.
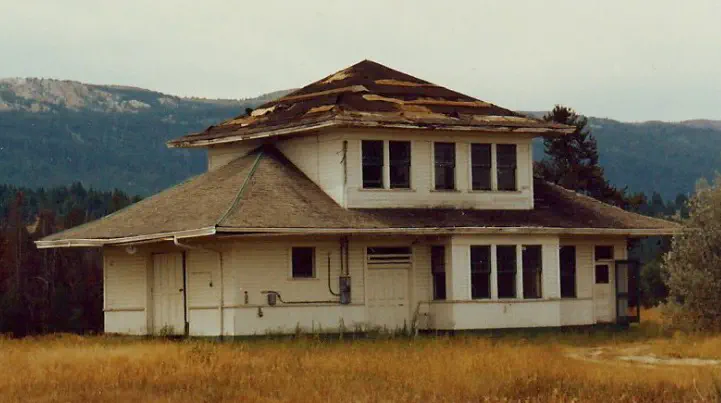
The Depot was built in 1914 for the Oregon Shortline Railroad. It functioned as a freight room, baggage and ticket office, and waiting room as well as a second story home for the station agent. It was moved from its original site in 1986.
About the depot, YWAM
To find out more about the current use of the Depot, visit the website of the YWAM Idaho.
To create a scale model of the Depot, I needed some measurements. As I could not find any plan for this specific type of depot, I used photos and Google Maps as a reference. Also the photos I found at that time only showed the front and the left of the depot. So I searched for similar Depots in other locations. In the end I decided to create the drawing based on the observations I could make there.
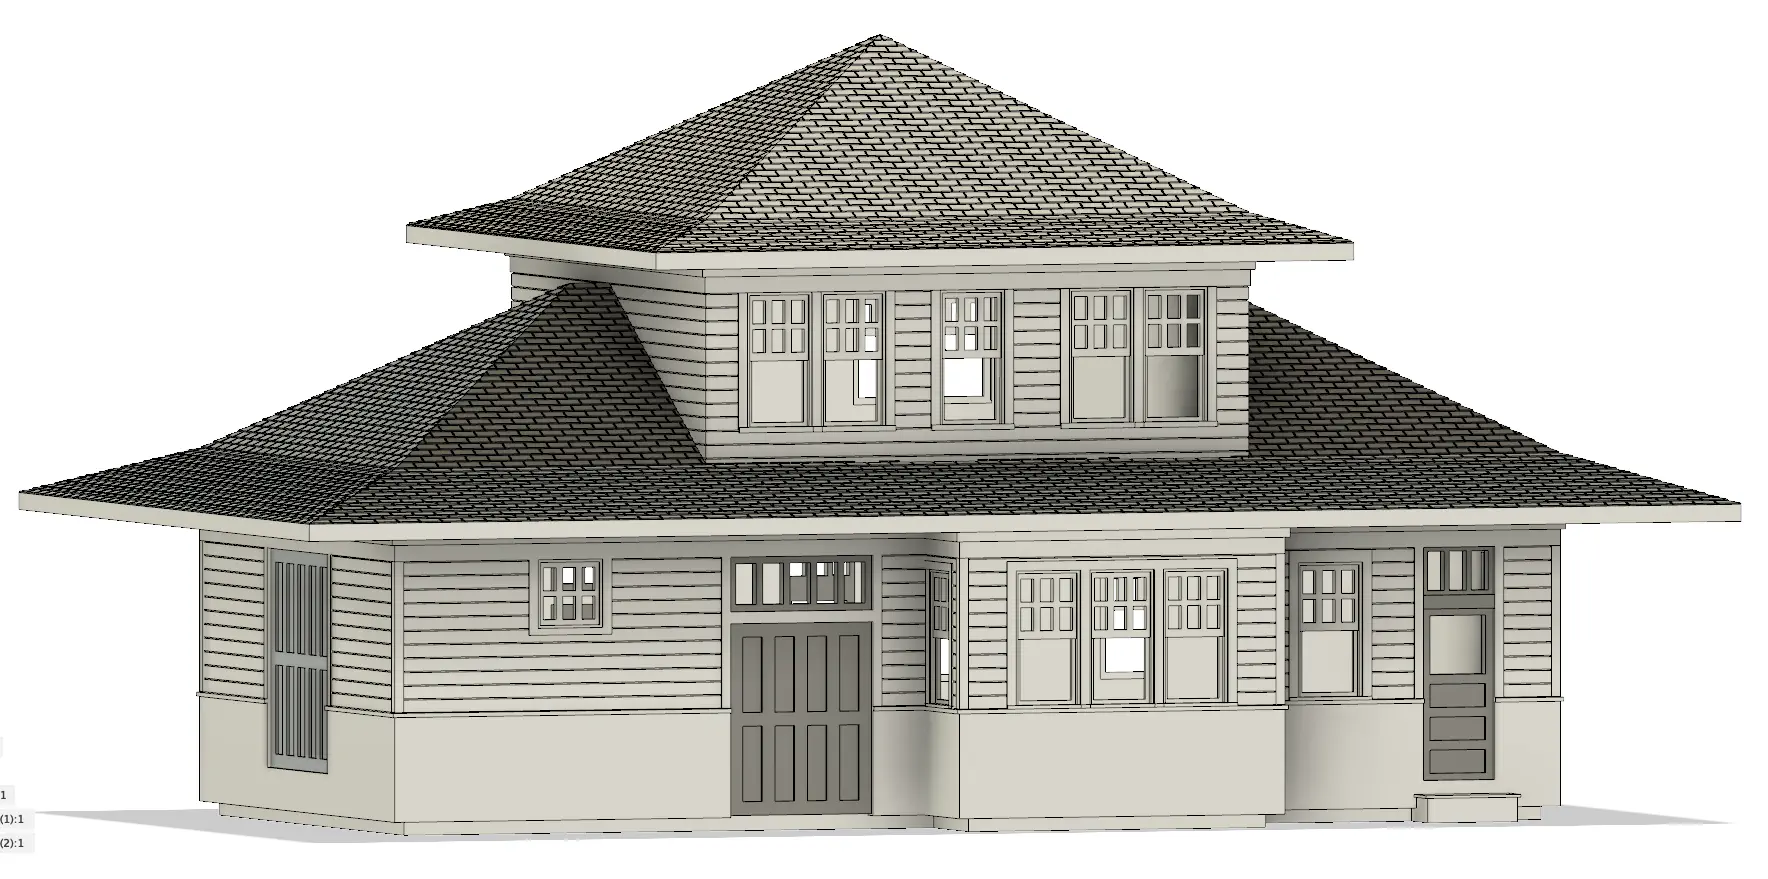
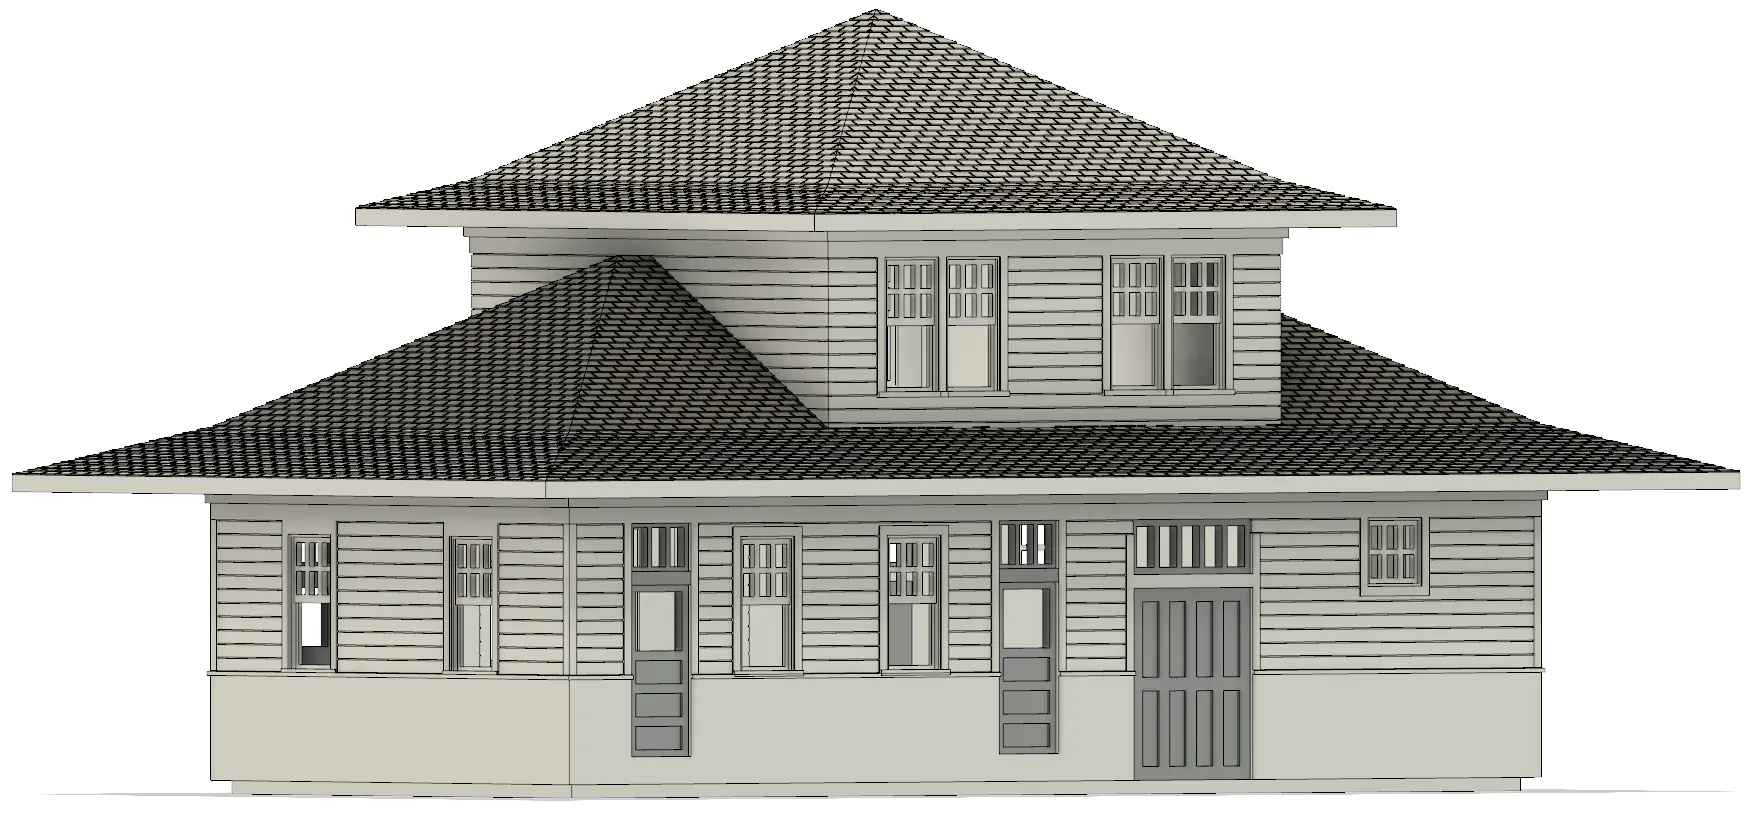
I used Autodesk Fusion 360, which at that time was freely available for personal use. It took about two weeks to find the measurements and get enough experience in Fusion 360 to complete the task. The last element I created was the roof. The final version contains about 30.000 shingles and my computer was mad at me. Every movement of the model took several minutes to complete. But finally it was complete.
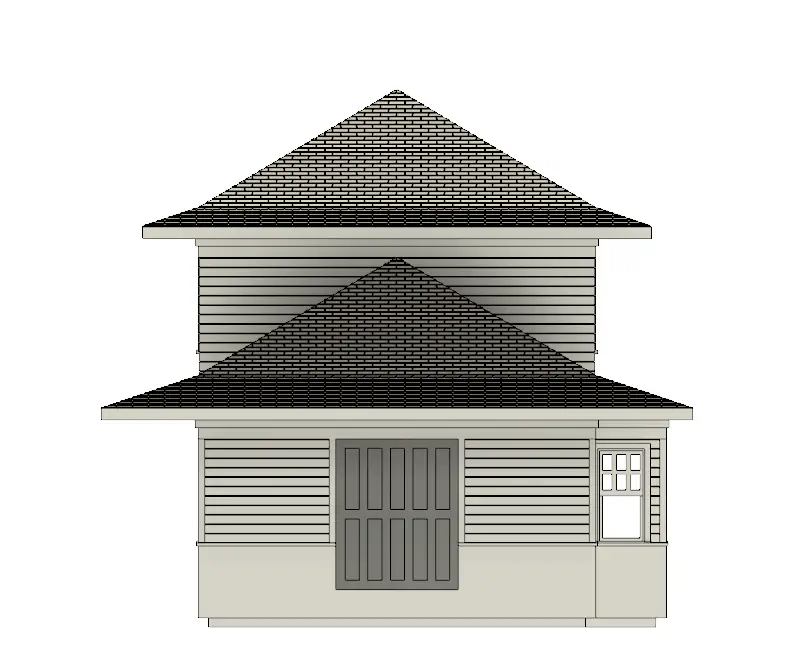
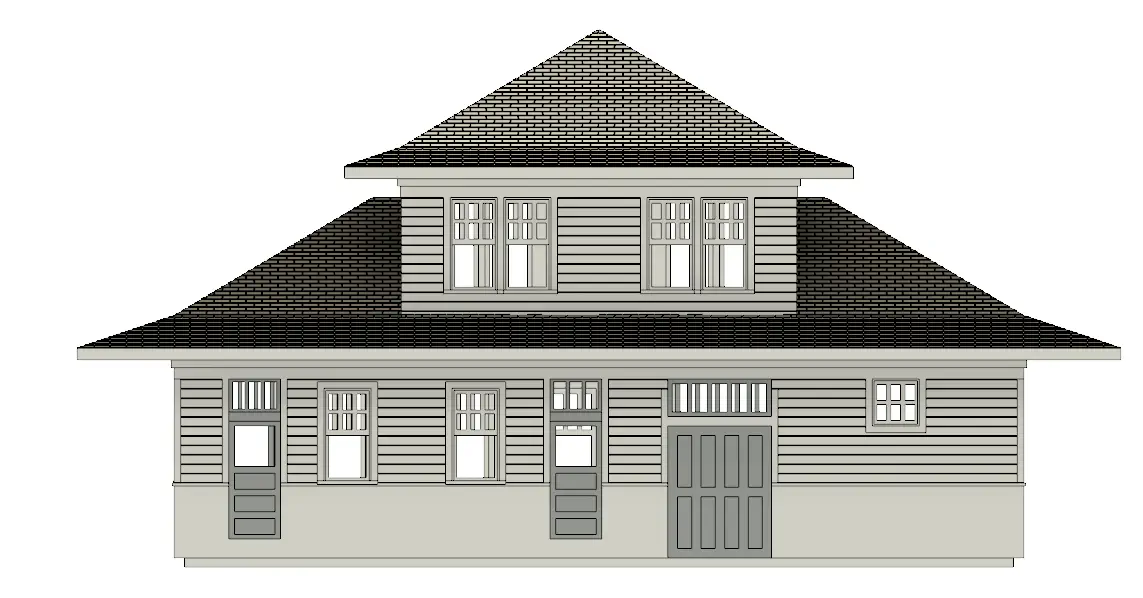
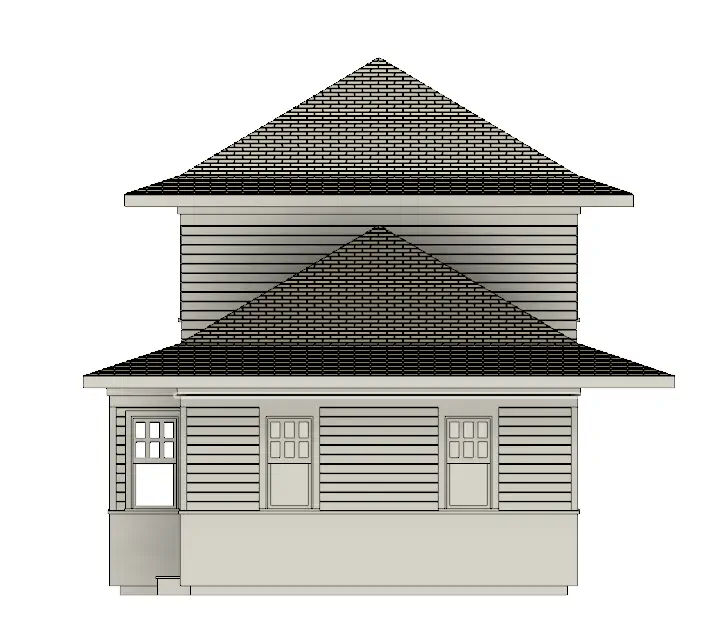
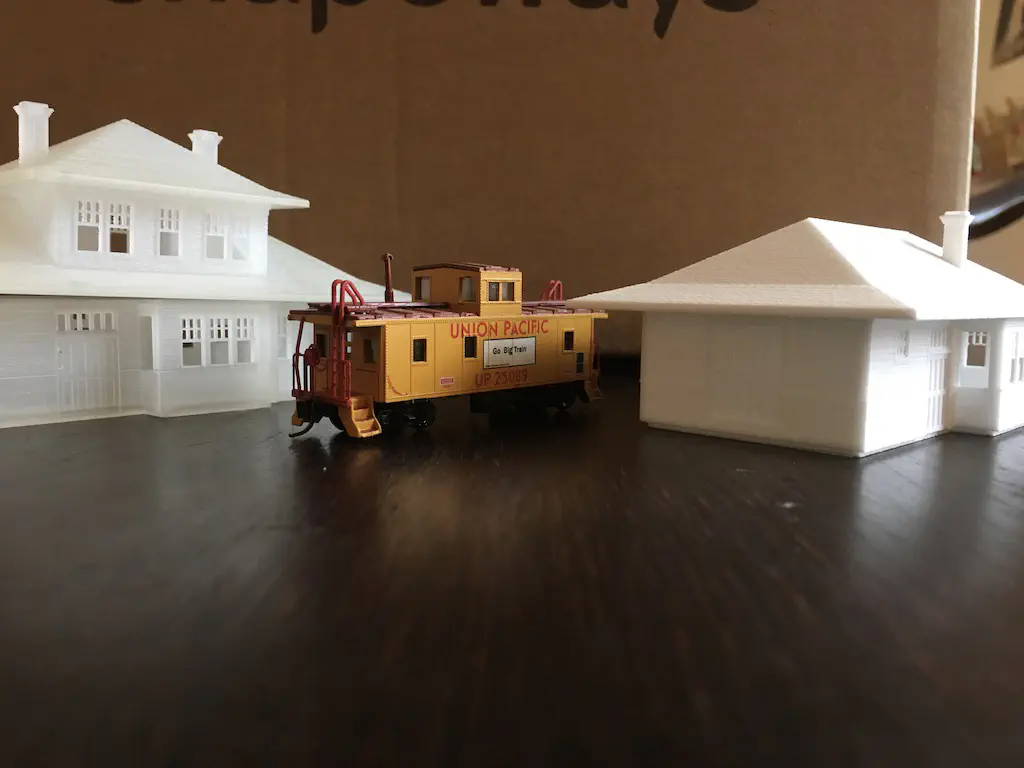
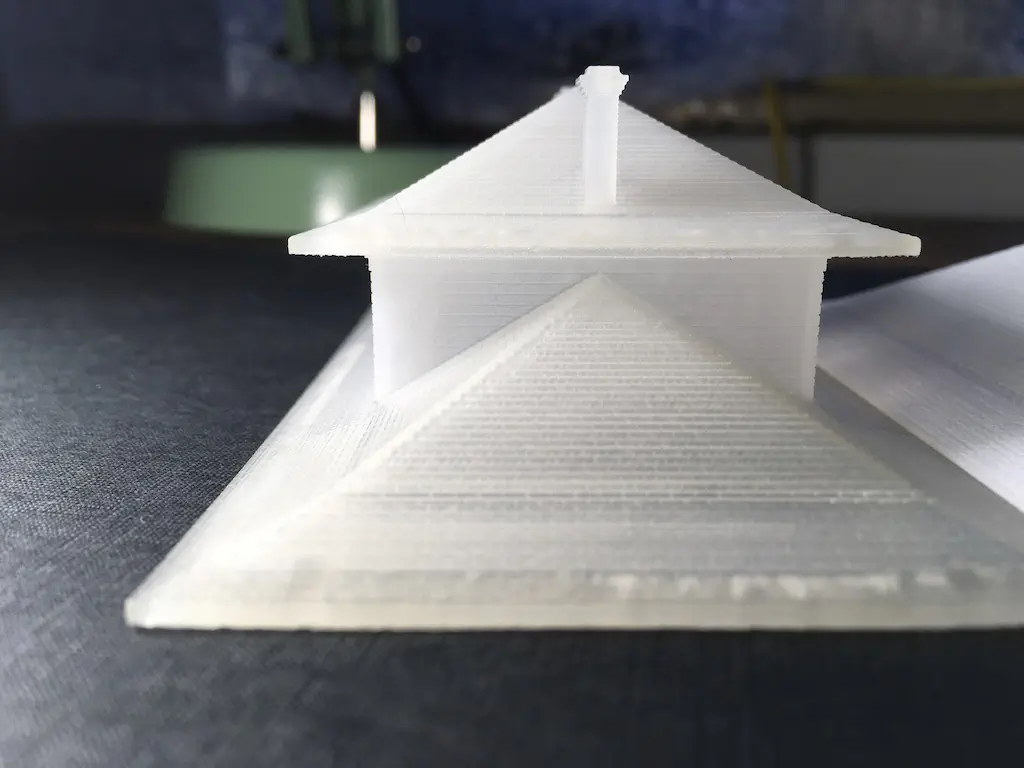
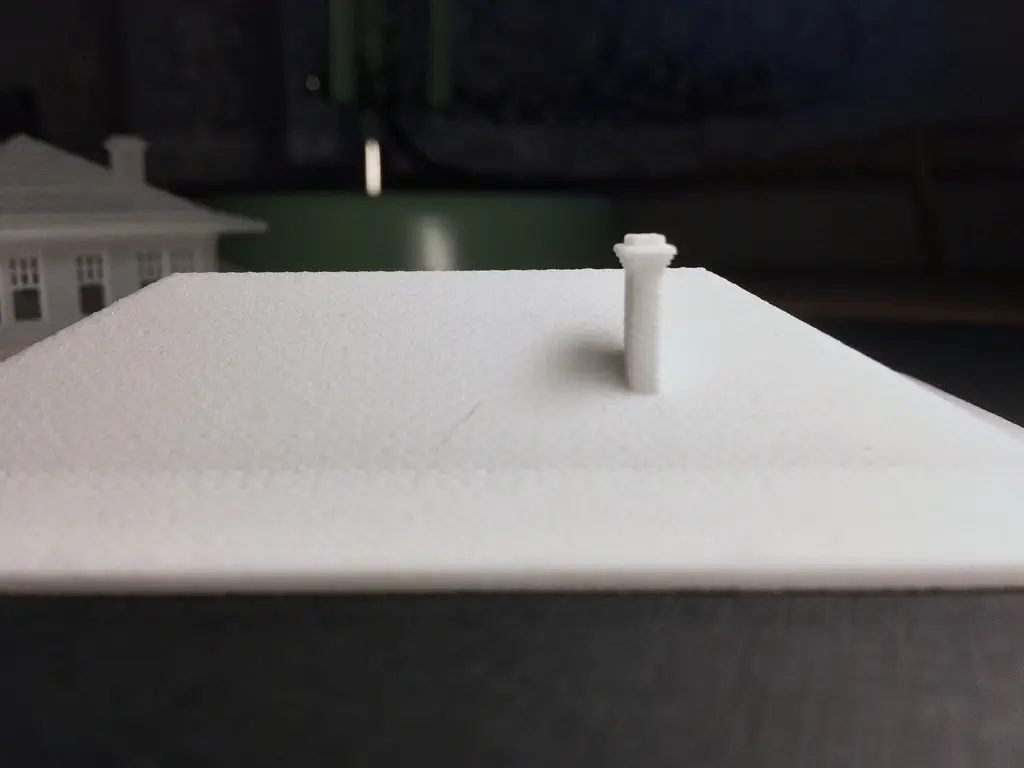
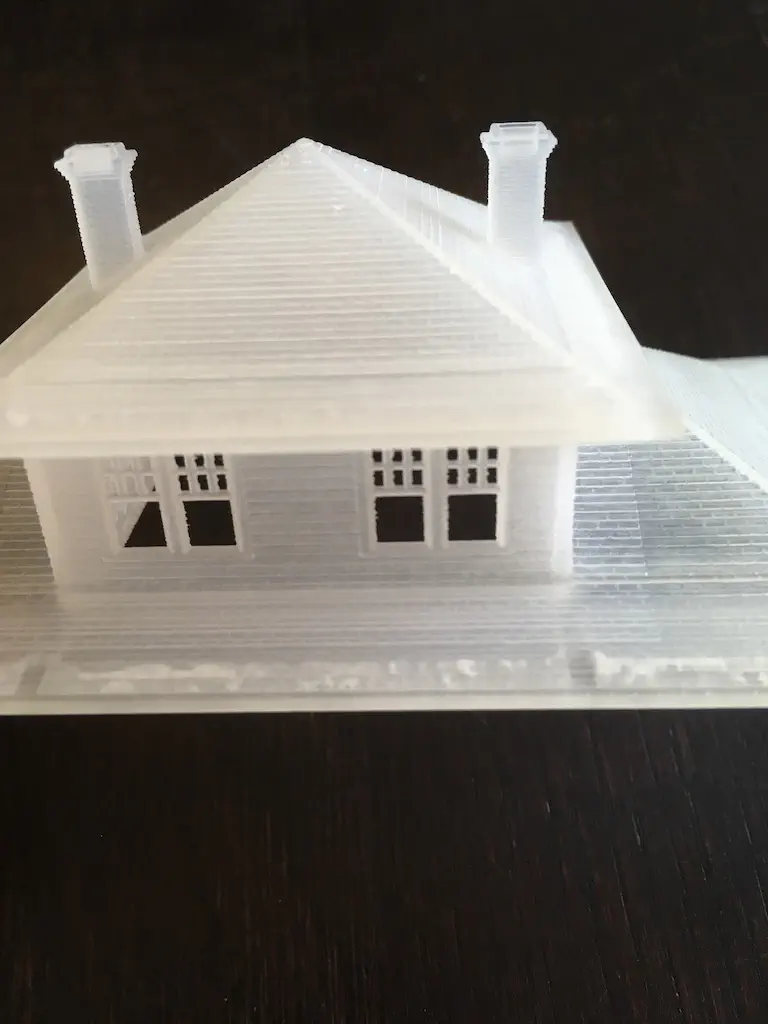
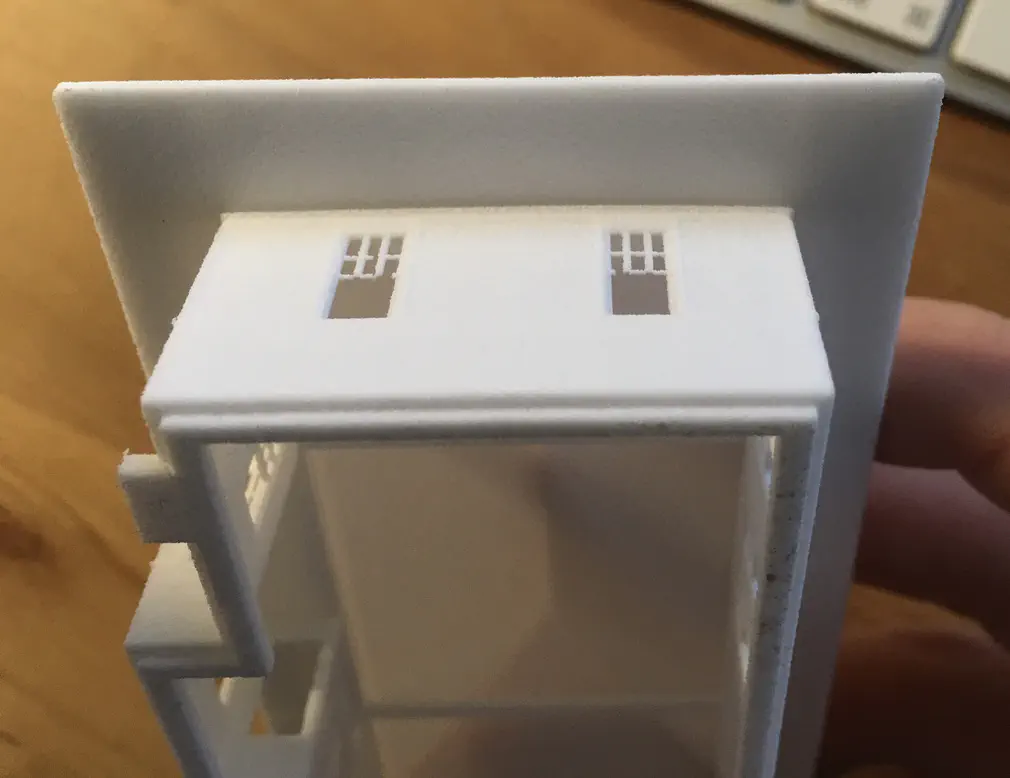
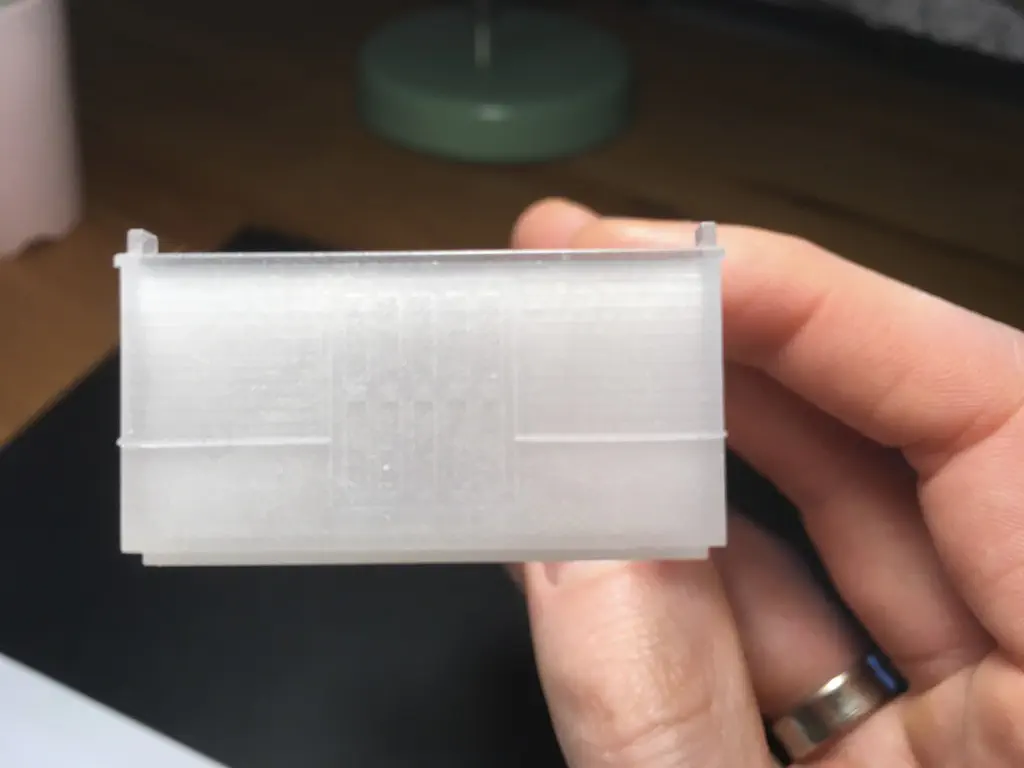
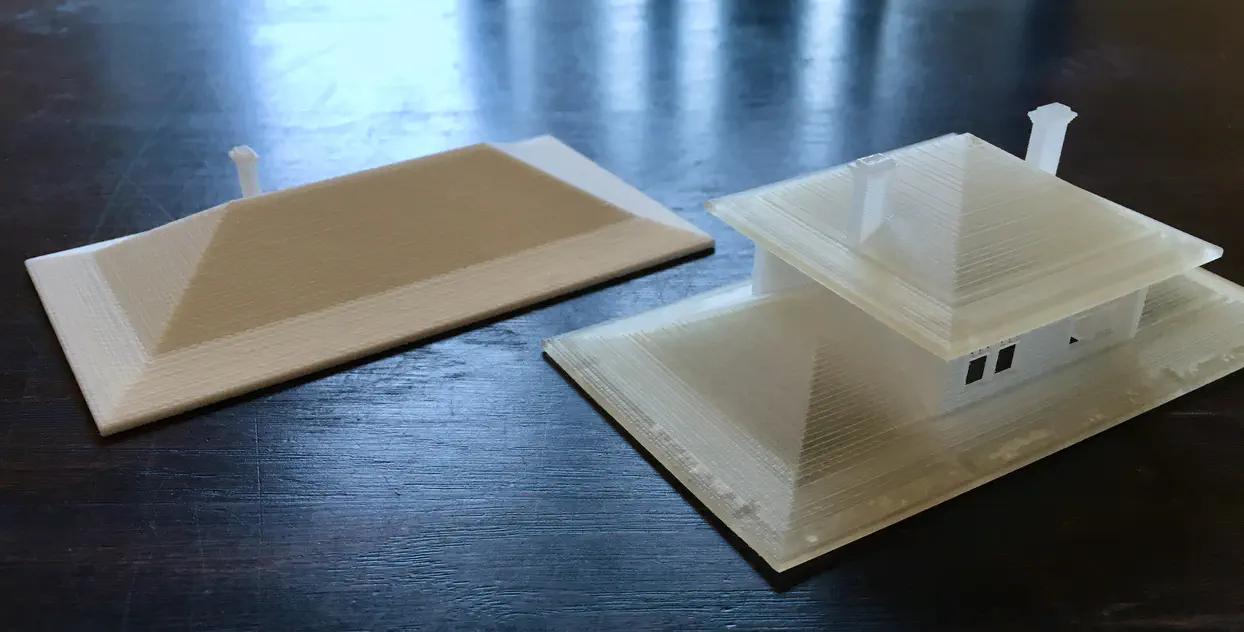
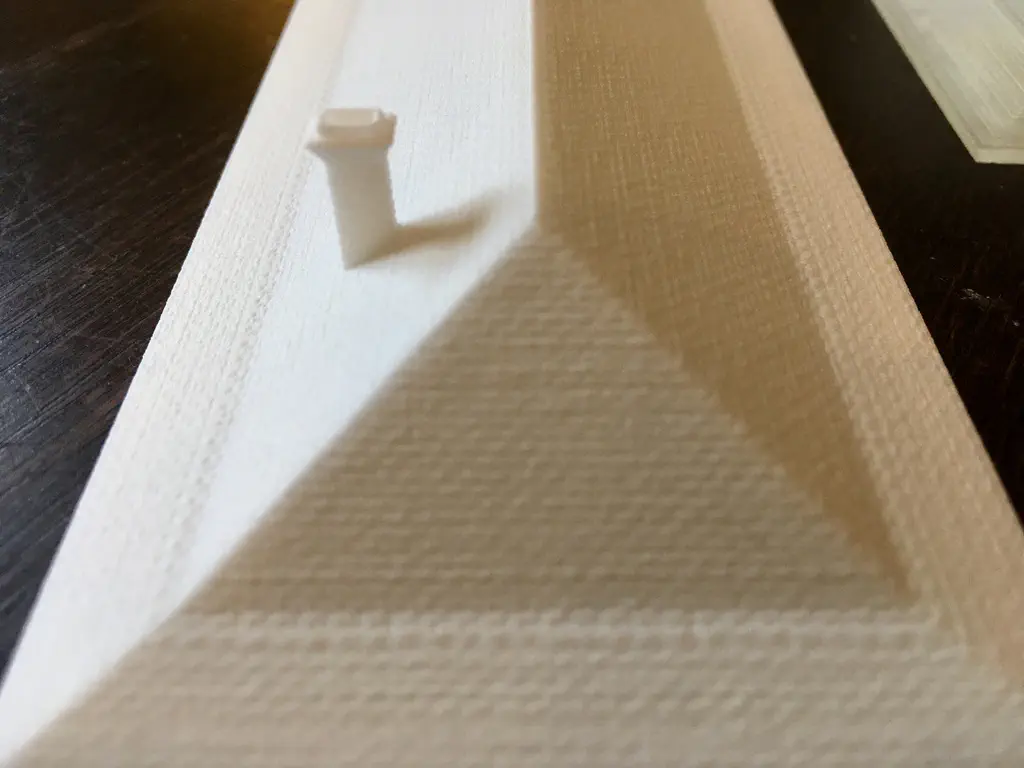
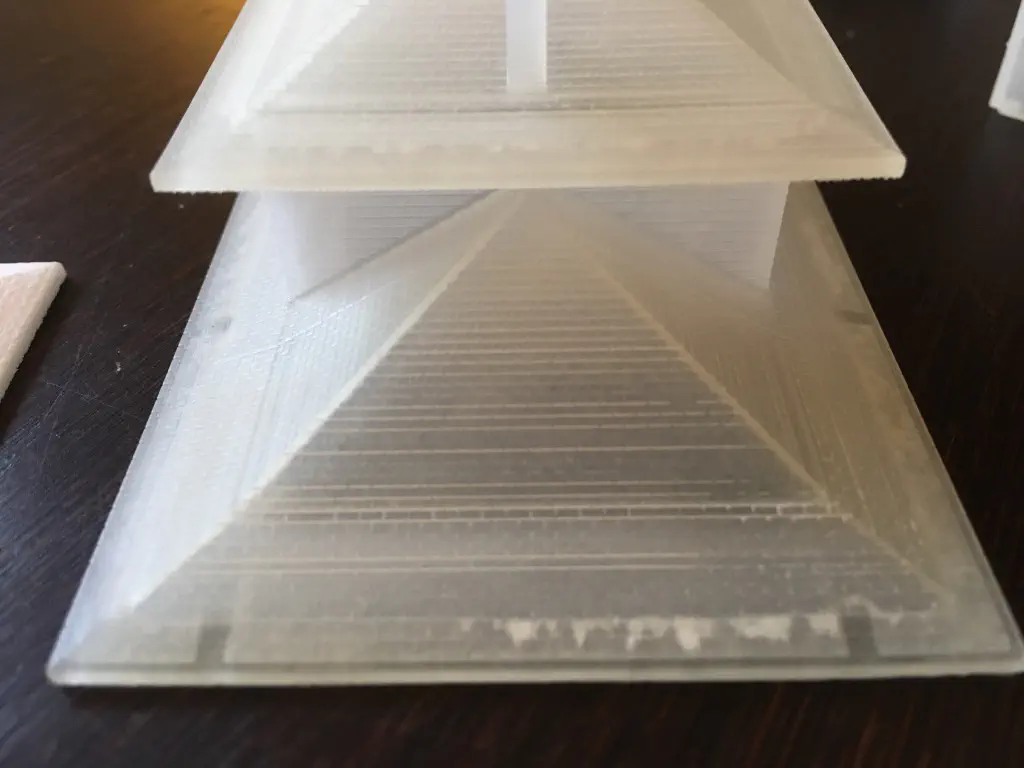
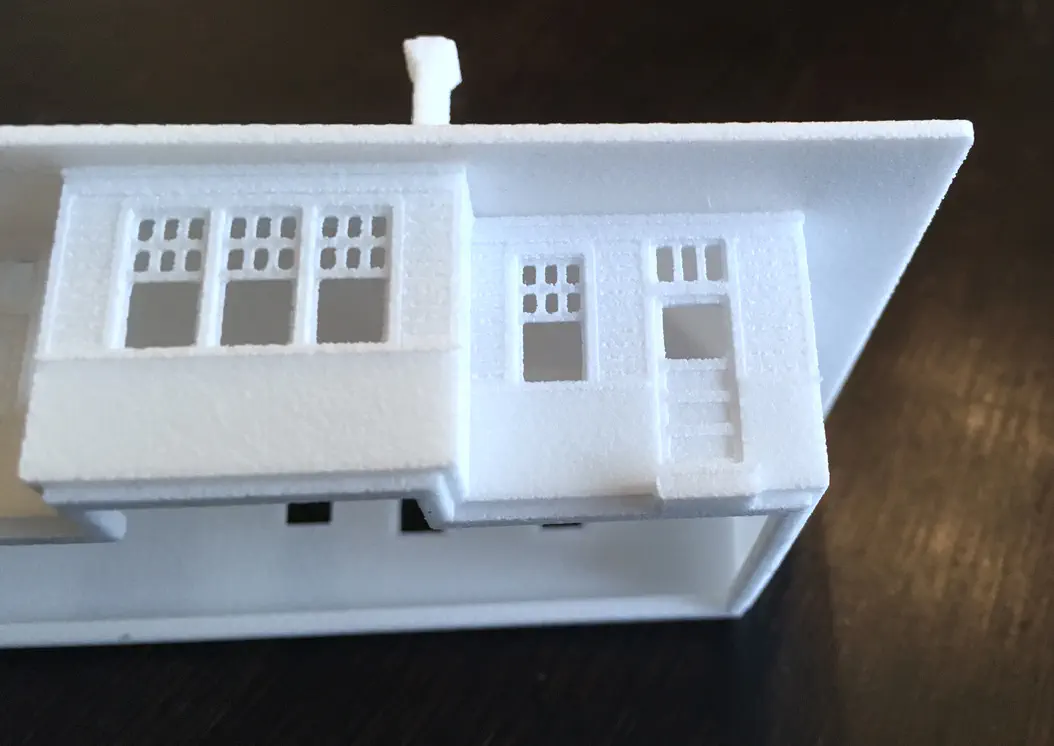
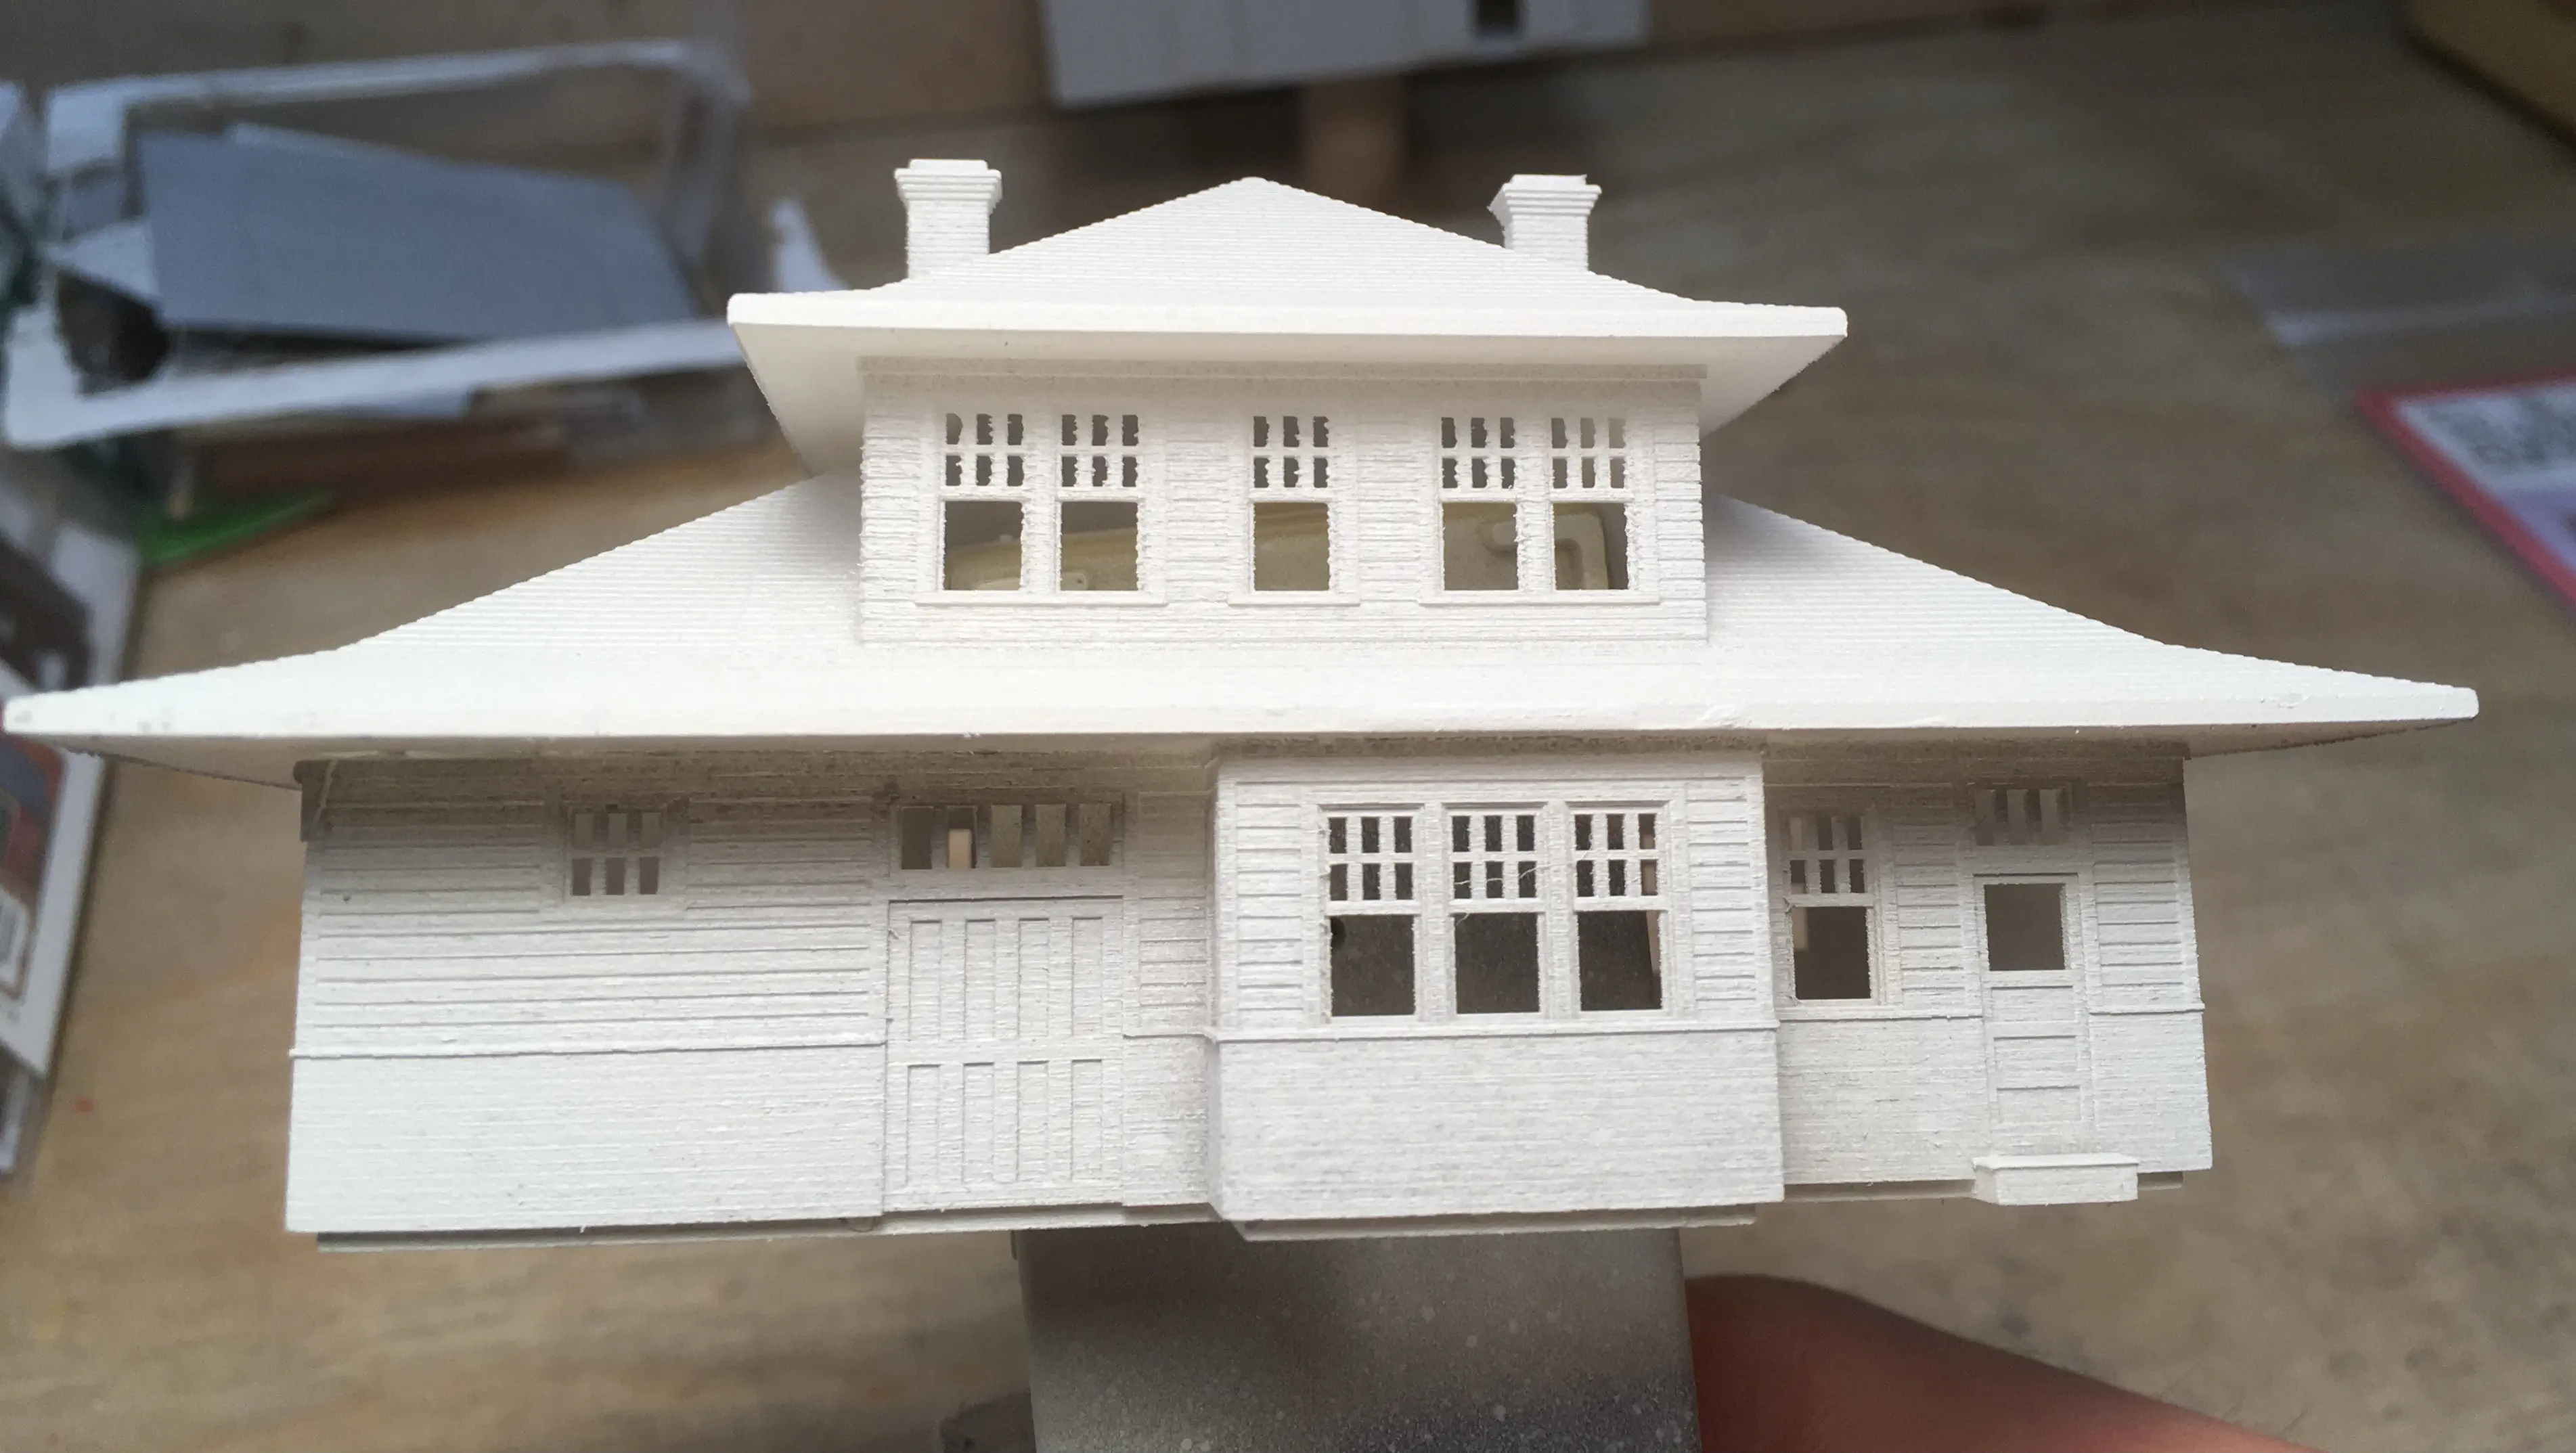
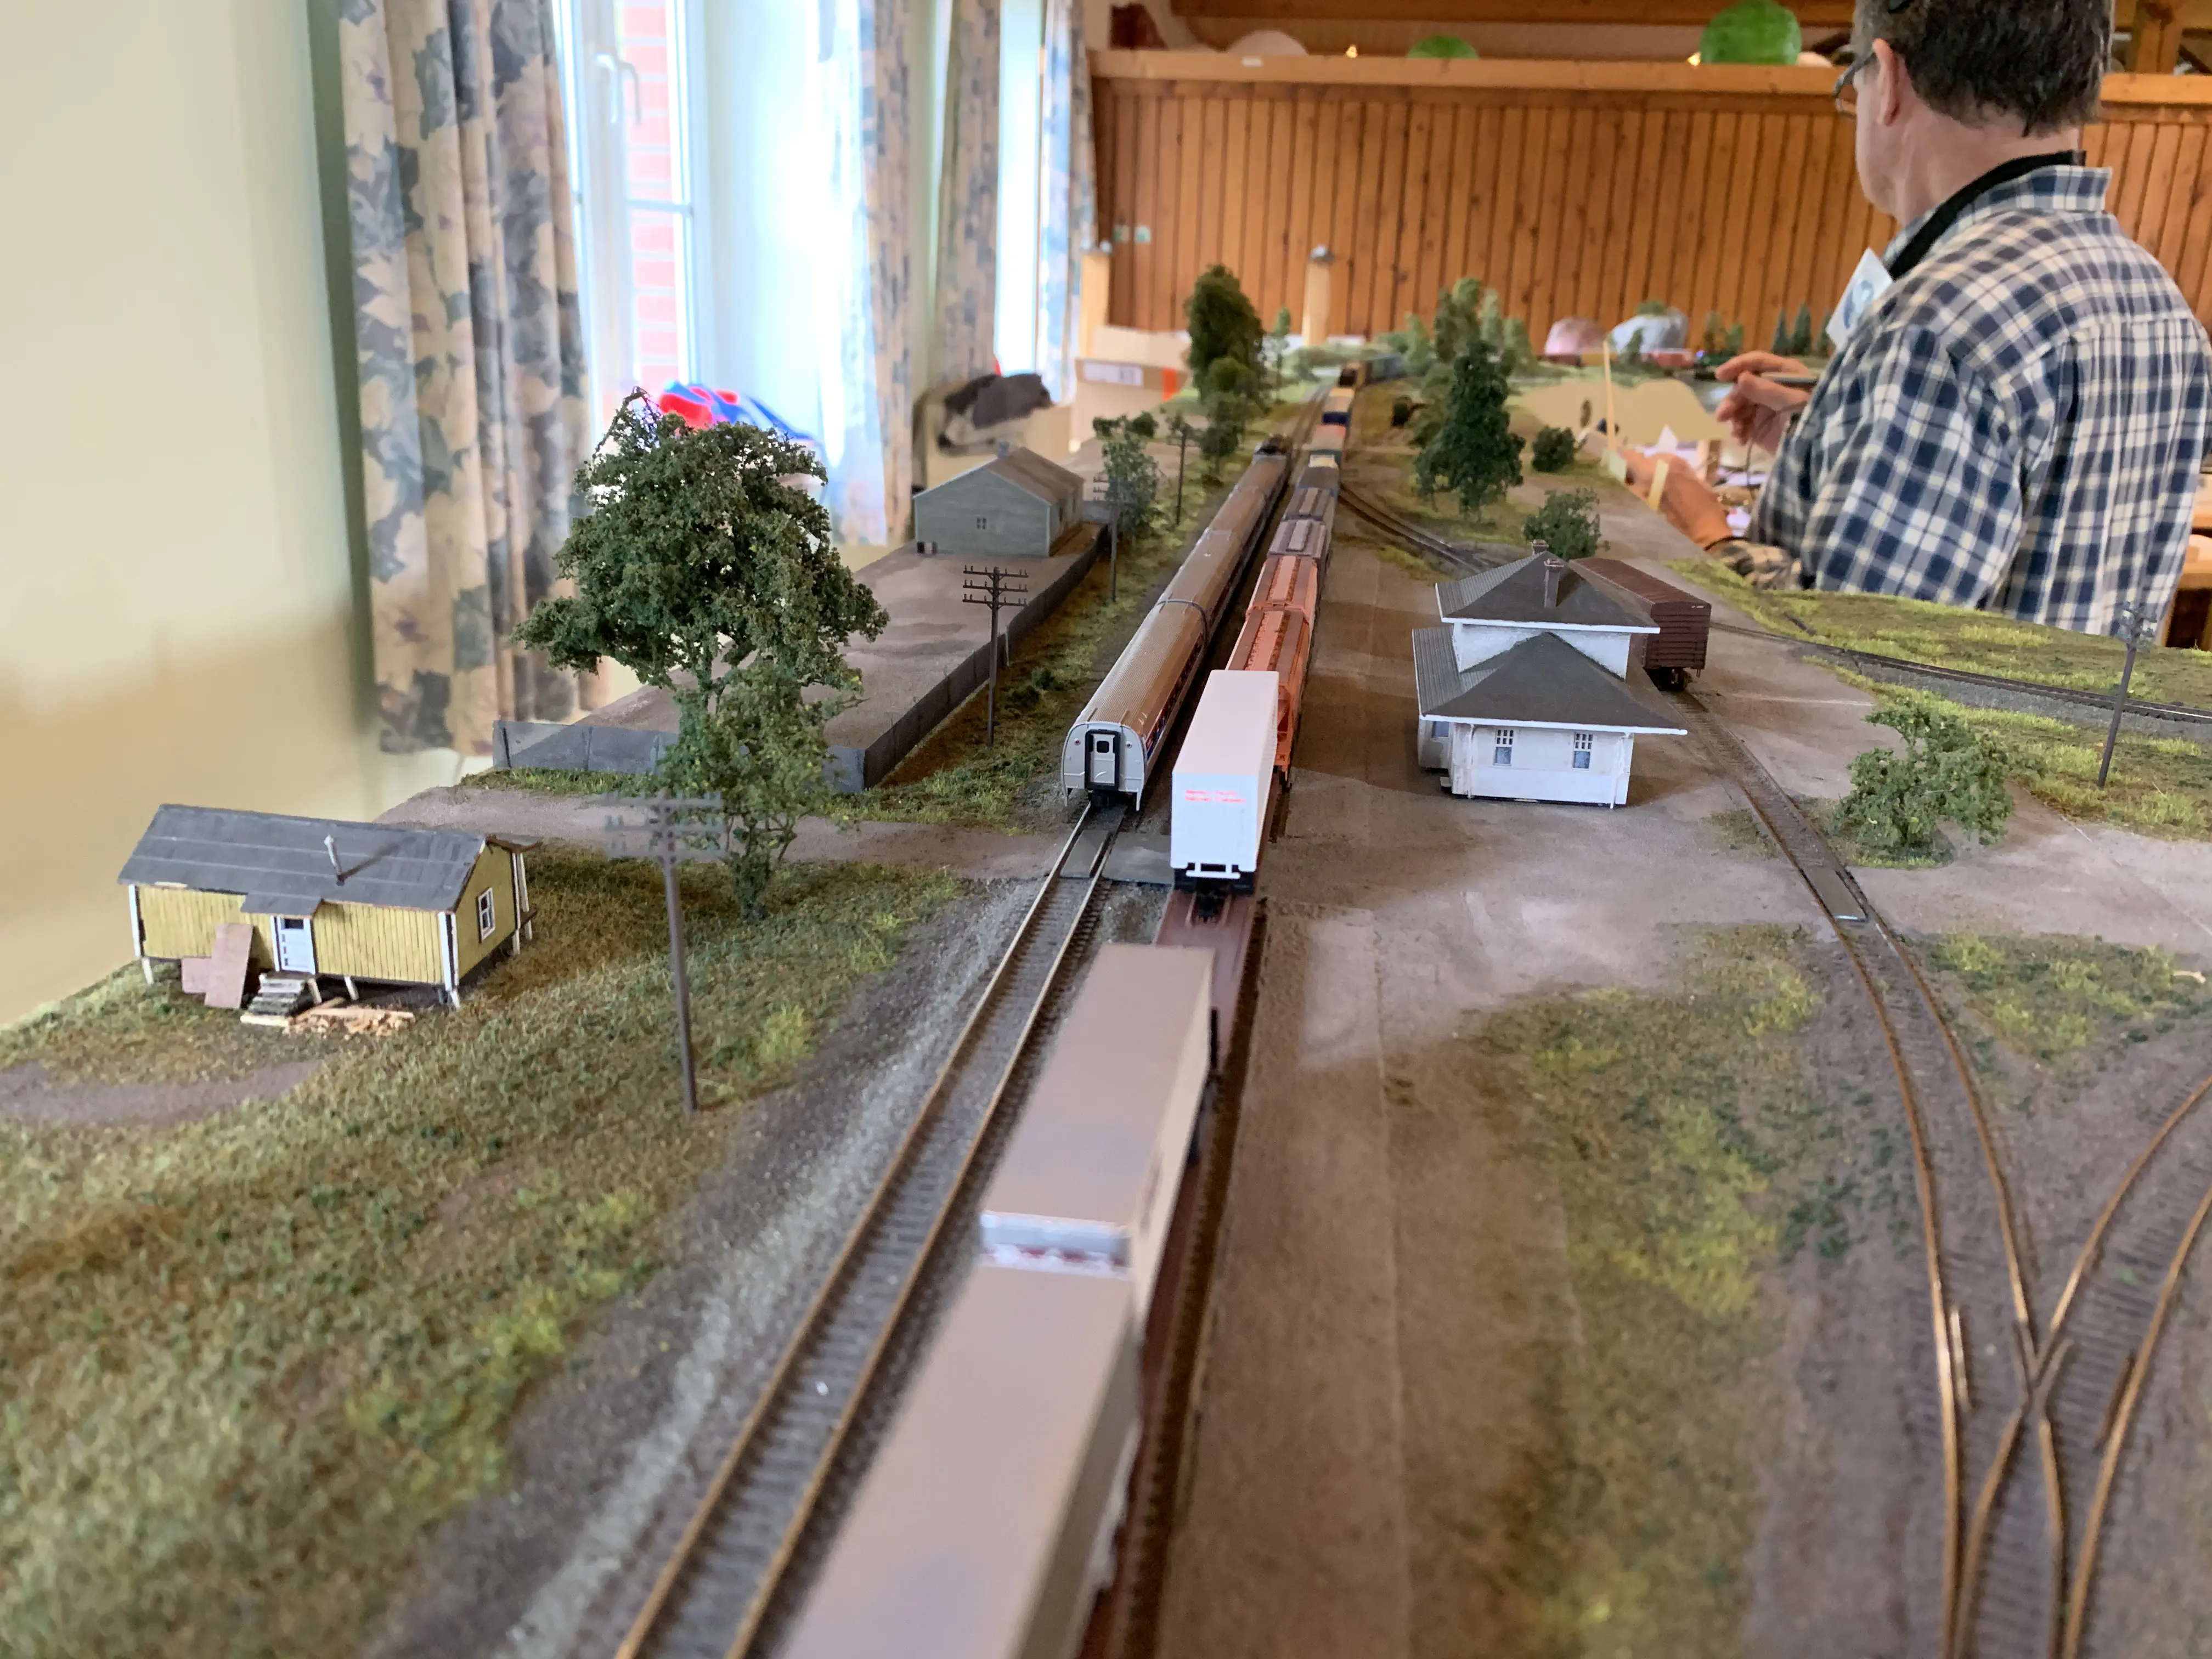
Prototopye photo and CAD drawing compared.When time came to upload the model to Shape Ways, I was slightly shocked by the cost that the print would cause. In order to optimize the model for printing I decided to print the ground floor and the roof separately. To ensure a perfect fit I added alignment notches at every corner of the walls of the ground floor and corresponding holes in the base of the roof. In theory it matched perfectly. Views of the 3D Model.The separation of the ground floor and the roof gave me another option. Peter needed a depot for his module Mesa. So I created a version of the roof without the upper floor. We also wanted to try the printing quality of different materials. For my Depot I chose Smoothest Fine Detail Plastic. The whole model costed about 100 € to print, with about 30 € for the ground floor and 70 € for the roof and upper floor. The second version, with the simple roof, was printed in Versatile Plastic. The whole structure in costs less than 30 € using this material. As some details of my construction exceeded the restrictions for both materials, I ordered all prints with the “print it anyway” option selected.So is it worth it, to spent three times as much for the “same” print. I’d say no. After priming, painting and placing it on the module you won’t notice that much of a difference. The typical viewing distance is at least 60 cm and you can’t see the slightly rougher surface at that distance.
See more progress in the Building Cascade Series.

