
Oldershausen Testdrive
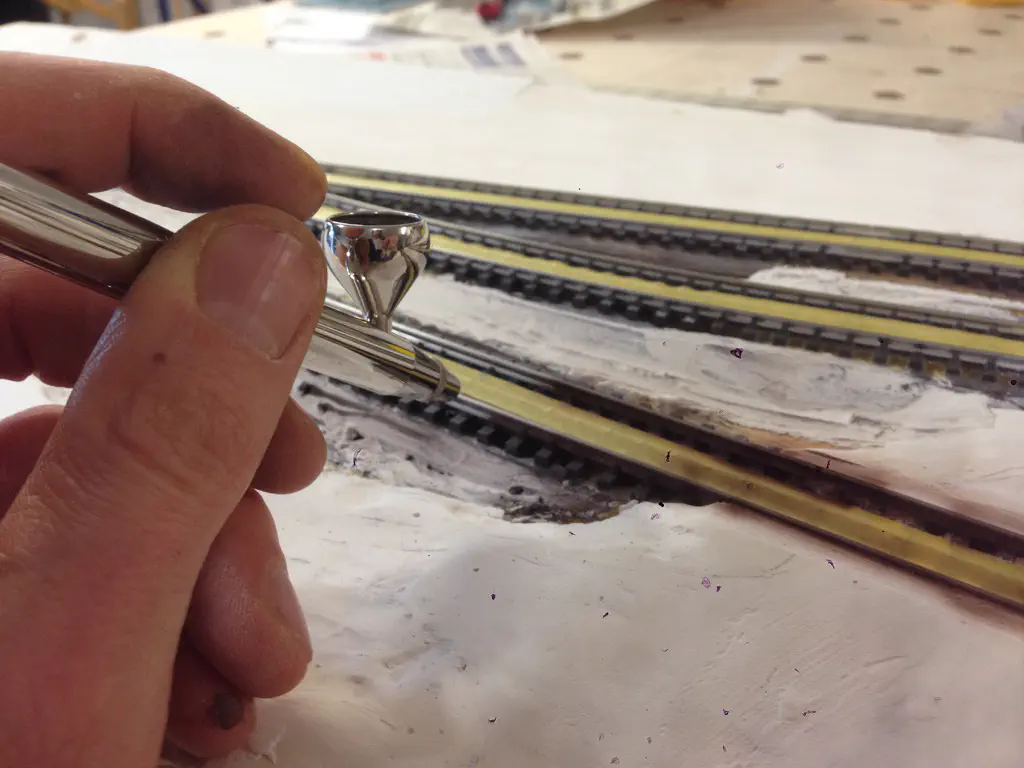
I prepared the mount for the LED-Strip-Lights. The strips are equipped with an adhesive tape and have and illuminate with an angle of 120 degree. To maximise the light yield and reduce the loss I cut an strip of wood at an angle of 30 degree. This strip and the LEDs should be mounted at the very front of the cover, directly behind the fascia. I made some tests with this installation before fixing it in place.
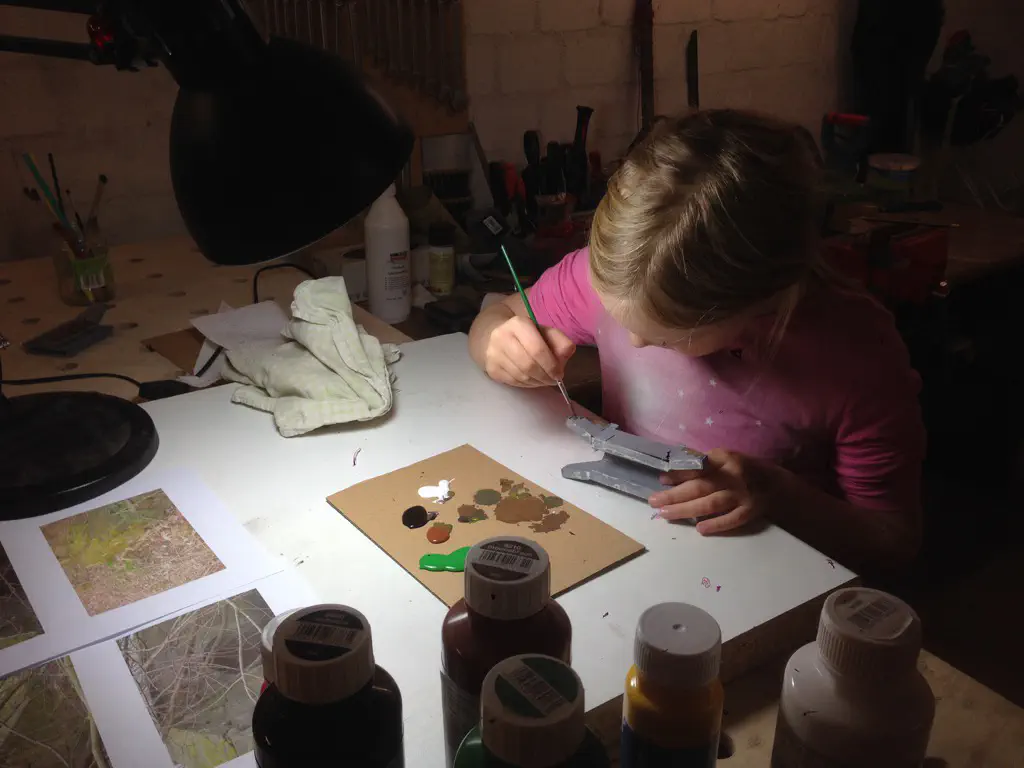
Painting the Backdrop and Clouds
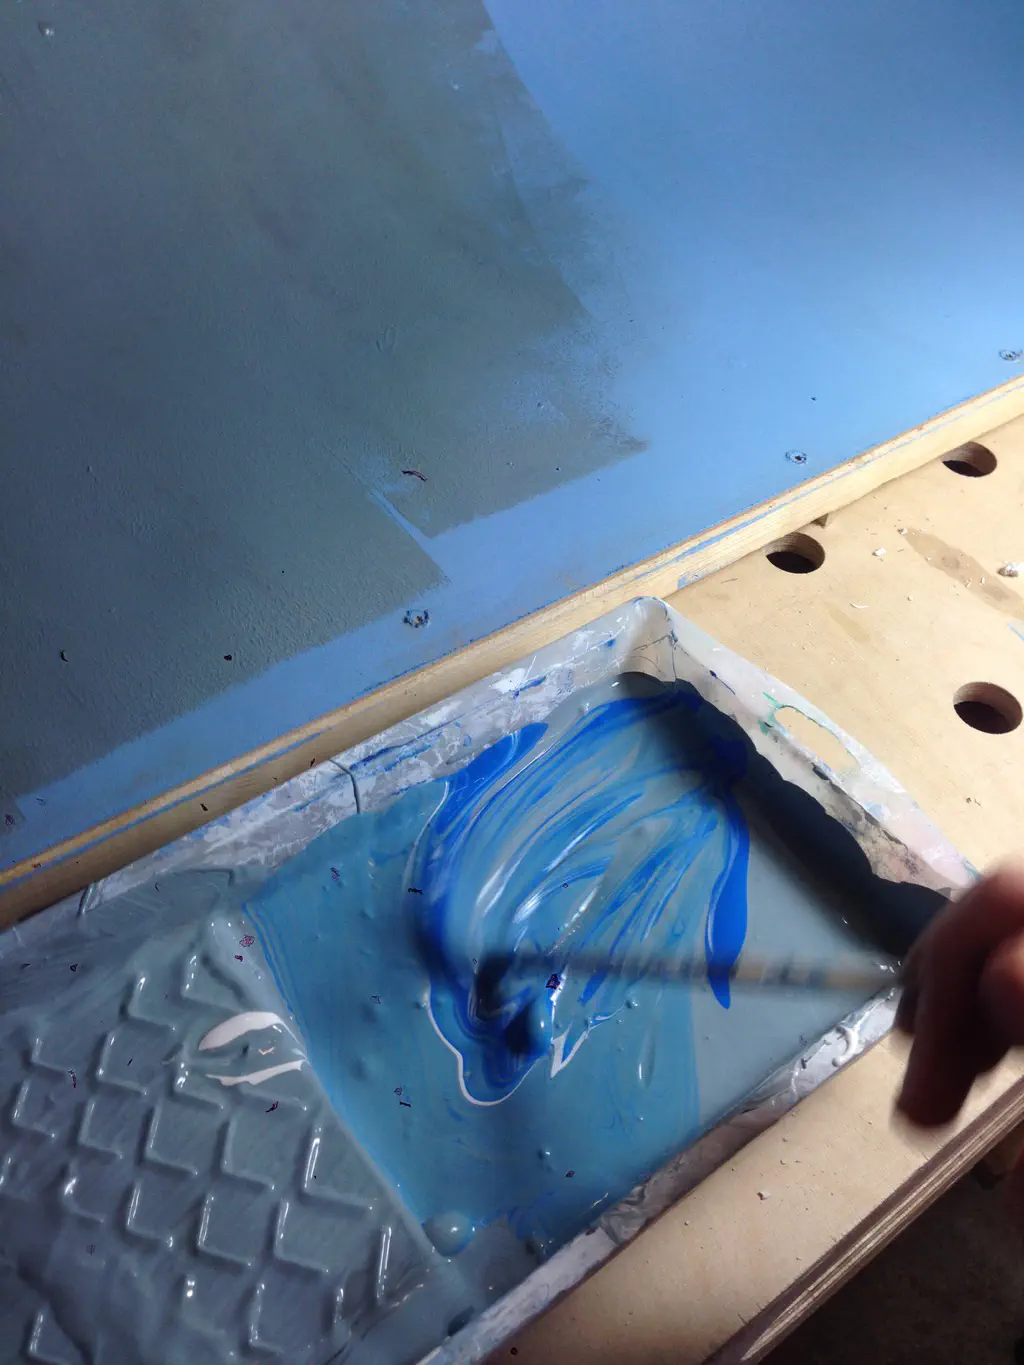
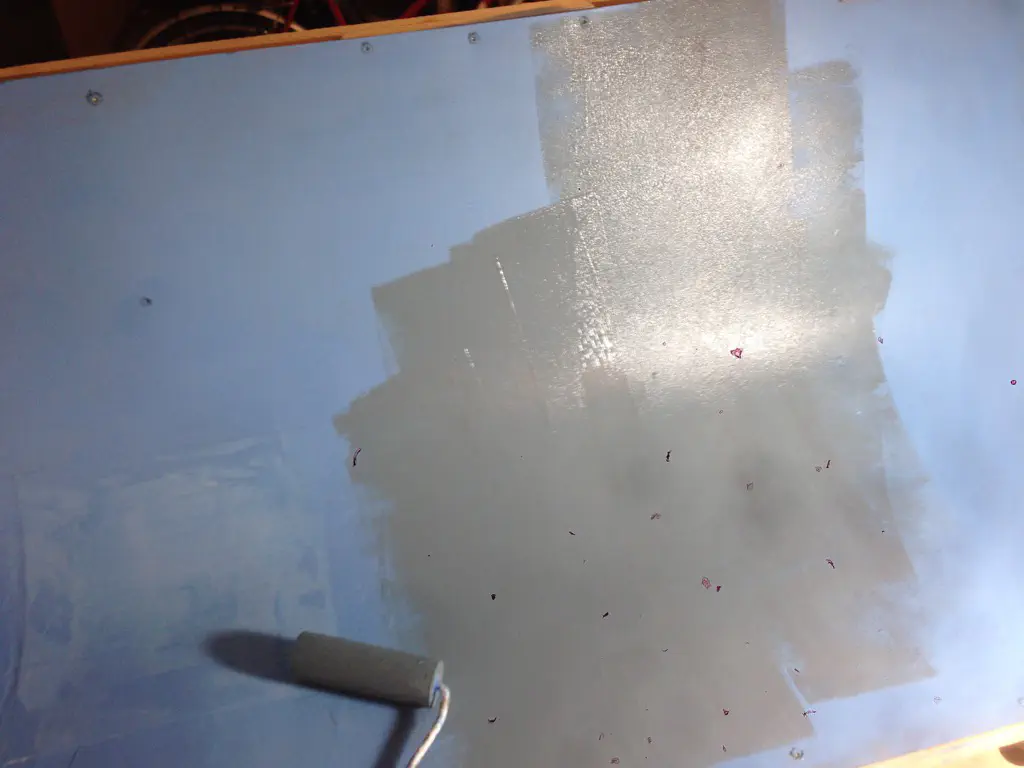
After the backdrop was fixed my daughter and I could move on and paint it. The first color we mixed was pretty blue. Too blue. Thus we added some black and white to tone it down. Now we got a nice blue-gray background which imitates a normal day. Now we may add some clouds.
After the paint dried, we created some paper stencils for the clouds. We tried spraying the clouds as I remember seeing in TMTV Juli 2014. I guess we did reuse the same stencil to often. Additionally the spray can was too small and didn’t work very clean. My wife doesn’t like the look of the clouds and thinks they look to uniform. May be we will repaint the backdrop and the clouds later but for now they will stay. Regarding the photos: The camera of my iPhone has collected some dirt, so all the dark fringes in the fuzz in the pictures is not used as backdrop color 😉

HO vs N. A devastating comparison
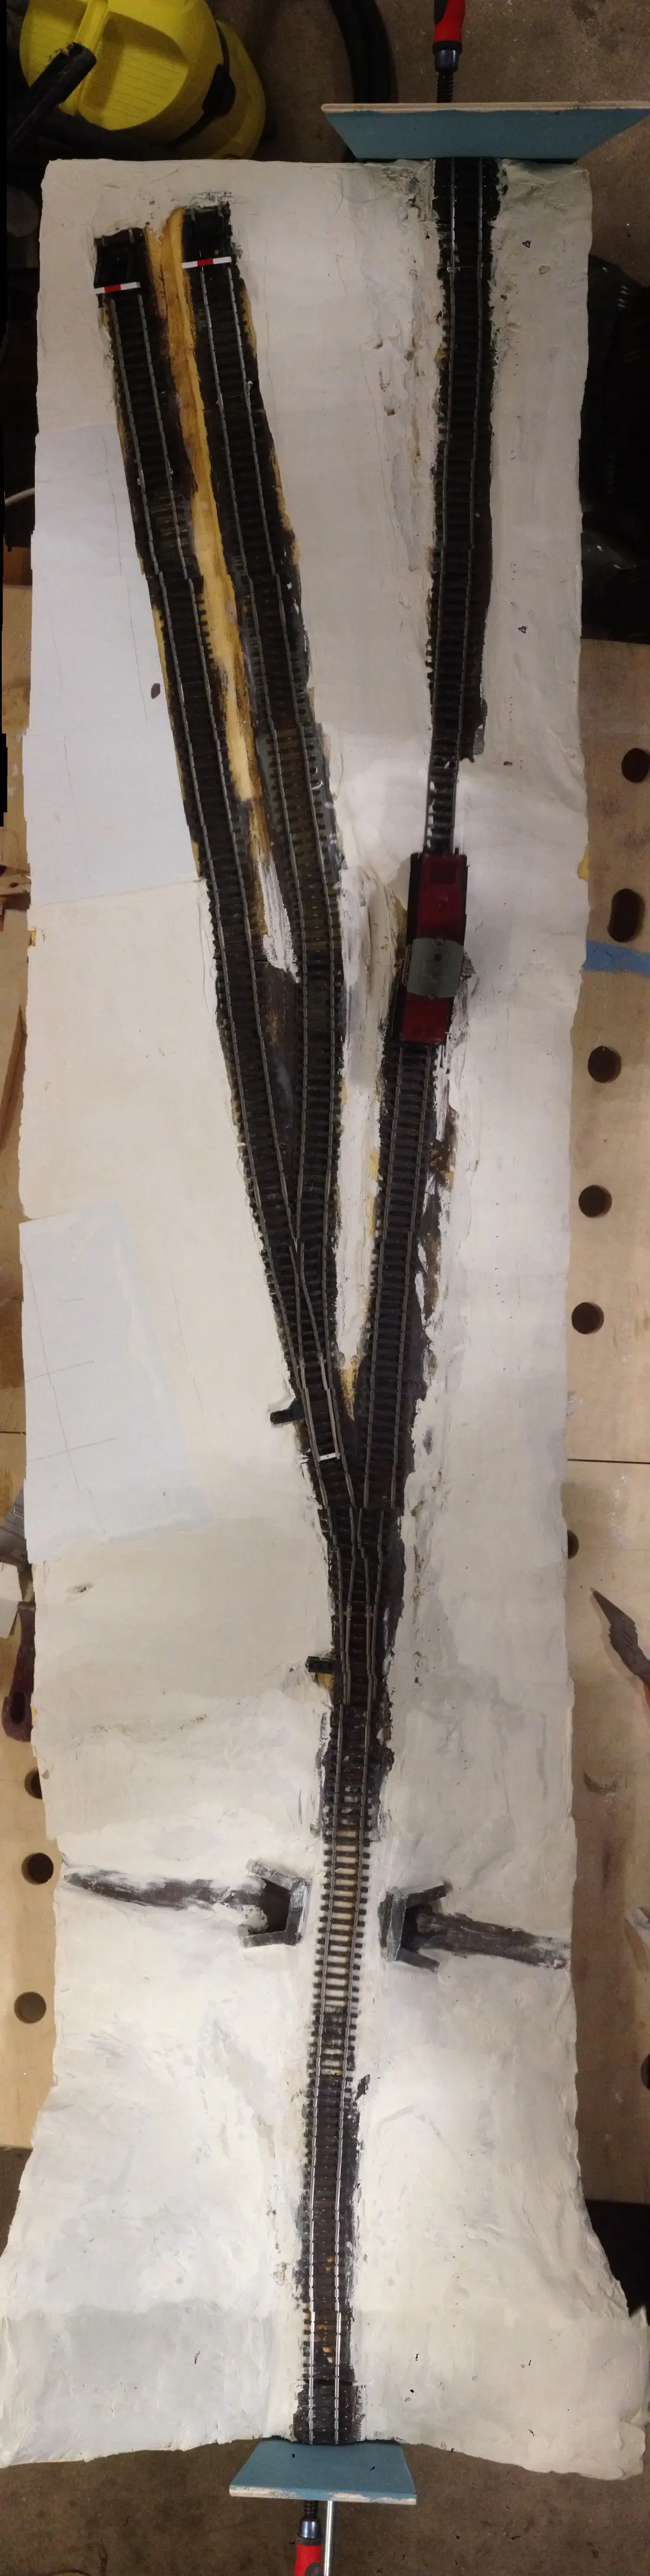
The last few days I spent a quite some time with track planning. I planned two very comparable layouts, based on Palmetto by Lance Mindheim. My first version is in HO. As I am used to this scale and I was pretty sure that this is the scale to go. Then I tried the same (or similar) in N scale. There are #10 turnouts available for the Atlas code 55 track. Awesome!


Fixing the backdrop

Oldershausen Mockup with backdrop
My vision for this small layout is using a display-style (lightbox?) fascia. As this layout is intend for learning and experiments I wanted to try a curved backdrop. I want my kids to have fun with this layout. Currently they not as tall as I am, so I had the idea of curving the background from the back to the top. This leaves me with square corners on the left and right, bit I hope this can be covered up with some scenery.
Broken turnout


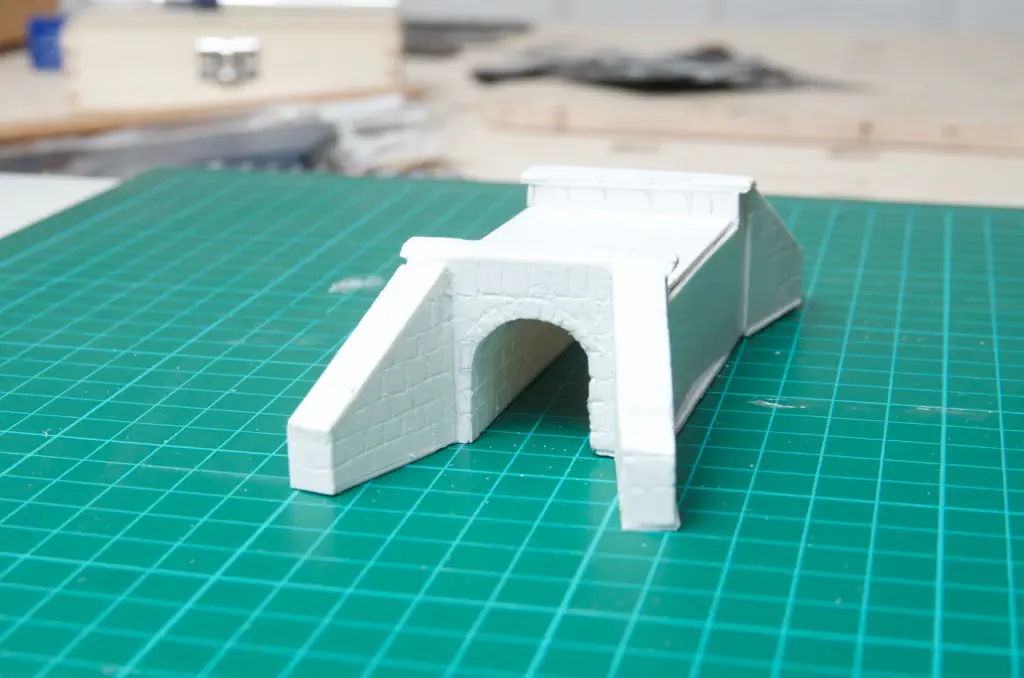
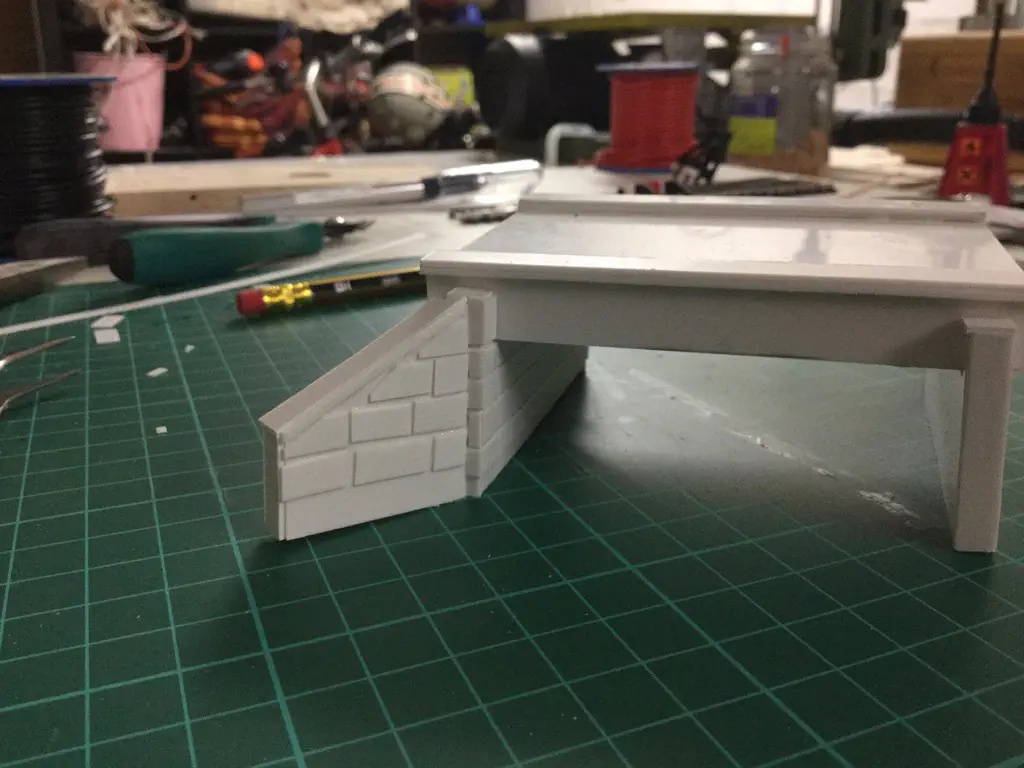
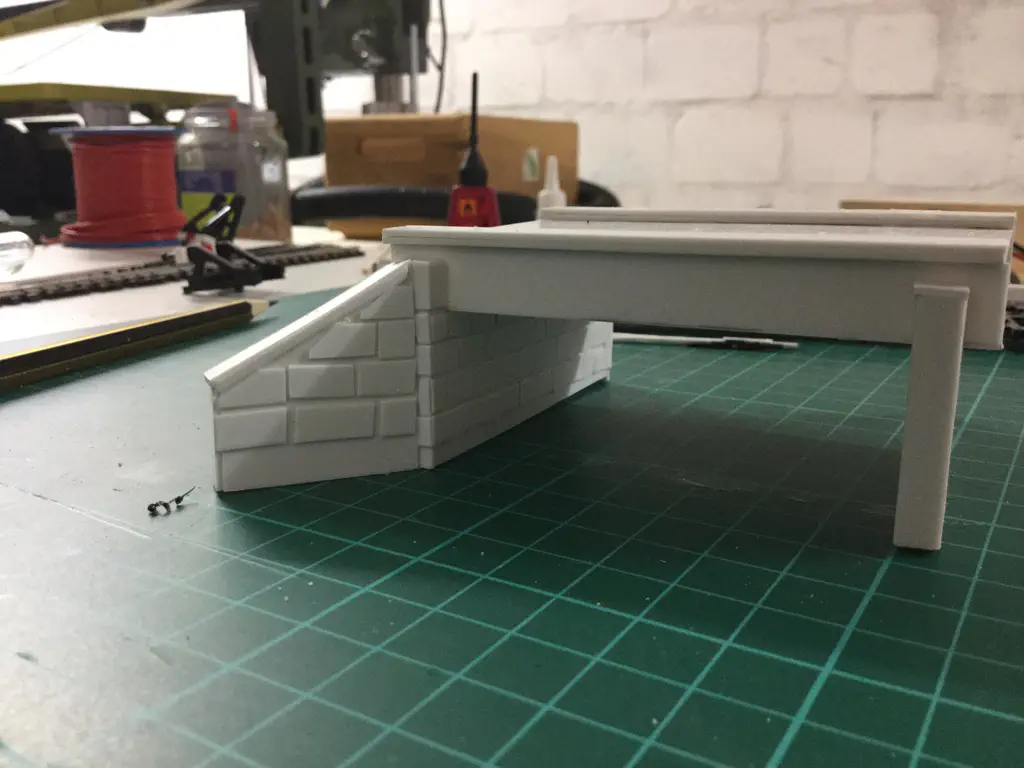
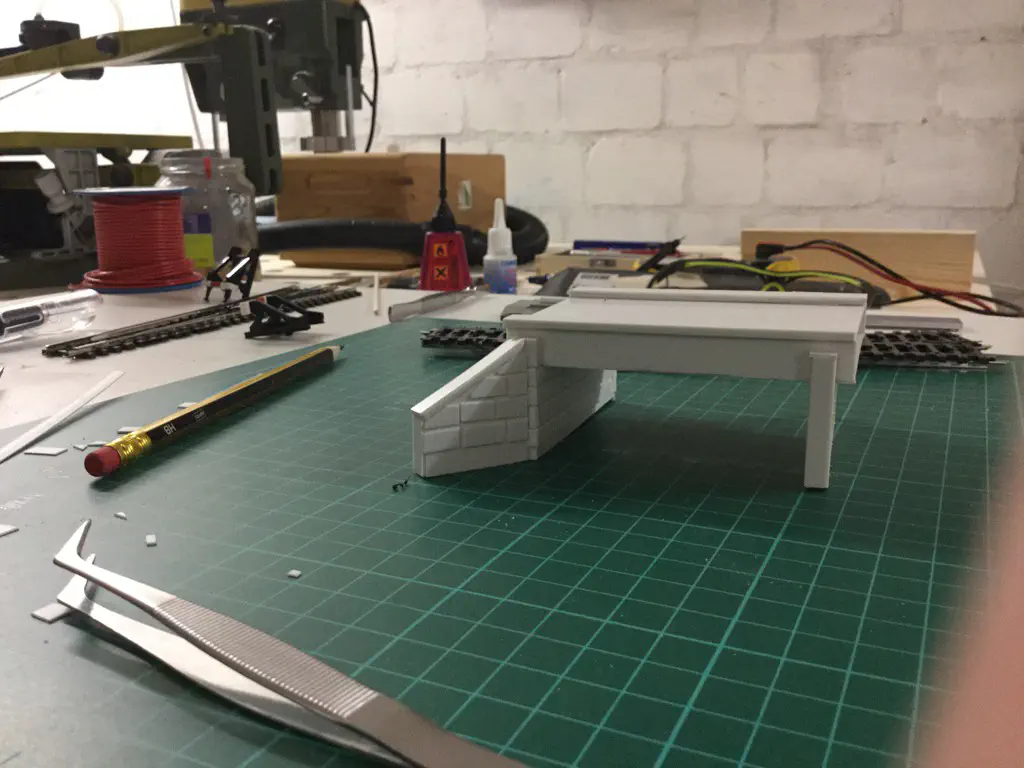
19th Century Culvert: Second Prototype
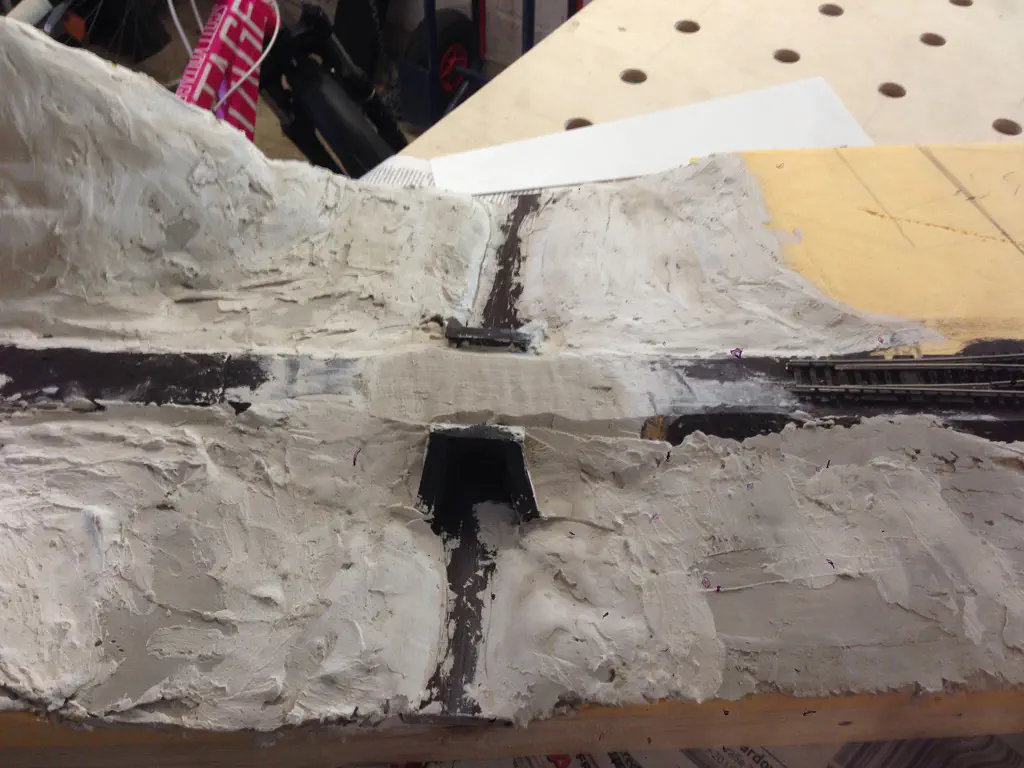
After not being satisfied with the result of my first try, I took my bike, camera and dog to search a new prototype for my little culvert.
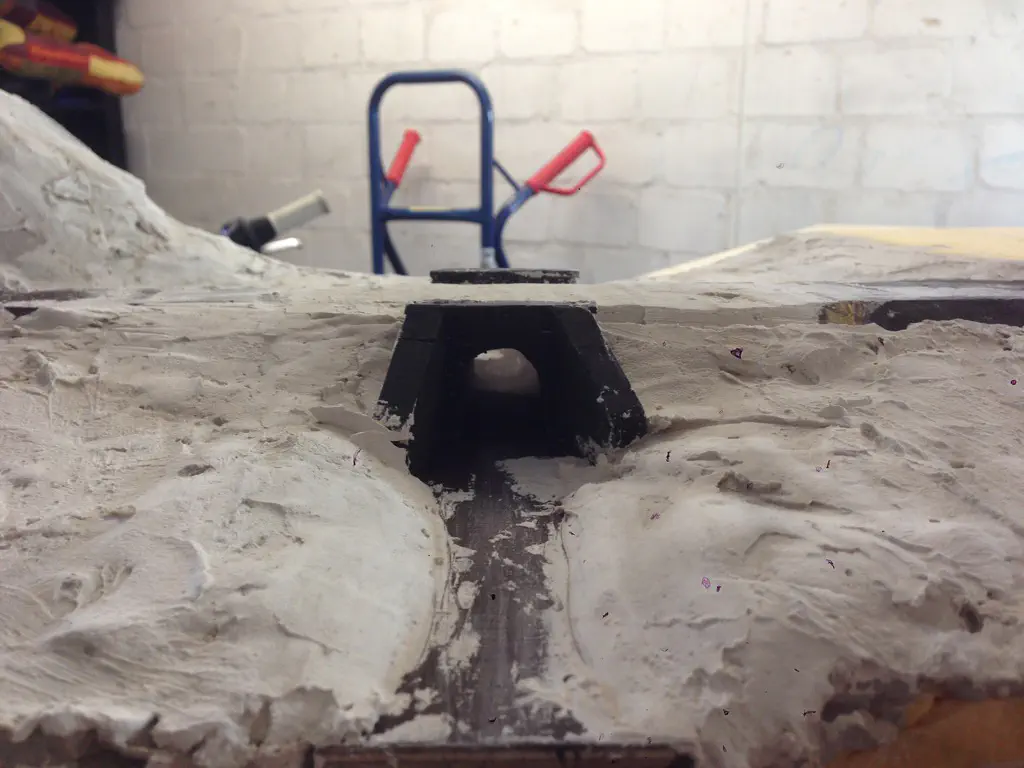
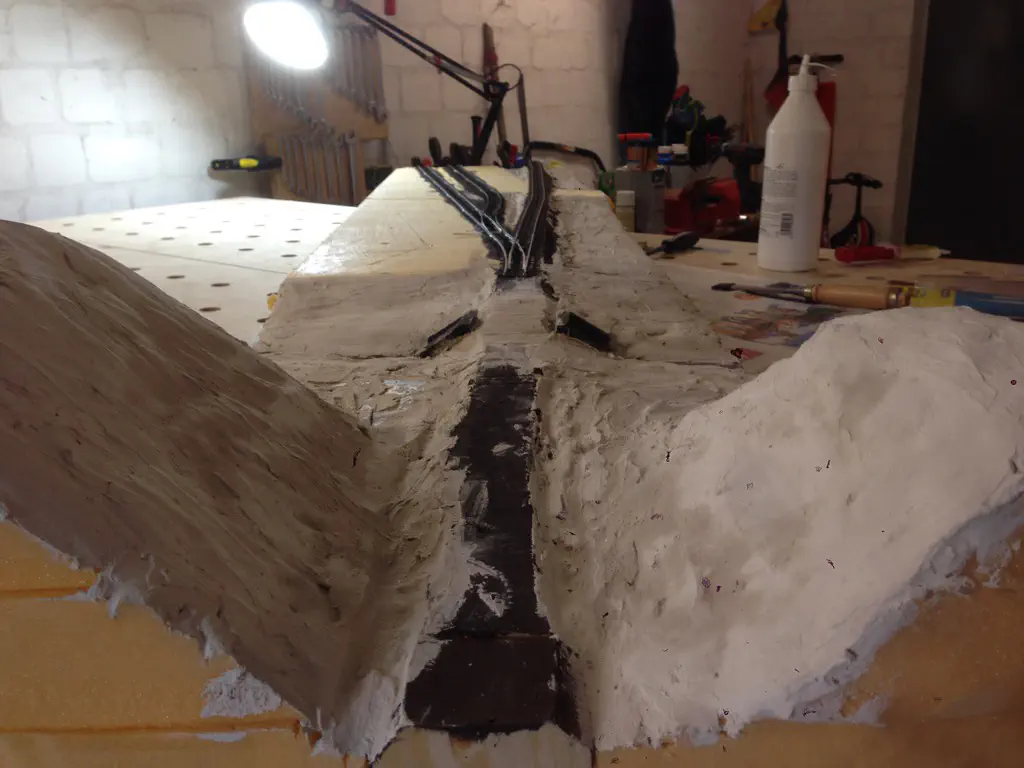
This culvert is a little overgrown but the basic shape is still very good visible. In contrast to my first try this culvert has been built from rock and bricks. The tunnel is round and not square. So this element is a little more complex, but we will see how it works out.
19th century culvert, first try
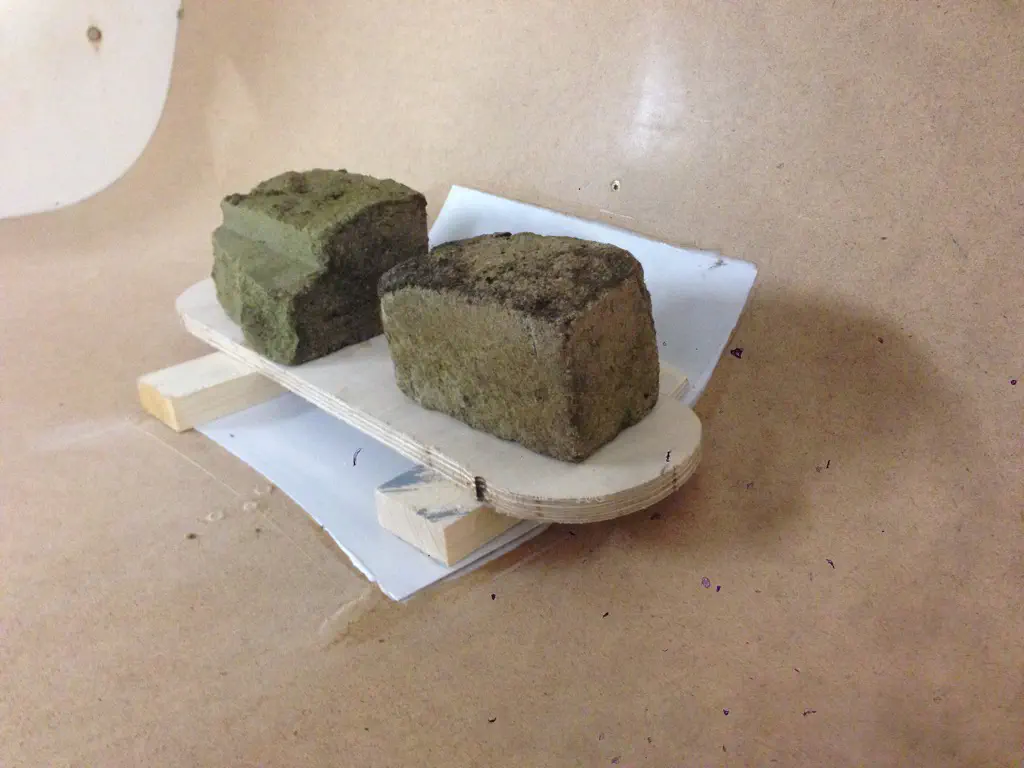
I used 1 mm styrene to build a model of this culvert. This is my very first work with this material and my very first try of modelling anything based on a prototype. Here is the result.
Honestly I’m not too happy with the result. After trying to add some texture to the concrete part failed and I have stopped the work on this part. I will look for a different prototype.